Intermediate
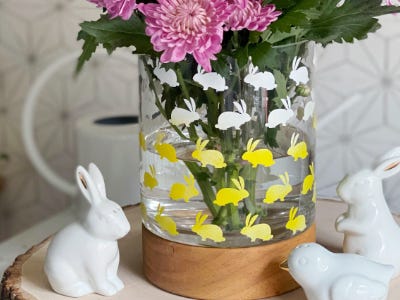
Airbrushed Easter Centerpiece
Supplies
- Glass Hurricane Vessel or Vase
- Cutting Machine (Cricut) or Stencil
- Contact Paper
- White and Yellow Airbrush Paint
- Glass Spray & Microfiber Cloth
- Painters Tape
Step-by-Step Instructions
Steps
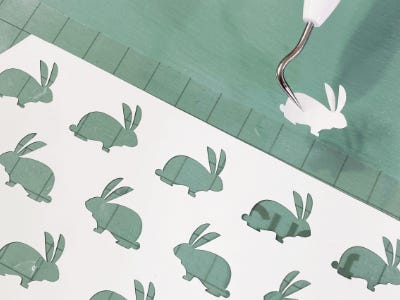
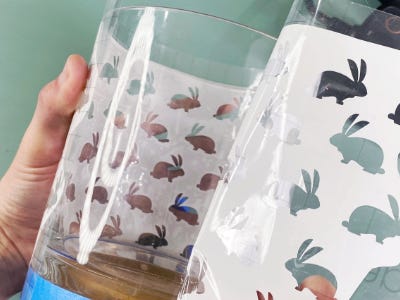
1. Use a cutting machine to cut out a repeating bunny pattern the same measurements as the glass vessel. Tip: No cutting machine? No problem! Lightly coat the back of a stencil with adhesive spray. Place it around the vessel.
2. Clean the outside of the glass with spray and a microfiber cloth and let dry.
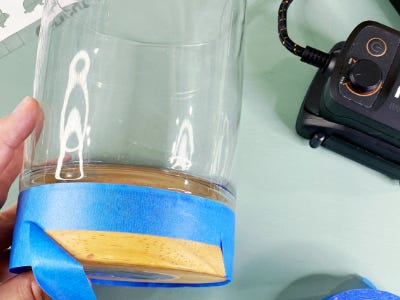
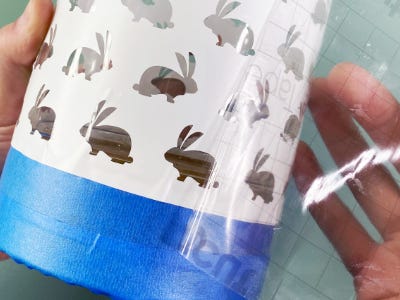
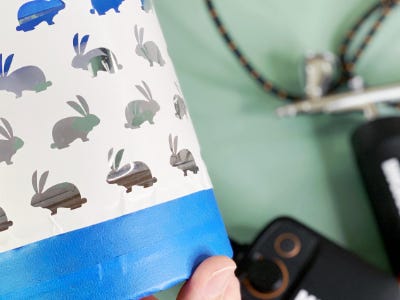
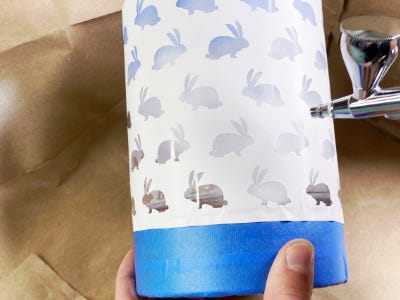
3. Use painters tape to cover any areas of the vessel that shouldn't be painted. Peel off the backing of the contact paper and lay the bunny stencil around the glass vessel. Be sure to press down the edges well so the paint won't bleed.
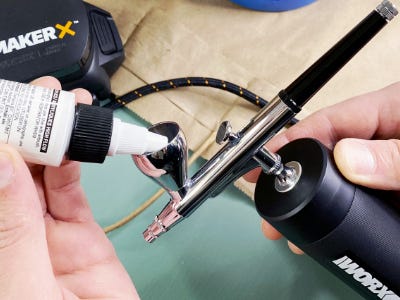
4. Load the paint reservoir of the airbrush approximately ⅓ full with white airbrush paint. Test and practice on a scrap piece paper or glass and adjust the settings accordingly.
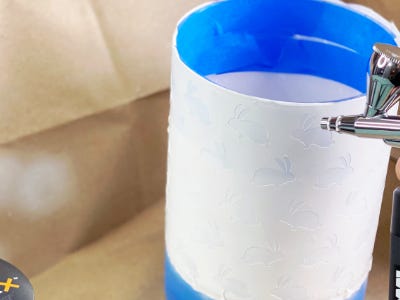
5. Begin painting the glass in a consistent swirling motion about four to six inches away from the glass until the entire stencil is filled in and then let dry.
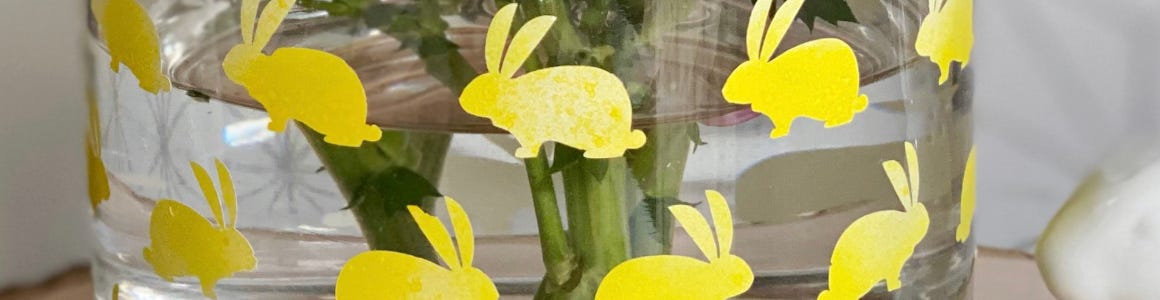
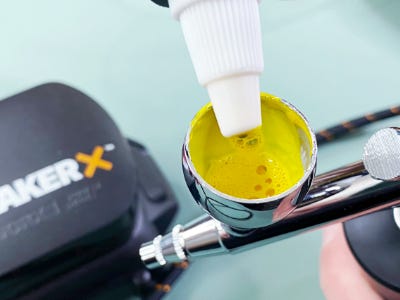
6. Empty out the remaining white paint and add some yellow paint into the reservoir. Spray on a piece of scrap paper until the paint fully turns from white to yellow.
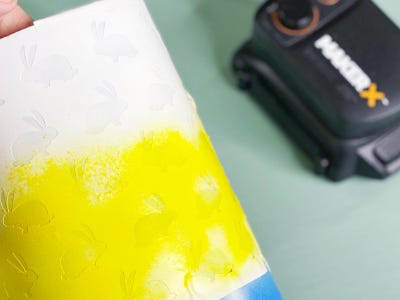
7. Begin painting on the bottom half of the glass and work your way up to create an ombre like effect. Continue in a swirling motion until you’re happy with the results. The white underneath the yellow will really make the color pop on the glass!
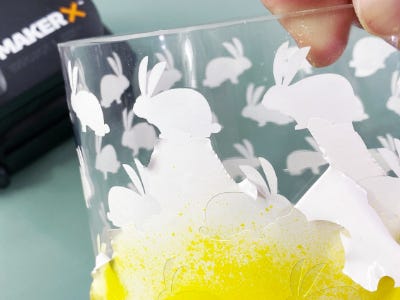
8. Let fully dry for at least an hour before removing the contact paper. Carefully remove the contact paper from the glass being sure not to touch any of the painted areas. Tip: Use a craft knife or tweezers to help remove the stencil.
9. Optional: Cover with a spray sealant to help prevent any paint from scratching.
10. Add flowers, candles or Easter eggs and add to your seasonal decor.