Beginner
Cross Stitch Yarn Heart
Supplies
- Heart Template
- Wooden Tray or Piece of Wood
- Painters Tape
- 220 Grit Sand Paper
- Yarn (Two Colors)
- Large Plastic Needle
Step-by-Step Instructions
Steps
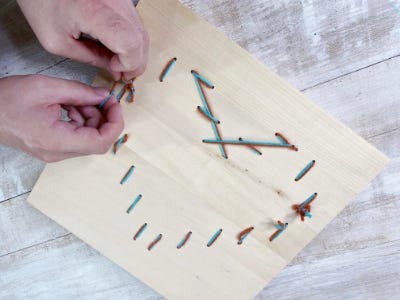
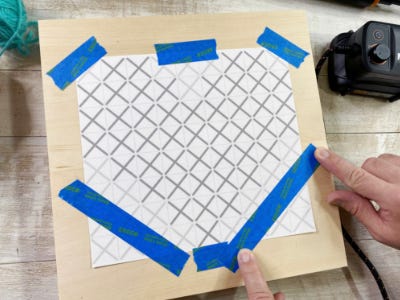
1. Size and print the template to fit the wood blank. Center the template onto the wood blank and tape in place using painters tape. Tip: Place a scrap piece of wood underneath your base to prevent the rotary tool going through your table.
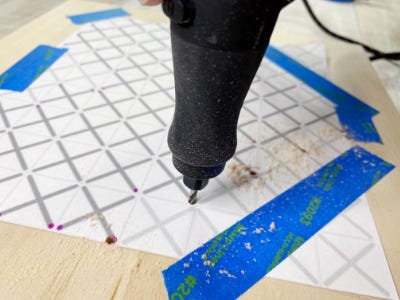
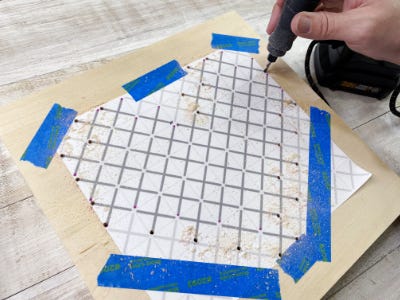
2. Add the drill bit to the rotary tool and turn on the MAKERX hub. Drill straight down through the wood on each marked spot.
3. Peel off the tape to remove the template and sand down both sides of the wood to prevent splintering.
4. Thread two pieces of different colored yarn into the eye of a large needle. Tie a knot at the end of the yarn. Tip: It will be easier to work with shorter pieces of yarn rather than one long piece.
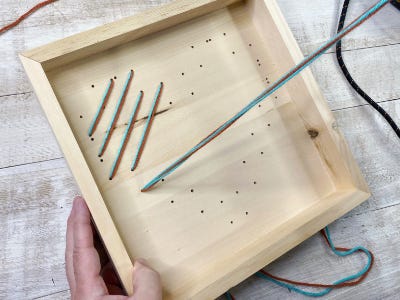
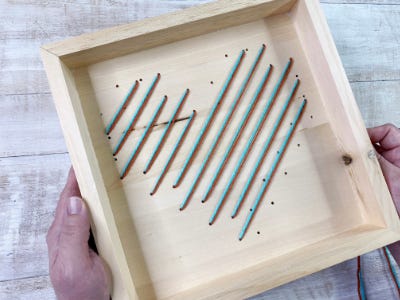
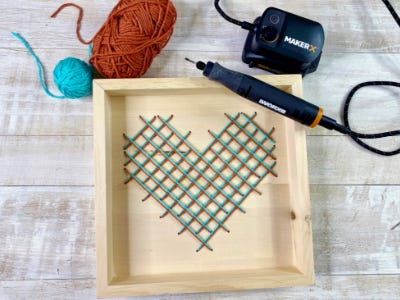
5. Begin to embroider the heart image from left to right. Starting from the back, thread through one hole and pull the yarn across to the hole diagonally across from it. Continue until all the parallel lines are completed. Tip: Straighten out and untwist the yarn as you work for the cleanest look
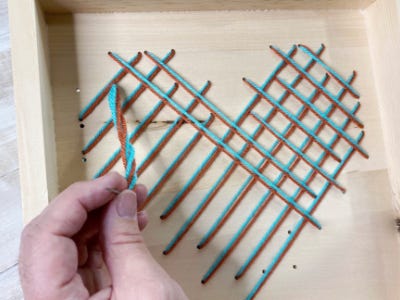
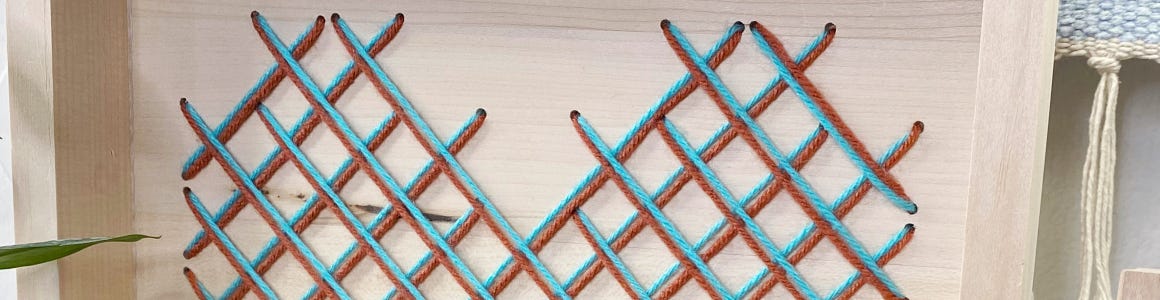
6. Create a criss cross pattern by repeating the process in the other direction until the entire pattern is completed. Add new yarn as needed and tie off at the end.