Intermediate
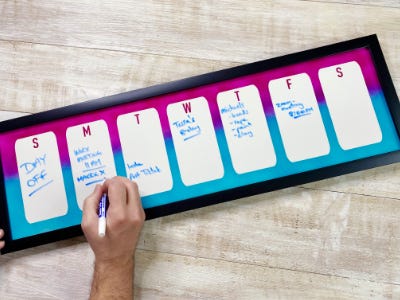
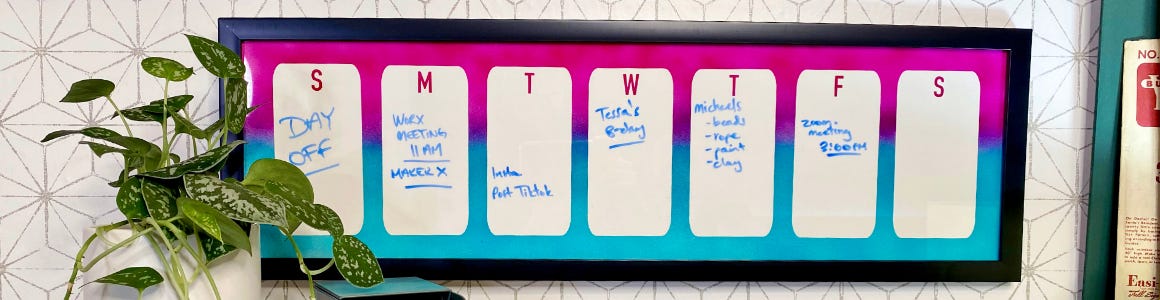
DIY Airbrushed Weekly Calendar
Supplies
- Large Rectangle Frame
- Cutting Machine (Cricut) or Scissors
- Contact Paper
- Magenta and Teal Airbrush Paint
- White Poster Board
- Glass Spray & Microfiber Cloth
- Craft Knife
Step-by-Step Instructions
Steps
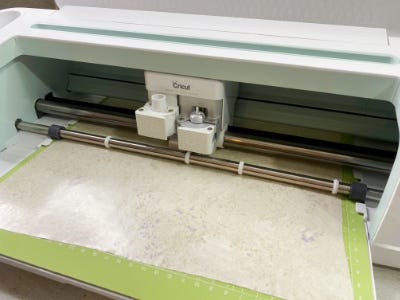
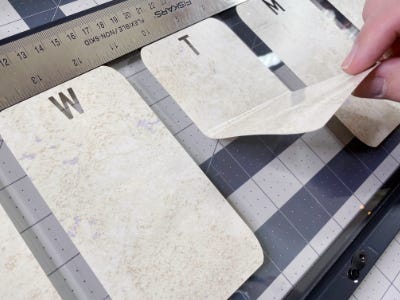
1. Measure the size of the glass in your frame. Map out the size of seven equal sized rectangles (one for each day of the week). Use a cutting machine, to cut out the seven equal sized rectangles on contact paper. Add some detail by adding the first letter of the day of the week on each rectangle. Note: Everything will be created on the inside of the glass- mirror or reverse anything written so it comes out correctly when the frame is put back together.
Tip: No cutting machine? No problem! Draw and cut out a template of the rectangle on a piece of cardstock. Trace it seven times onto the contact paper and cut them out with scissors.
2. Clean the inside of the glass with spray and a microfiber cloth. Peel off the backing of the contact paper and begin to lay out the rectables starting with the middle. Make sure to press down the edges well so the paint won't bleed.
Tip: Lay the frame on a cutting mat or use a ruler to help keep everything evenly spaced.
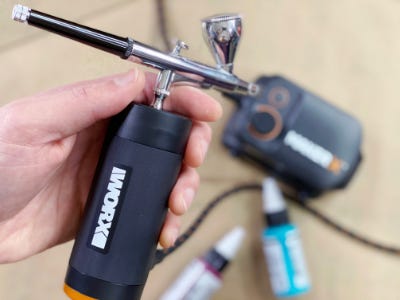
3. Load the paint reservoir of the airbrush approximately ⅓ full with magenta airbrush paint.
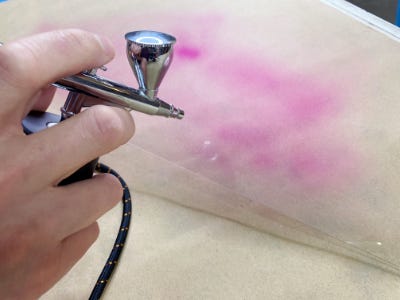
4. Before airbrushing, test and practice on a scrap piece paper or a piece of glass.
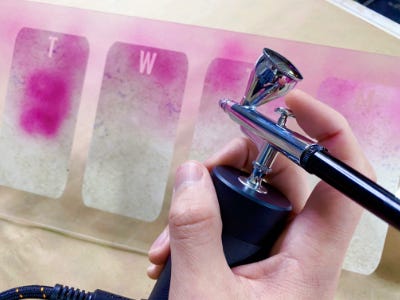
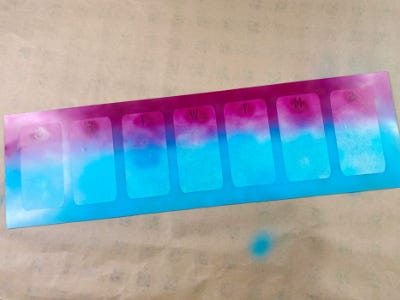
5. Take the glass out of the frame and begin painting the top half of the glass in a consistent swirling motion about four to six inches away from the glass.
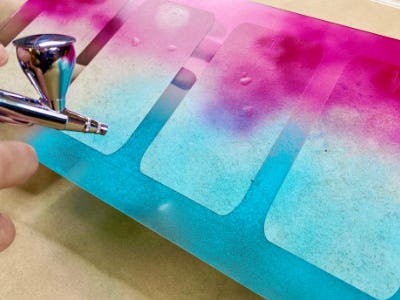
6. Once the top of the glass is fully painted, empty out the remaining magenta paint and add the teal paint into the reservoir. Spray it on a piece of scrap paper until the paint fully turns from magenta to teal.
7. Start painting on the bottom of the glass and work your way up until you reach where the magenta begins. Continue in a swirling motion until you’re happy with the results.
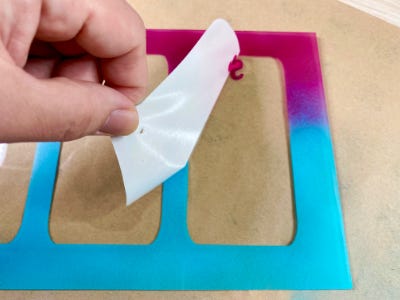
8. Let fully dry for at least an hour before removing the contact paper. Take a craft knife to score a small opening in the middle of the rectangles and begin to remove each piece by lifting up and removing with the craft knife.
9. Cut a piece of white poster board to the size of the frame for the backing and lay the painted side of the glass on top of the poster board. Put the frame back together.
10. Use whiteboard markers on the glass to write down erasable daily notes and schedules.