Intermediate
DIY Mossy Wooden Easter Sign

Supplies
- Wooden Sign
- Stencil
- Airbrush Paint
- Moss
- Easter Embellishments
Step-by-Step Instructions
Steps
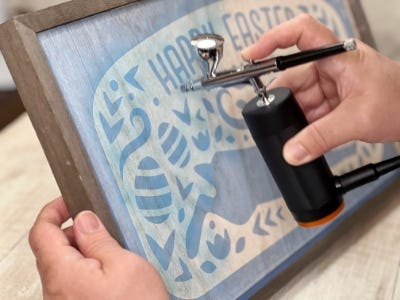
1. Use pre-cut vinyl stencil or a cutting machine to cut out a "Happy Easter" stencil. Carefully lay the stencil centered on the wooden sign. Make sure to press the edges down well so the paint doesn’t bleed.


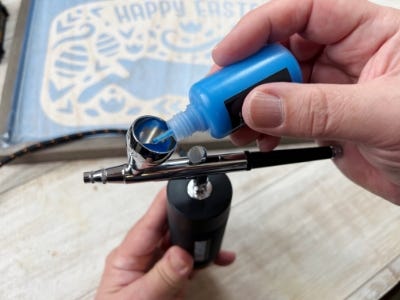
2. Load the paint reservoir of the airbrush approximately ⅓ full of the airbrush paint. Before airbrushing the wood, test and practice on a scrap piece paper. Begin lightly airbrushing on the stencil in a circular motion. Carefully peel off the stencil while the paint is still wet and let the paint fully dry before touching again.
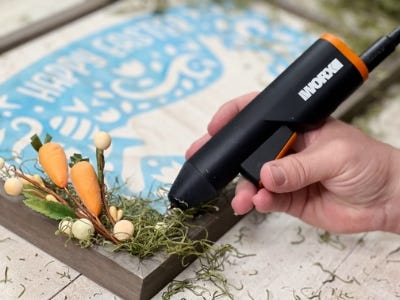
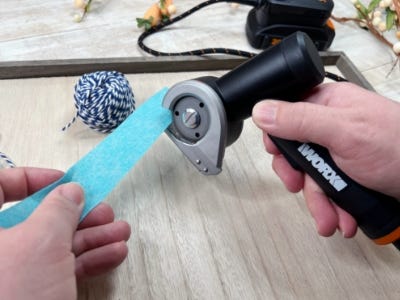
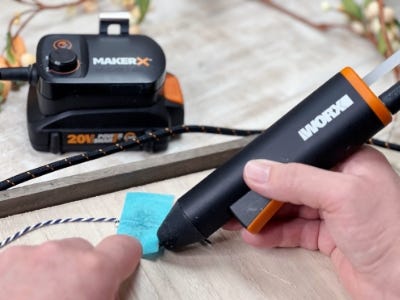
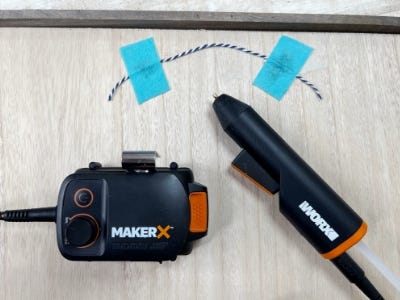
3. DIY a quick way to hang the sign with felt and string. Flip the sign over and cut two squares out of felt with the rotary cutter. USe the rotary cutter to cut a piece of sting at least six inches long. Place the string above the center of the sign and hot glue the two squares on either end. Press the squares down well while the glue dries, this will create a strong bond.
4. Flip the sign back over and add the Easter flourishes. Get really creative with this step. Pull apart the moss and glue it in the corners of the sign. Add in the Easter miniatures and layer with more moss. Hang and enjoy the spring season! Hoppy Easter!