Beginner
Easy DIY Ornament Christmas Tree


Supplies
- Cardboard or Foam Cone
- Faux Greenery Sprigs
- Assorted Plastic Ornaments and Bells
- Star Ornament
Step-by-Step Instructions
Steps
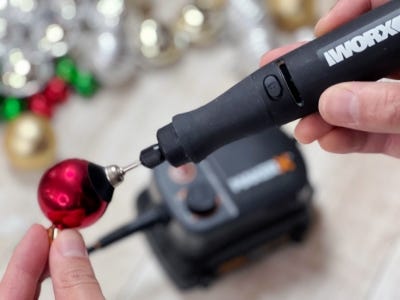
1. Start by gathering all the ornaments and bells and remove any hooks or strings. Use the Rotary Tool to dull the shine and rough up each ornament for that perfect vintage and nostalgic look. Tip: Experiment with different Rotary Tool attachments until happy with the outcome.
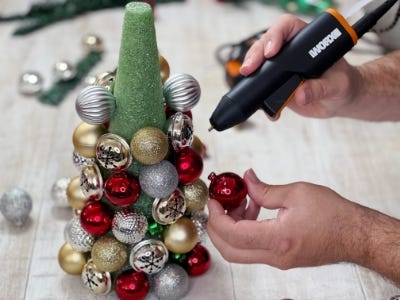
2. Hot glue the ornaments and bells to the cone, working from the bottom to the top. Pay close attention to the texture and color of each ball being sure to evenly space them out. Continue until the entire cone is covered. Tip: Don’t worry if there are any gaps in between each ball…that’s what the next step is for
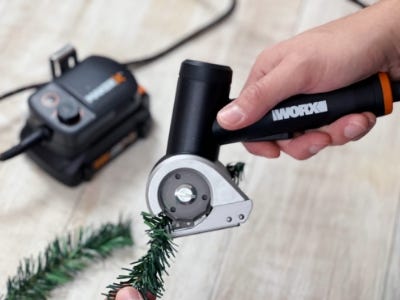
3. Use the Rotary Cutter to cut your greenery into smaller pieces so it’s easier to work with. Fill in the spaces between the ornaments with the evergreen until the entire cone is hidden and filled with holiday cheer!
4. For the final touch, hot glue the star ornament to the top! Tip: Don’t just stop there, add lights, beads and other garlands to help match your aesthetic.
