Beginner
Embossed Wooden Herb Planter Boxes
Supplies
- Weather Proof Wooden Planter Boxes
- Embossing Glue
- Stencil
- Stencil Brush
- Embossing Powder
- Herbs
- Soil
Step-by-Step Instructions
Steps
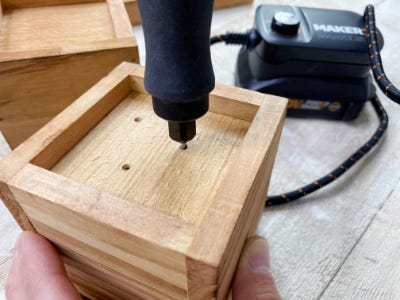
1. Attach the drill bit to the rotary tool and hold the tool while turning it on. Drill three to four drainage holes into the bottom of each planter.
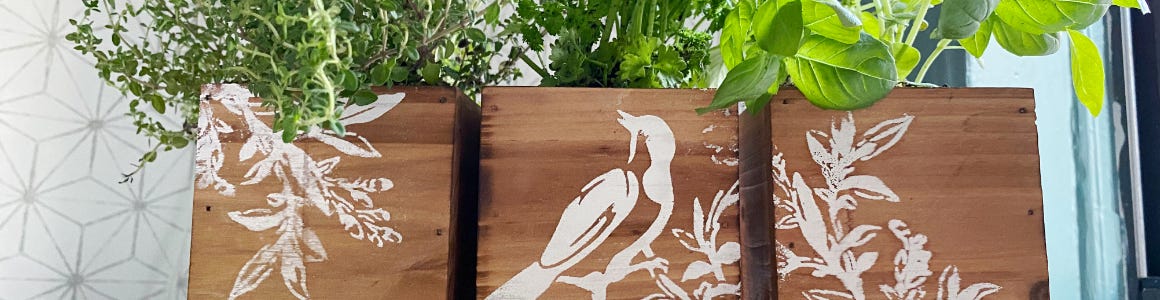
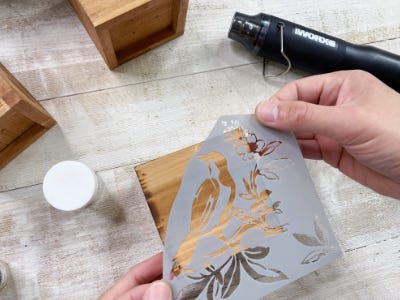
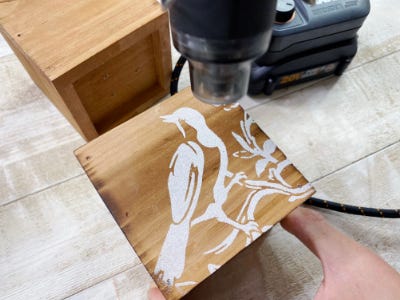
2. Remove the backing of the adhesive stencil and place it onto the front of the first box. Press down the edges of the stencil well to get the cleanest stenciled image.
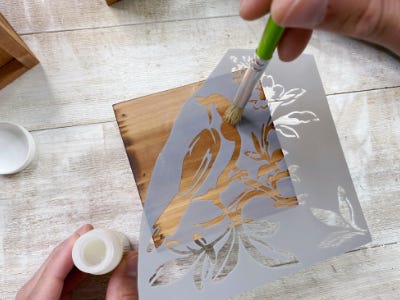
3. Dip the stencil brush into the embossing glue and begin to cover the stencil in an up and down pouncing motion. It’s important to work quickly because the glue will begin to seep into the wood.
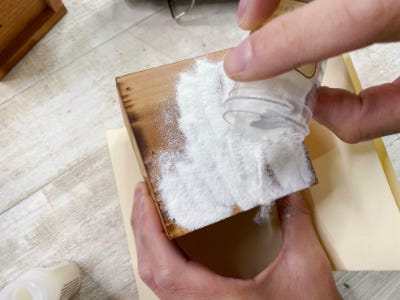
4. Peel off the stencil and pour ample amounts of the embossing powder on top of the glue. Once it is fully covered, shake off any excess powder onto a scrap piece of paper and pour it back into the contanter.
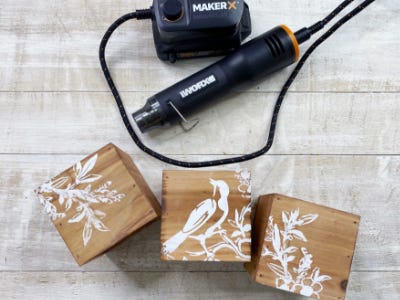
5. Hold the head gun like a pencil and turn it on. Wave it over the powder in a constant waving motion until you see the powder change color. Keep the heat gun moving and don’t get too close to the wood or it will start to burn away the powder.
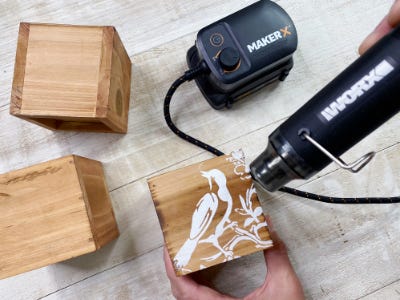
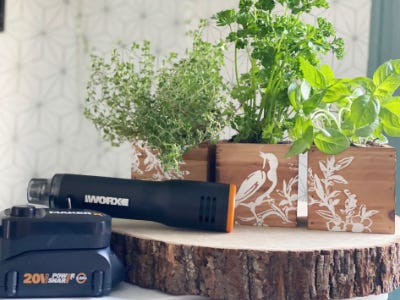
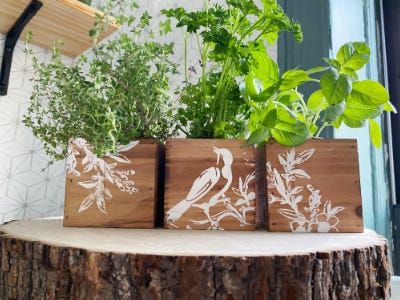
6. Repeat the same embossing process on each wooden box. Once finished add plants and enjoy!