Intermediate
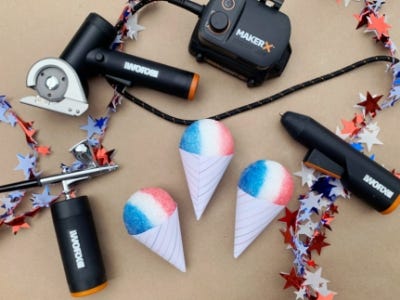
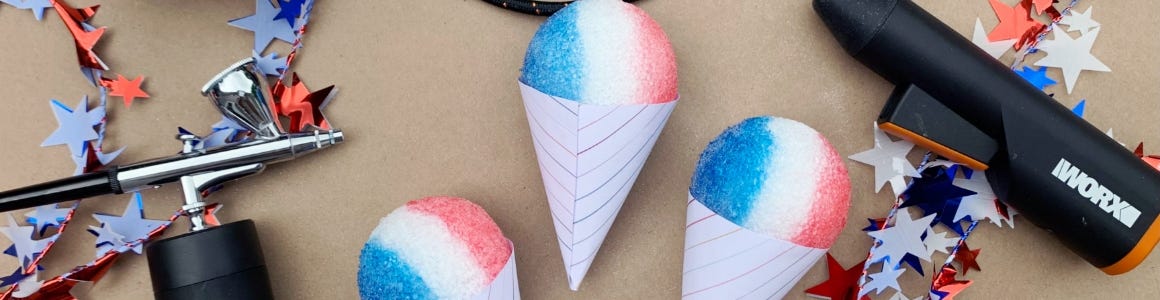
Mini Styrofoam Snow Cone Magnets
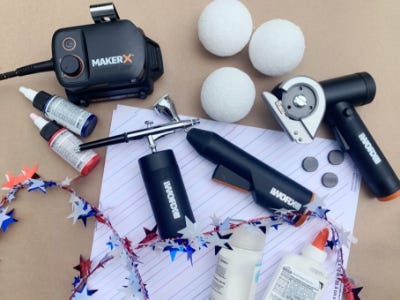
Supplies
- Styrofoam Ball
- Decorative Paper
- Red & Blue Airbrush Paint
- Glitter
- Skewer
- Thin Tape
- Craft Glue
- Magnets
Step-by-Step Instructions
Tool Tip
Before airbrushing, test and practice on a scrap piece paper.
Steps
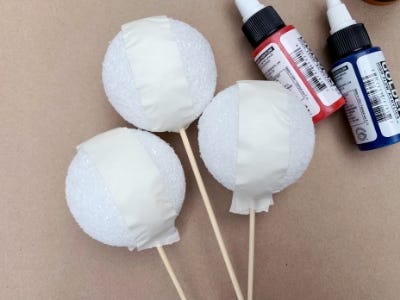
1. Stick a styrofoam ball into a skewer so that it is easier to hold while airbrushing. Use a piece of tin tape to create a centerline.
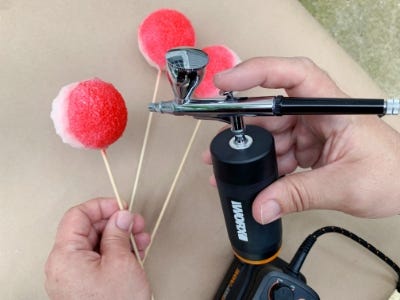
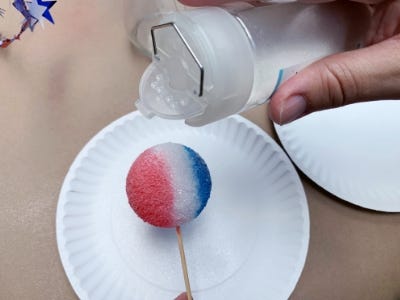
2. Load the paint reservoir of the airbrush approximately ⅓ full with the red airbrush paint. Test the airbrush on a scrap piece of paper before applying to the styrofoam ball and adjust as needed. Hold the skewer and begin airbrushing one side of the styrofoam ball until there’s a light layer of red.
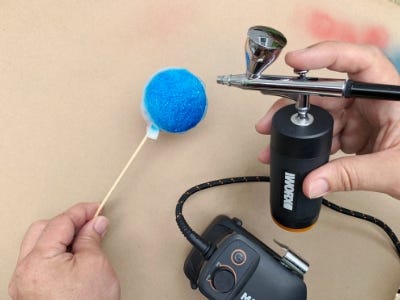
3. Empty out any remaining red paint and add the blue color into the reservoir. Spray it on a piece of scrap paper until the red runs out and it is the correct blue color. Repeat the steps until the other side has a light layer of blue.
4. Remove the center tape to reveal a red, white and blue snow cone. Lightly cover the ball with craft glue and add a light coat of glitter.
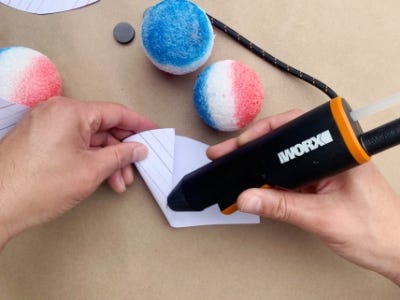
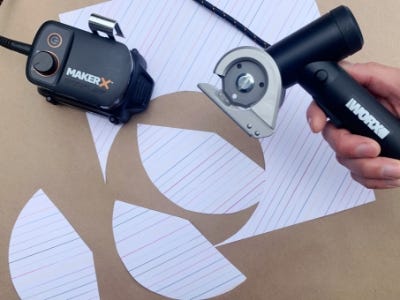
5. Use the rotary cutter to cut the paper into a cone shape and glue in place. It should be large enough that the ball can fit in the top nicely. Tip: Trace a plate onto the paper to use as a cone template.
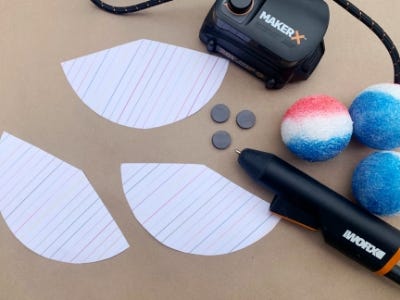
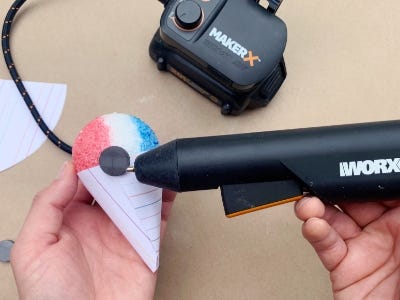
6. Use the glue gun to glue the cone together and the styrofoam ball into the cone. Hot glue a magnet to the back of the cone to make it a magnet!