Beginner
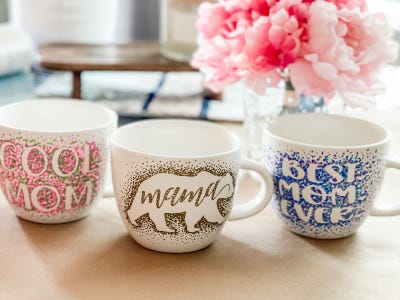
Mother’s Day Mug
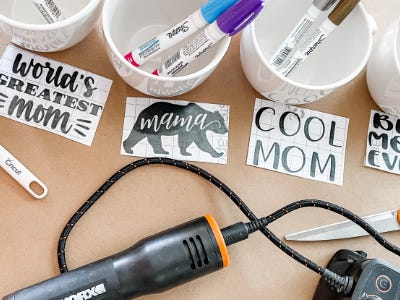
Supplies
- Scissors
- Ceramic Mugs (dollar store mugs work great for this)
- Sharpie Oil Based Markers (make sure they are OIL BASED!)
- Cricut Vinyl Decals or Mother’s Day Themed Sticker
- Oven or Mod Podge Dishwasher Safe Gloss
- Paintbrush
- Rubbing Alcohol
- Q-Tips
- Soft Cloth or Paper Towel
Step-by-Step Instructions
Steps
1. Gather all of your supplies and decide on a pattern for your decal. We used removable vinyl for this project.
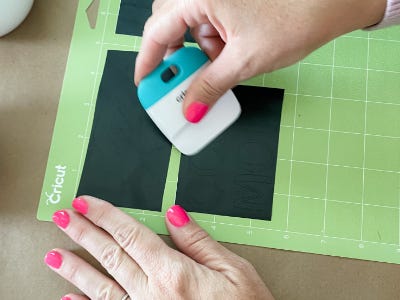
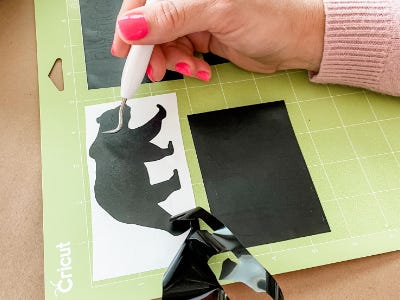
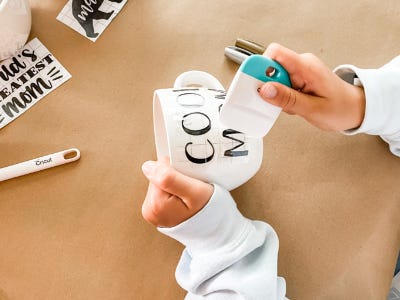
2. Cut your images and weed the excess vinyl. Apply the transfer paper to the top of your image. (If using a premade sticker you can skip these steps)
3. Clean the surface of each mug with rubbing alcohol on a soft cloth or paper towel. This step is important because it will remove any oil or debris that will prevent the paint from setting properly.
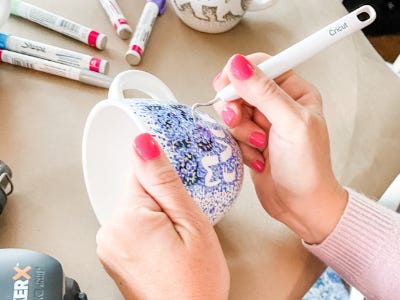
4. Once the surface has been cleaned, apply your vinyl decal or sticker to the mug making sure all of the edges are secure to keep the paint from bleeding underneath.
5. Prime your markers by dabbing them on a piece of scrap paper until the paint comes through the tip.
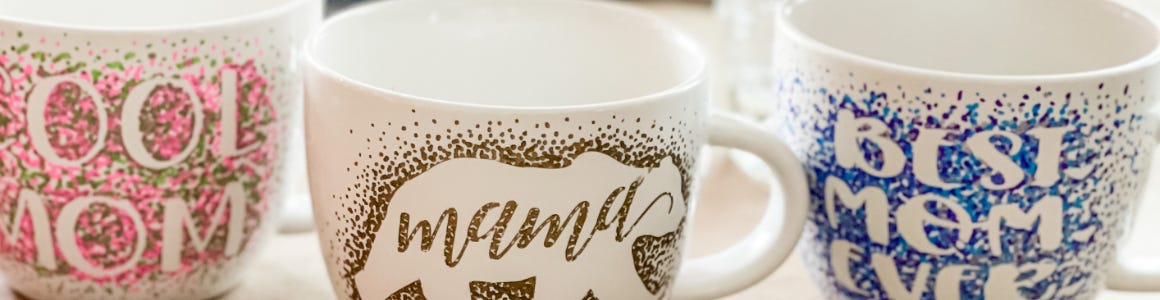
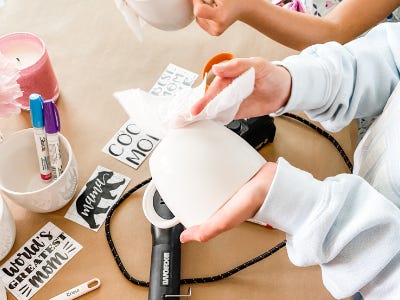
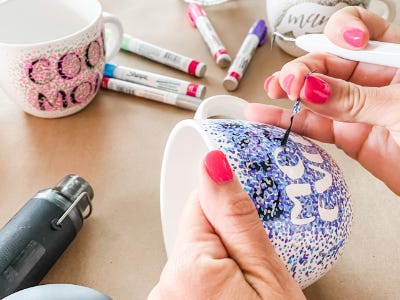
6. Decide which colors to use on your mug and start by adding dots around the image concentrating more around the edges of the decal and spreading them out further away.
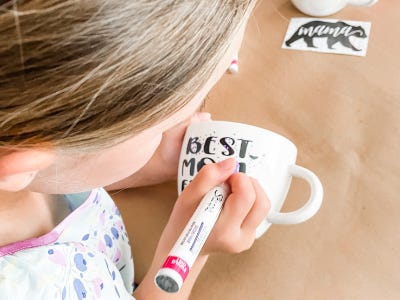
7. Switch back and forth between colors and continue adding dots of different sizes until you are happy with your pattern. (Don’t worry about any mistakes! You can fix them by dipping a q-tip in alcohol and wiping them away.)

8. Grab the Maker X Mini Heat Gun and power it up by turning on the Hub.
9. Carefully run the heat gun over the image on your mug to set the paint. (approximately 20-60 seconds depending on how much paint has been used.)
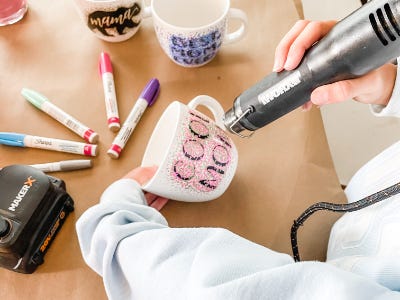
10. Once the paint is set, run the heat gun over the decal or sticker to soften it for easy removal.
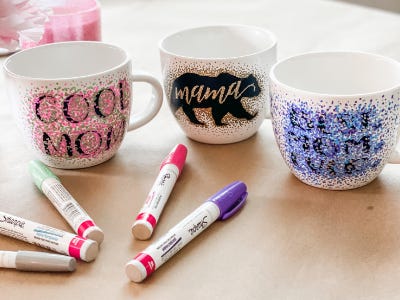
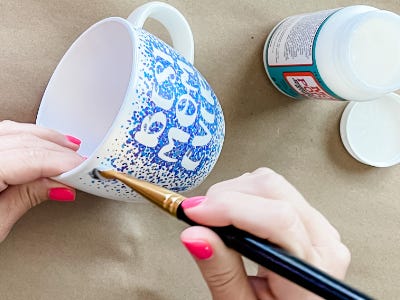
11. Using a weeding tool or scraper, gently peel back the decal until all of it is removed revealing your image. If any paint has bled under the decal simply use an alcohol swab to clean it up.
12. If curing in the oven (which will make the image safe for handwashing) Let the paint set for a full 48 hours before baking. Place the mug in a cool oven and set it to 250 degrees for 2 hours. Be sure to let the mugs completely cool in the oven before removing them to keep from a sudden temperature change causing them to crack.
13. Using Mod Podge Dishwasher Safe Gloss will make your mugs top rack dishwasher safe. If choosing this method, cover the entire image using a paint brush. Allow the gloss to dry thoroughly between coats. No need to wait the 48 hours if using this method but the mug won’t be fully dishwasher safe until the gloss has cured for 28 days. (You can still use the mug before this but carefully hand wash it until the 28 days has passed)
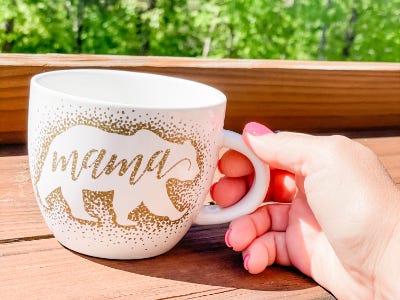
14. That’s it! All that’s left to do is wrap it up and surprise that special Mom in your life!