Beginner
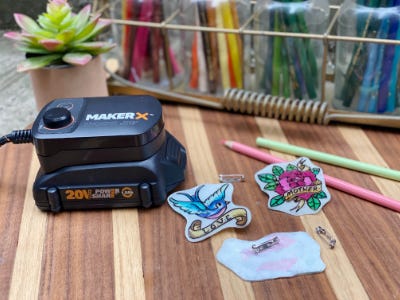
Mother’s Day Tattoo Pins
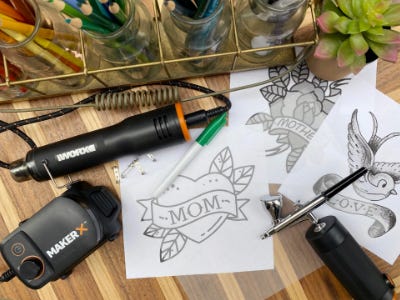
Supplies
- Shrinkable Plastic Frosted Sheet
- Free Mom Tattoo Clip Art
- Black Alcohol-Based Permanent Marker
- Colored Pencils
- Scissors
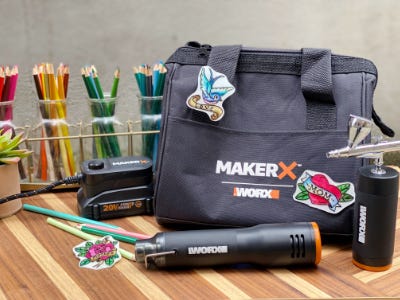
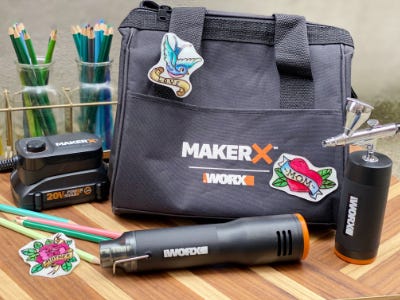
- Glue Gun
- Bar Pins
- White Airbrush Paint
Step-by-Step Instructions
Steps
1. Enlarge and print free clip art of a vintage-style Mom tattoo image. Shrinkable plastic will shrink down to ⅓ the size after baked.
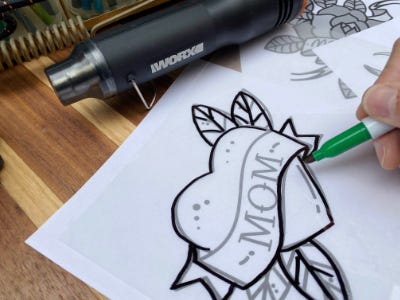
2. Lay the plastic sheet shiny side up on the image. Trace the outline and details with a black alcohol-based permanent marker.
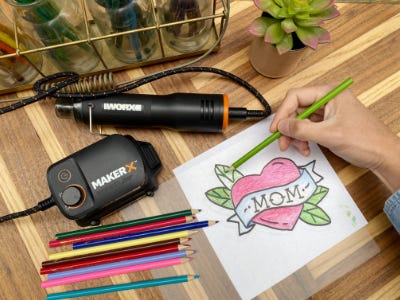
3. Flip the plastic sheet to the rough side and color inside the traced lines with colored pencils. Cut out the image along the edge as smoothly as possible.
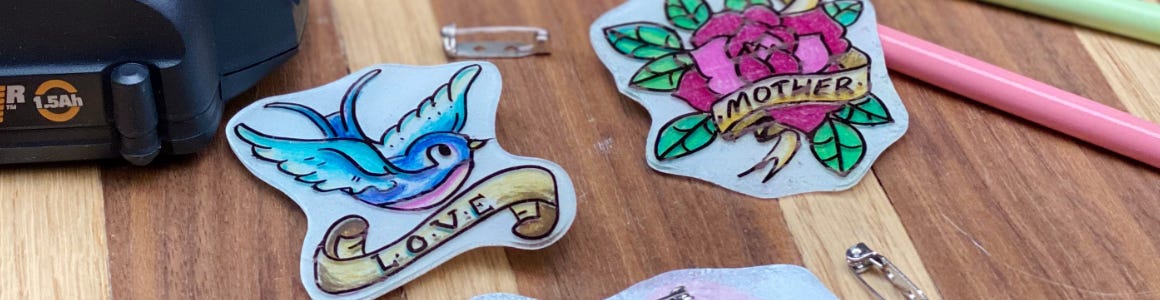
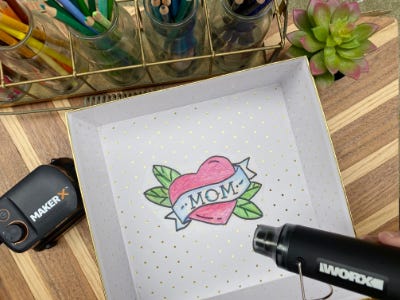
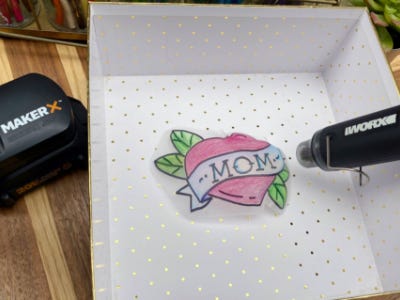
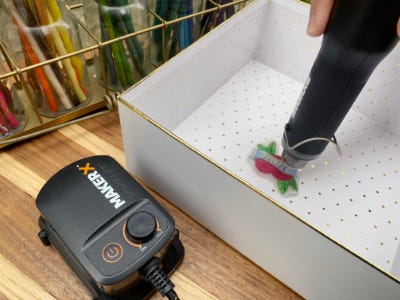
4. Place the cutout image in a small dish or tray. Hold the heat gun like a pencil and turn it on. Wave it over the image in a constant waving motion until the plastic starts to shrink. The shape will first soften, curl up at the edges and then settle back down as they shrink.
5. Load the paint reservoir of the airbrush approximately ⅓ full with white airbrush paint. Test and practice on a scrap piece paper and adjust the settings accordingly.
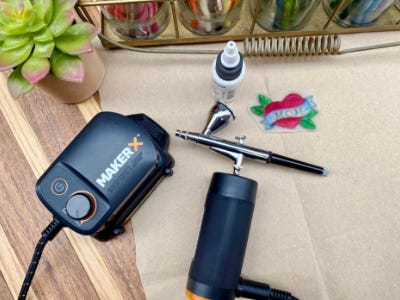
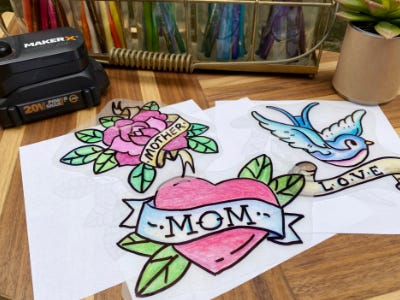
6. Paint the back of each image in a consistent swirling motion about four to six inches away until the back is filled in and then let dry. This will really help the image pop while also sealing the color!
7. Hot glue the bar pin to the center and share your love for Mom.