Beginner
Plant Pot
Supplies
- MAKERX Air Brush
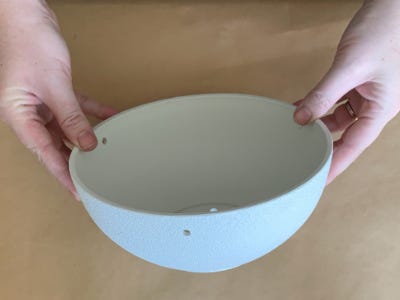
- Plain Plant Pot
- High-flow Acrylic Paint, or air brush Specific Paint
- Painter’s Tape
- Craft Knife
- Plant
- Rocks for Drainage
- Potting Soil
- Optional: Gloves, Sealant
Step by step instructions
Painting the Pot
1. If necessary, protect your working surface from overspray.
2. Clean the surface of the pot if needed. If it is a hanging pot, remove the ropes if possible. If not, tape the rope to prevent painting it.
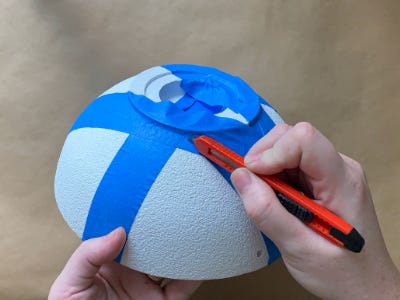
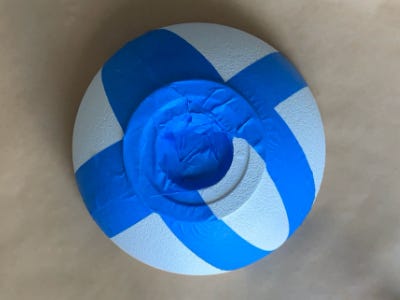
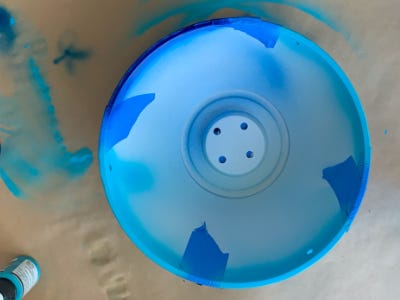
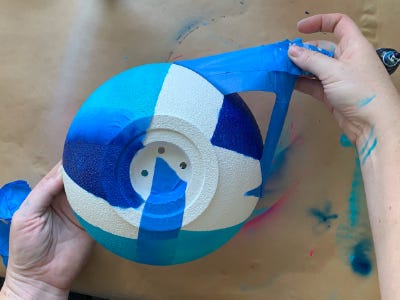
3. Starting from the bottom of the pot towards the top, begin applying the painters tape to the surface. Be sure to smooth down the tape edges, especially if the pot has a texture.
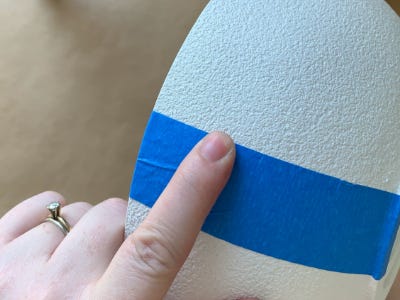
4. Adjustments to the design can be made by carefully cutting away excess tape with a craft knife.
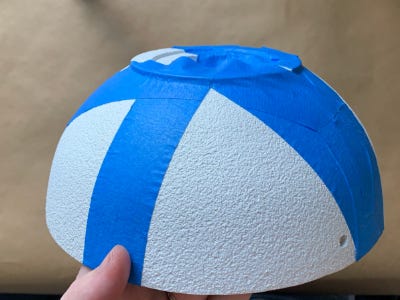
5. When finished with your design, place the pot upside down on the work surface.
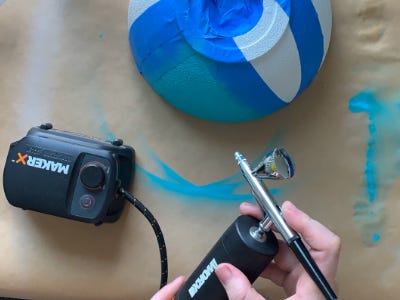
6. Following MAKERX Air Brush instructions, load the paint reservoir approximately ⅓ full with the color of your choice.
7. Starting at least 4 inches away from the surface, begin to move the air brush in slow, steady motions, gradually bringing it closer to the pot. Adjust the air and paint flow as needed to create a smooth application of paint.
- To change colors, thoroughly exhaust the current color, and rinse the reservoir with water. Add the new color to the reservoir and spray on scrap paper or cardboard until the color sprays true. (For an interesting ombre effect, you can spray directly on the pot, keeping in mind that it’s hard to predict exactly when the paint will change color.)
8. When dry, flip the pot right side up and spray the edges and at least an inch into the interior of the pot.
9. Let the paint dry completely (overnight is best).
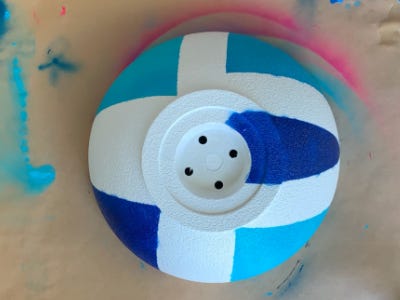
- When dry, gently peel the tape away from the pot.
10. To further protect the surface, you can apply a sealer to the pot.
Planting the Pot
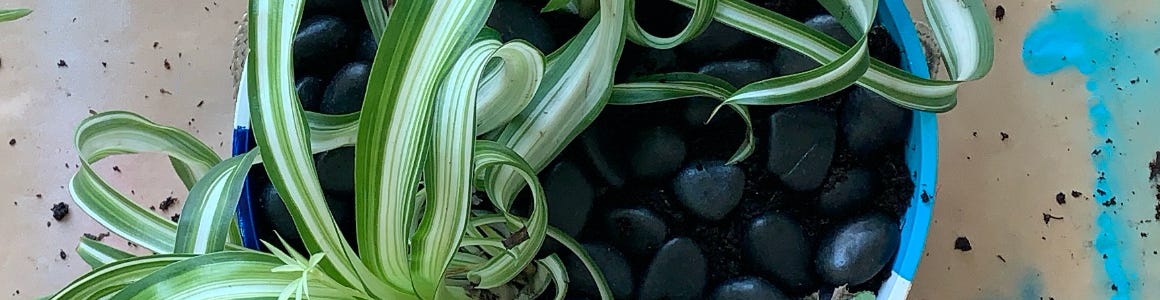
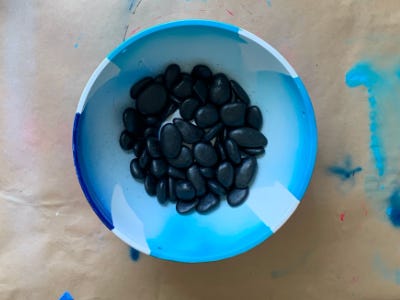
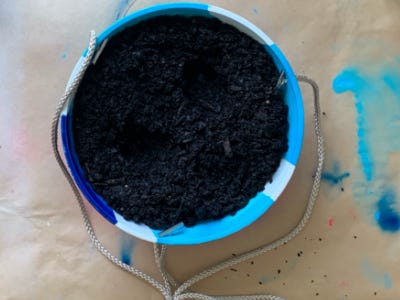
1. Layer the rocks on the bottom of the pot for additional drainage.
2. Fill the post with soil, leaving enough room for the plant’s roots.
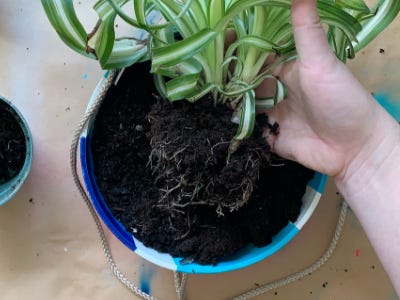
3. Loosen the roots of the plant, and gently tuck it into the soil, pressing gently to secure.
4. Optional: cover the top layer of soil with decorative stones, shells, etc. This can help retain moisture.
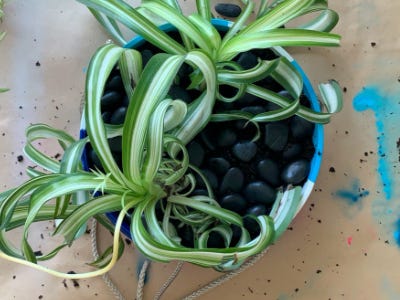
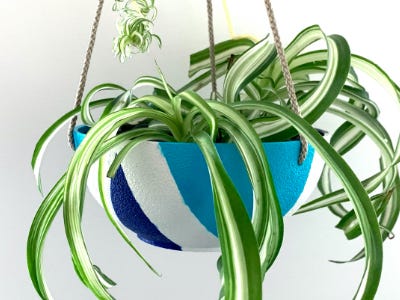
Enjoy your new, customized potted plant!