Beginner
DIY Tie-Dye Easter Egg Wreath


Supplies
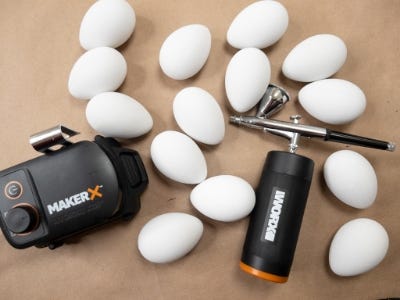
- MAKERX Air Brush
- MAKERX Hot Glue Gun
- Faux Fern Wreath
- Yellow, Teal & Pink Airbrush Paint
- Faux Easter Eggs
- Paper Bag or Box
- Faux Butterflies
Step-by-Step Instructions
Steps
1. Gather the faux Easter Eggs and place them all in a bag or a box. Tip: The more shallow or low the bag or box is the easier it will be to work with.
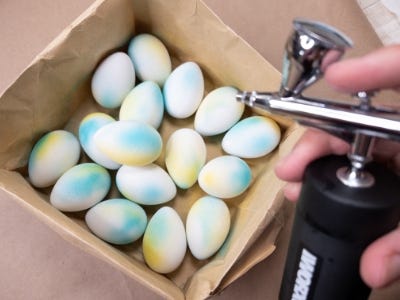
2. Load the paint reservoir of the airbrush approximately ⅓ full with yellow airbrush paint. Before airbrushing, test and practice on a scrap piece paper. Hold the bag or box of eggs at an angle and begin airbrushing. Shake and rotate the bag of eggs until each egg has a little bit of yellow coloring. Only cover about ⅓ of each egg leaving some white spots.
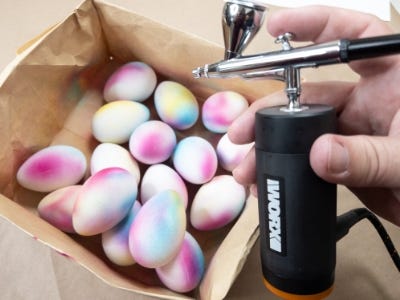
3. Empty out any remaining yellow paint and add the teal color into the reservoir. Spray it on a piece of scrap paper until the yellow runs out and it is the correct teal color. Shake and rotate the bag of eggs until each egg has a little bit of teal coloring, again leaving some white sections for the last color. Repeat the steps to add the final pink color. Tip: Less is more! You’ll get a really fun and funky tie-dye effect by using little paint and leaving some white areas.
4. Once the eggs are dry, place the eggs around the wreath until happy with the look. Then use the MakerX glue gun to glue the eggs into place. Finish by gluing any other festive flourishes like faux butterflies or a bow onto the wreath. Tip: Spread the eggs evenly around the wreath for the best outcome and think about having each egg facing in different directions.
5. Hang on the door for a warm Easter greeting to welcome your guests!
