Intermediate
Upcycled Hanging Basket Planter
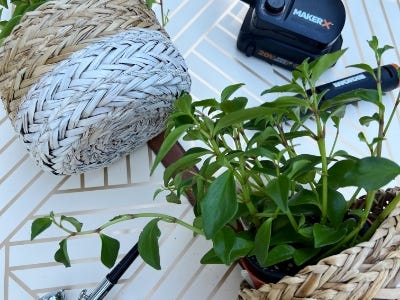
Supplies
- MAKERX Rotary Tool
- MAKERX Air Brush
- MAKERX Glue Gun
- Two Baskets
- Belt
- Airbrush Paint
- Heavy Duty Cotton String
- Large Needle
- Plants
Step-by-Step Instructions
Steps
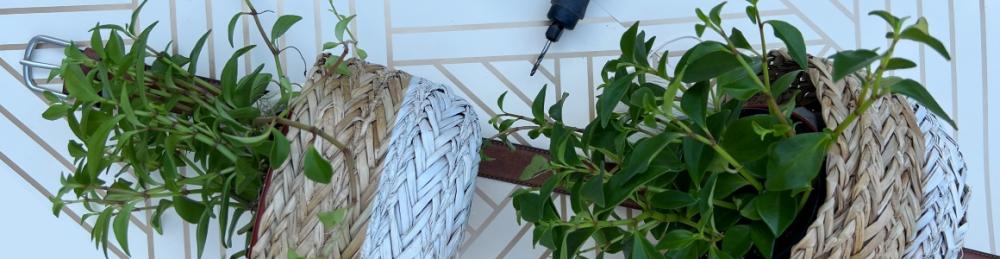
1. Before painting the bottom of each basket, wrap a piece of tape around the center to help get a clean line.

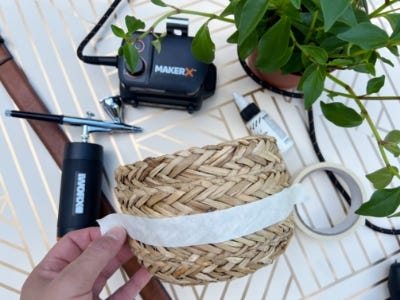
2. Load the paint reservoir of the airbrush approximately ⅓ full with white airbrush paint. Test the airbrush on a scrap piece of paper before applying to the bottom half of the basket and adjust as needed. Continue to paint until you get the desired look. Let dry completely and peel off the tape. Tip: With the airbrush you can add a very light coating or continue to paint to create an opaque look.
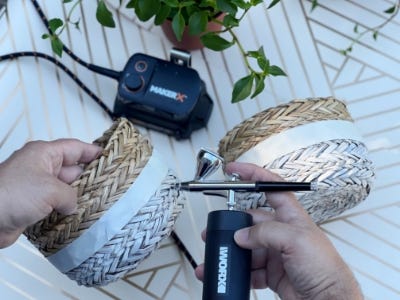
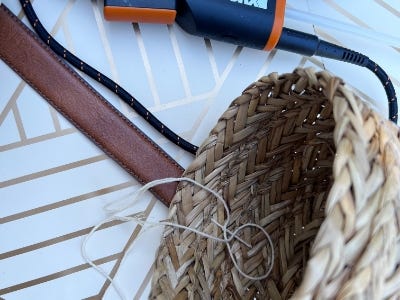
3. Lay the belt on your work surface. Map out the spacing of the baskets by placing them on the belt. Lift each basket
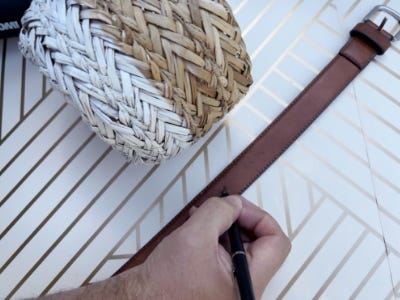
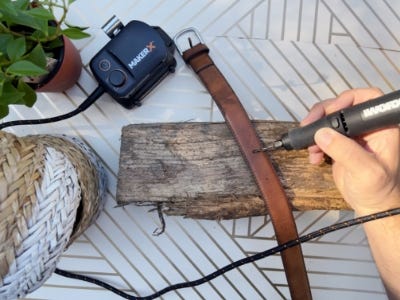
4. Place the belt on a piece of old wood and use the rotary tool to drill each marked spot. Tip: If the basket you are using is not a woven basket, use the rotary tool to drill two holes in each basket.
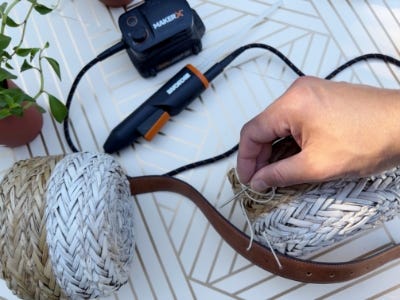
5. Thread the cotton string with a large needle. Thread the string through the belt and the basket and tie the ends tightly.
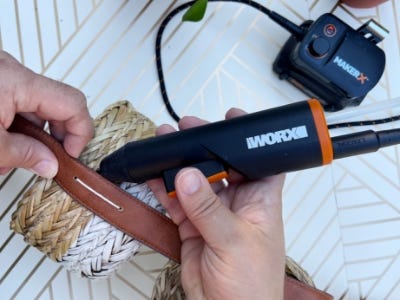
6. Use the glue gun to glue the basket to the belt. Press the basket and the belt tightly until the glue has dried.
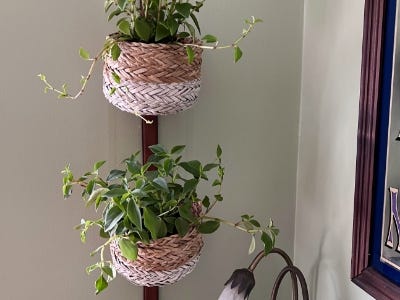
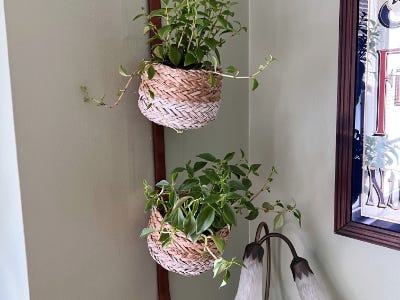
7. Hang the belt on the wall with the buckle. Help the belt lie flat to the wall by adding small nails into the wall directly above each basket. Add Plants and enjoy!