Intermediate
Vintage Wooden Halloween Ghost
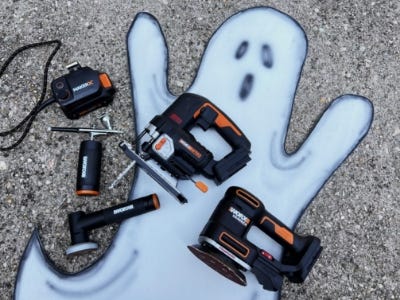
Supplies
- Plywood
- White Spray Paint
- Black Airbrush Paint
- Pencil
- Clean Protective Sealant Spray
Step-by-Step Instructions
Tool Tip
Before airbrushing, test and practive on a scrap piece of paper.
Steps
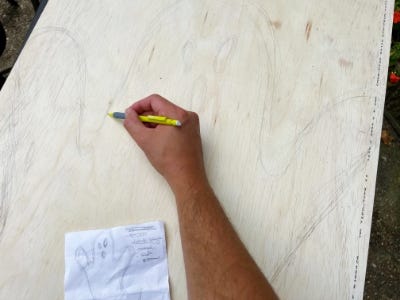
1. Draw a simple ghost shape on the plywood with a pencil. Keep the shape simple and look for inspiration on the internet. Tip: Start on the bottom of the plywood so the base is a flat surface, this will make it easier to stand.
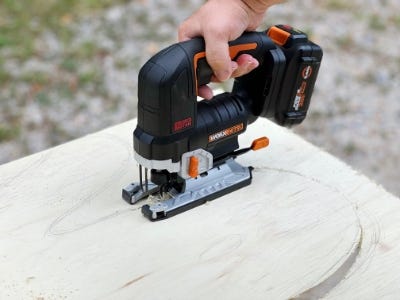
2. Place the plywood on the Sidekick table with the area you are cutting first off of the edge. Make sure the base of the jigsaw is pressed onto the piece of wood with the blade not yet touching the wood. Once everything is set, pull the trigger and let the blade go to full speed. Guide the jigsaw to the traced line and gently push it along the ghost. Turn the wood as you cut making sure the jigsaw doesn’t hit the table.
3. Sand the edges of the ghost using the angle grinder, and continue until there are no splinters. Add 220 grit sandpaper to the cordless sander and sand the top of the ghost. Doing this will help get a smooth finish after you spray paint. Tip: Always sand with the grain of the wood.

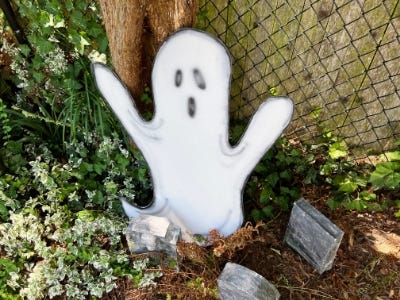
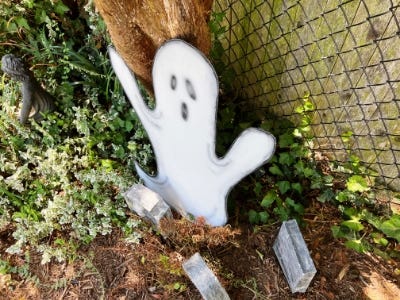
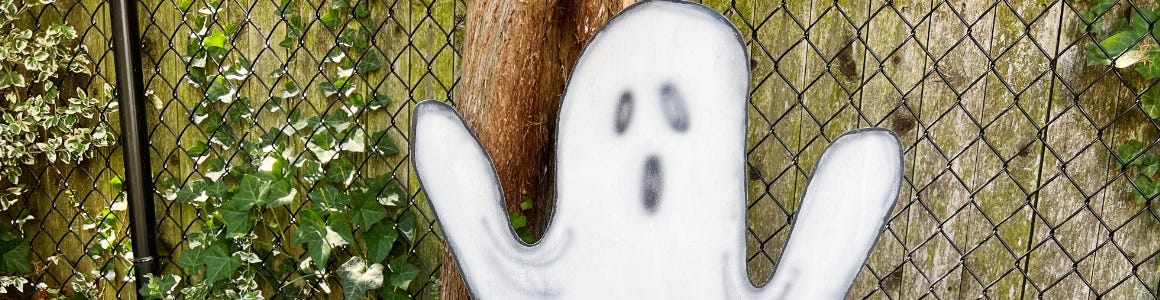
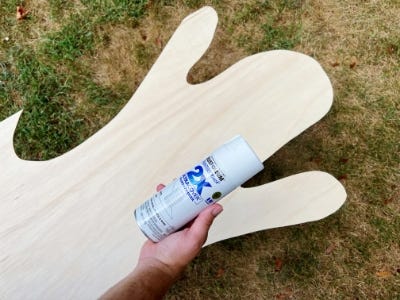
4. Wipe down the ghost well with a slightly damp cloth, making sure there’s no saw dust residue. Place the ghost on a box or a bucket to keep it off the ground. Shake the spray paint well and add a first light coat. Let it dry and repeat until the ghost is fully covered. Optional: Once dry, use a paintbrush to add a dark outline around the ghost. This will make the ghost pop and give it a vintage handmade vibe.
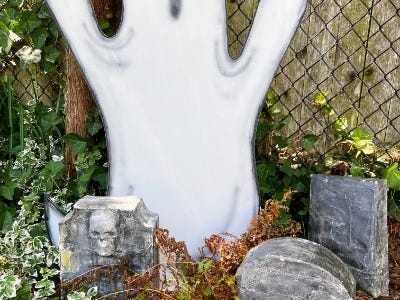
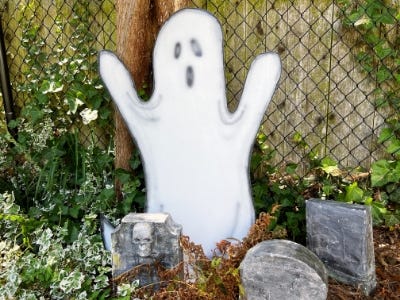
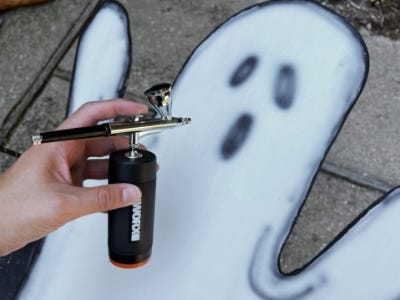
5. Fill the airbrush reservoir halfway with black airbrush paint. Test on a scrap piece of paper then use the airbrush to paint the eyes and mouth. Continue around the ghost and add ghostly swoops and features. Once dry, use a piece of sand paper and lightly sand down the top of the ghost to give it a weathered vintage look.
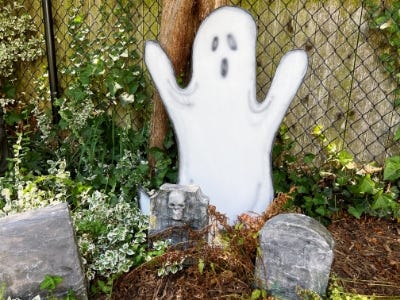
6. Spray with a clear sealant to help protect it from weather, and place it in your yard with spooky accessories for a classic vintage Halloween touch! Happy Haunting!