Beginner
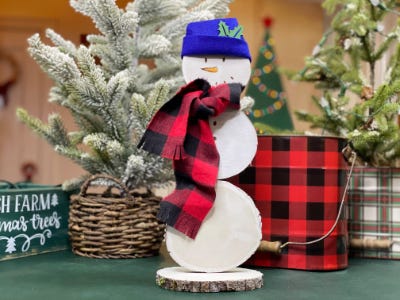
Wood Snowman Ornament
Supplies
- 4 Wood Rounds (Small to Large)
- Airbrush Paint
- Watercolors & Brush
- Skewers
- Felt or Fabric
Step-by-Step Instructions
Steps
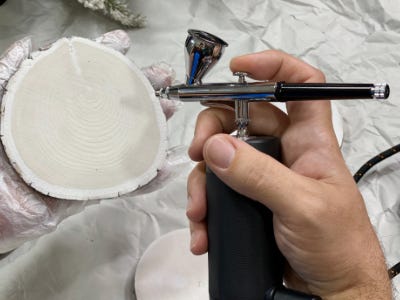
1. Load the paint reservoir of the airbrush approximately ⅓ full with white airbrush paint.
2. Before airbrushing, test and practice on a scrap piece paper.
3. Begin painting the top of each wood round in a consistent sweeping motion about four to six inches away from the wood round and let dry.
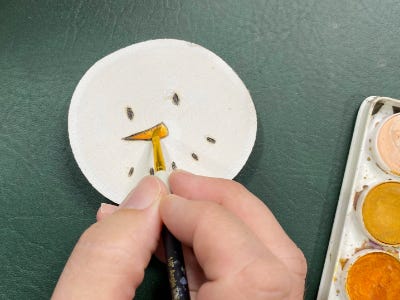
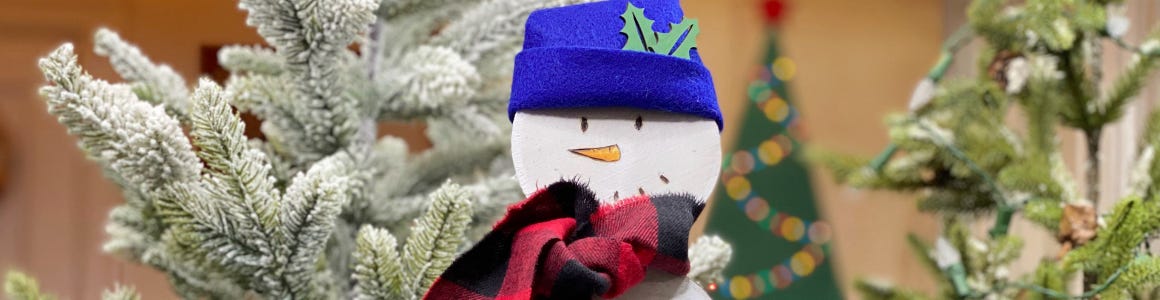
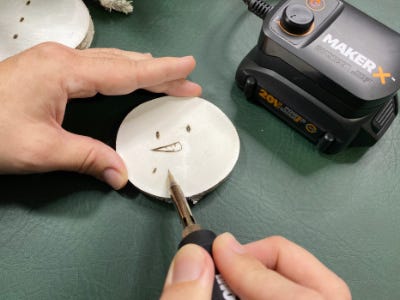
4. Lightly draw a snowman face and buttons with a pencil. Turn on the wood burning tool and allow it to heat to 450 degrees.
5. Trace over your pencil marks until it is as thick and dark as you like. Tip: Trace slowly and use even pressure for the best results.
6. Remove the wood burning tool from the hub and attach the rotary tool. Tip: Use caution when handling as the wood burning tool will still be hot.
7. Begin to build the snowman. Use the drill bit to drill a hole in the middle of the biggest wood slice, this will be the base. Place a skewer cut down to one inch inside the hole. Stand up the second-largest round and carefully drill a hole in the top and bottom sides. Place the wood round onto the skewer and continue to build the snowman. Hot glue between each piece to secure.

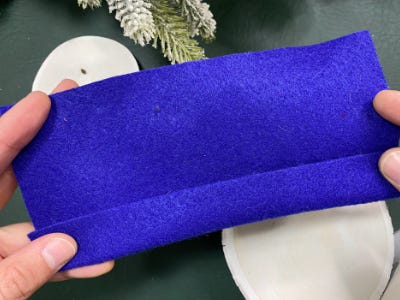
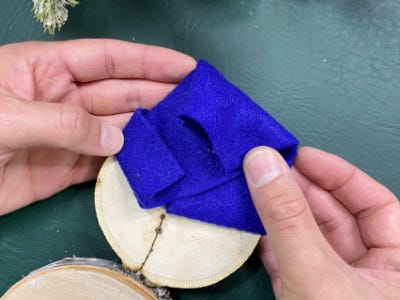
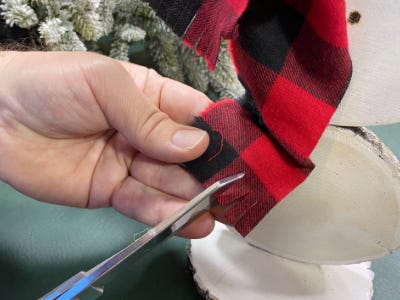
8. Give the snowman some embellishments. Paint its nose with a little orange watercolor and cut out a hat and scarf with fabric or felt. Use hot glue to attach everything and enjoy its company!