Intermediate
DIY Autumn Reverse Hand-Etched Pots

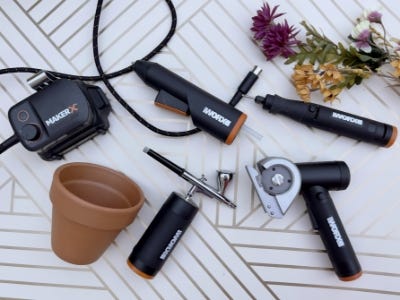
Supplies
- Terracotta Pots
- White Air Brush Paint
- Wet Rag
- Cardboard
- Fall Florals
Step-by-Step Instructions
Tool Tip
Work in a well-ventilated area and always wear protective eyewear, masks & gloves while etching. Remove any jewelry or loose clothing.
Tool Tip
Get familiar with the rotary tool- Practice on an old or upcycled jar. Hold the tool like a pen or pencil, try different tips and test the speed you like working with best.
Steps
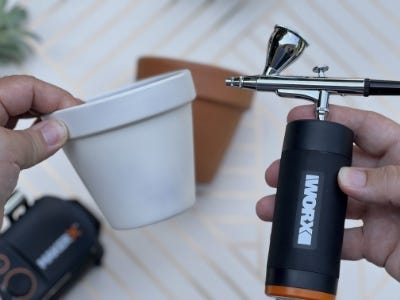
1. Load the paint reservoir of the airbrush approximately ⅓ full with white airbrush paint. Test the airbrush on a scrap piece of paper before applying to the terracotta pots and adjust as needed. Hold the pot and paint until each pot is fully covered with white paint. Set to dry.
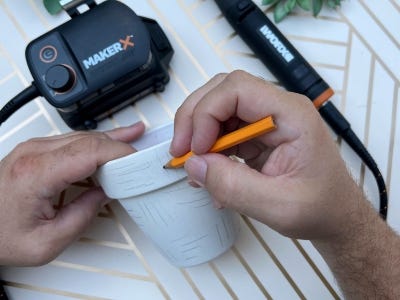
2. Use a pencil to lightly mark out a design or pattern on the pots. Tip: Keep the designs simple and linera for the best results.
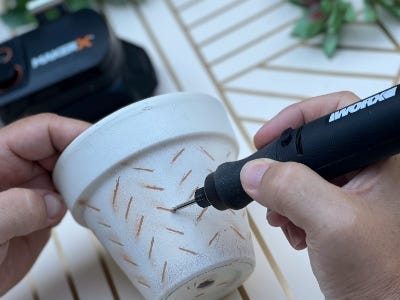
3. Hold the pot tightly in one hand and hold the Rotary Tool in the other and turn on the MakerX. Begin to slowly trace the design. Tip: Trace at a consistent speed and pressure to get the best result. It may be easier to move and turn the pot as you work rather than your hand.
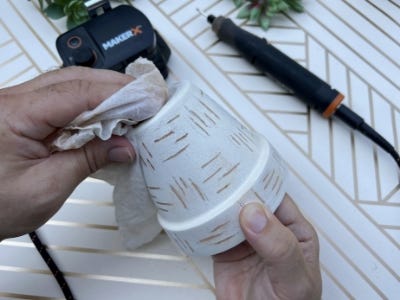
4. Once completed, wipe the pots with a wet rag to remove any dust.
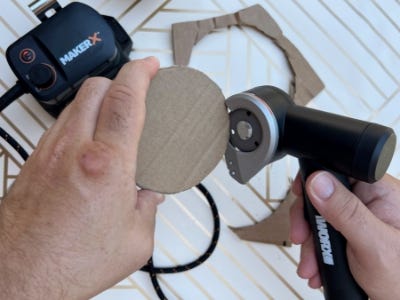
5. Trace the top of the pot on a piece of cardboard and cut using the Rotary Cutter. Adjust as needed so that it fits on the inside of the pot.
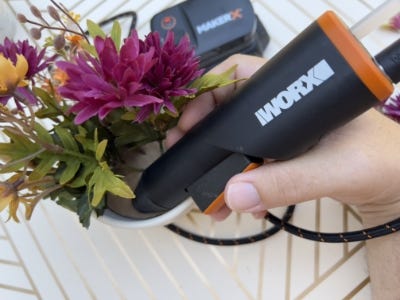
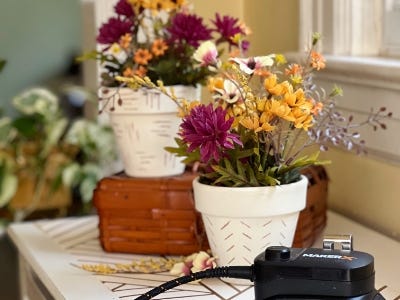
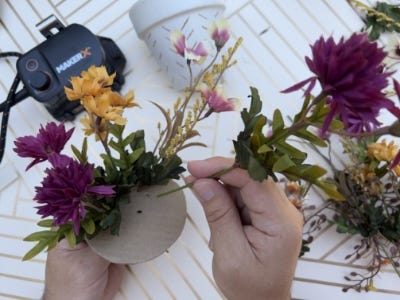
6. Poke the stems of faux flowers into the cardboard and hot glue them into place.
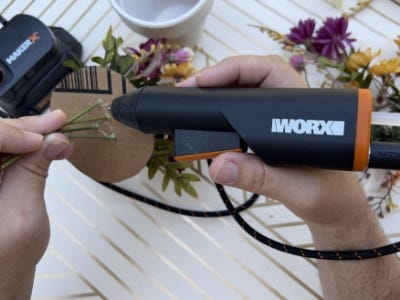
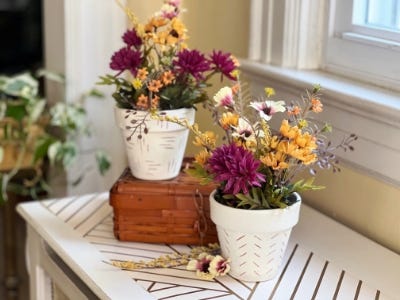
7. Hot glue the cardboard on the inside of the pot and add to your home decor.