Intermediate
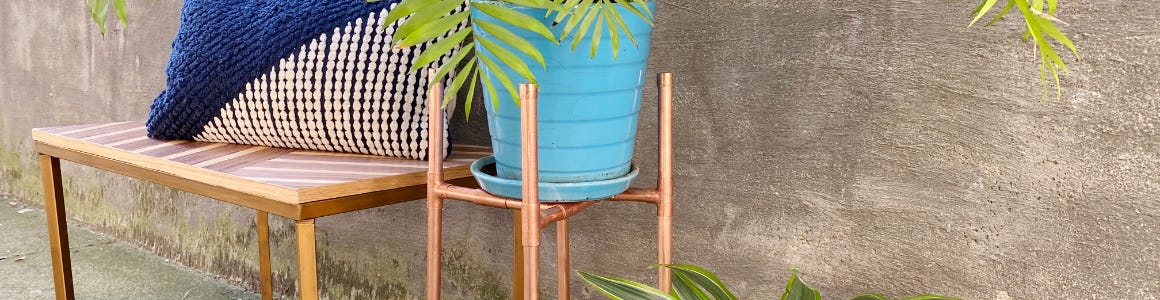
DIY Copper Pipe Planter
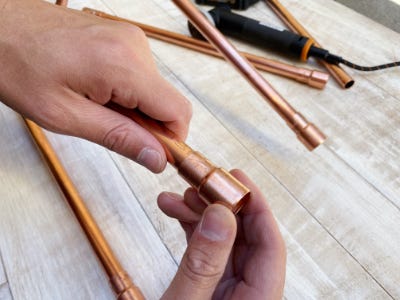
Supplies
- ½’’ Copper Pipe
- Copper T Brackets
- Copper Couplings
- Copper Caps
- Measuring Tape
- Marker
- Glue
Step-by-Step Instructions
Steps
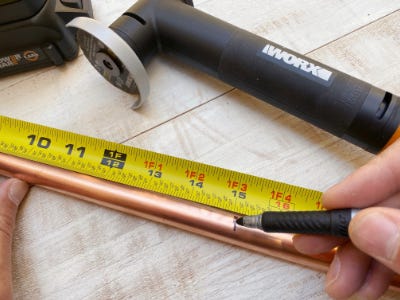
1. Measure and mark out the copper pipes. (Make sure to measure your plant pot’s diameter and height and use measurements to fit accordingly.)
The Legs-
- 4 x 15’’ pipe pieces
- 4 x 4’’ pipe pieces
- 4 x T brackets
- 4 x couplings
- 4 x caps
The Base-
- 4 x 3’’ pipe pieces
- 4 x 2.5’’ pipe pieces
- 4 x T brackets
2. Hold the angle grinder and turn on the MAKERX Hub. Place the pipe on the edge of a surface and begin to cut the pipe on the marked spot. Slowly turn the pipe while keeping the angle grinder still. (Always wear safety goggles and gloves while cutting.)
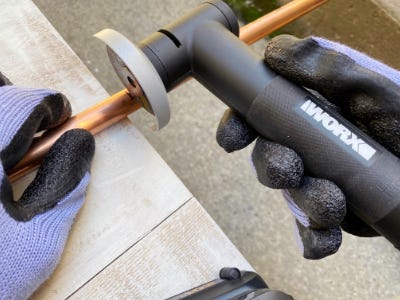
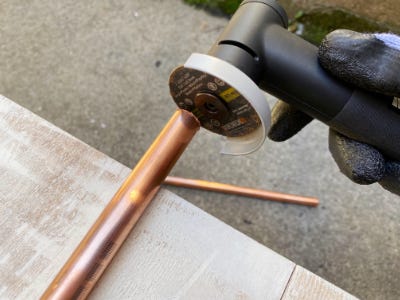
3. Continue to cut all the marked pieces of pipe.
4. Begin to assemble the base of the planter. Use a dab of glue inside the T-brackets to help hold everything in place.
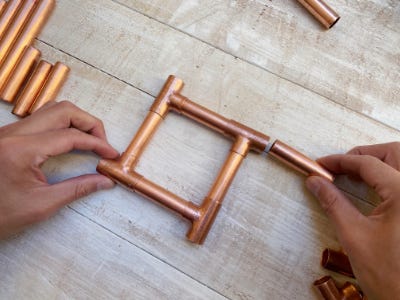
5. Assemble the legs by connecting the 15’’ and 4’’ pipe pieces to either side of a T-bracket that are attached to the base. (While you work, check that everything is adjusted straight to help insure the planter will stand upright.)
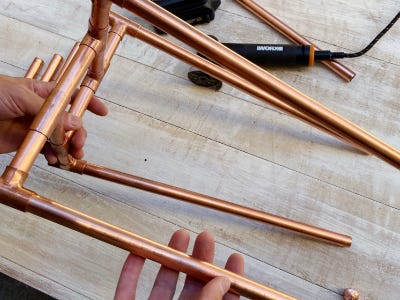
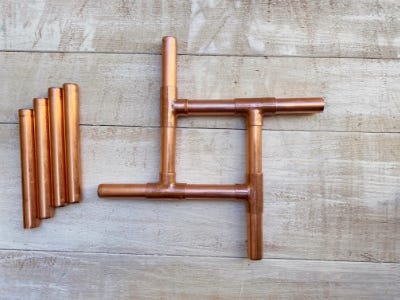
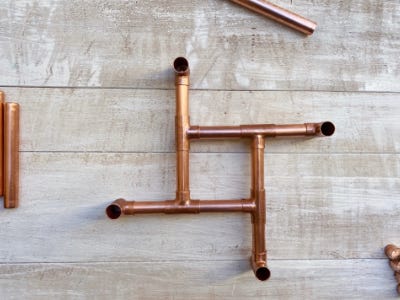
6. Continue to assemble until the whole planter is together.
7. Add the coupling pieces to the base of the planter for feet and the caps on the top.
8. Add a pot and enjoy!


