Intermediate
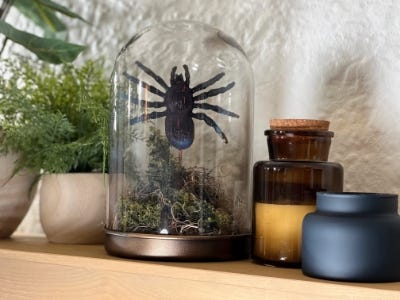
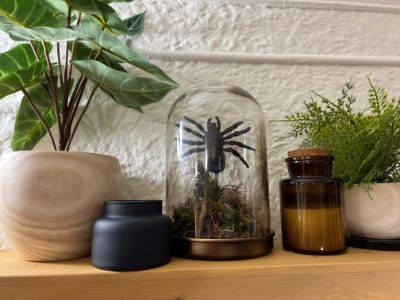
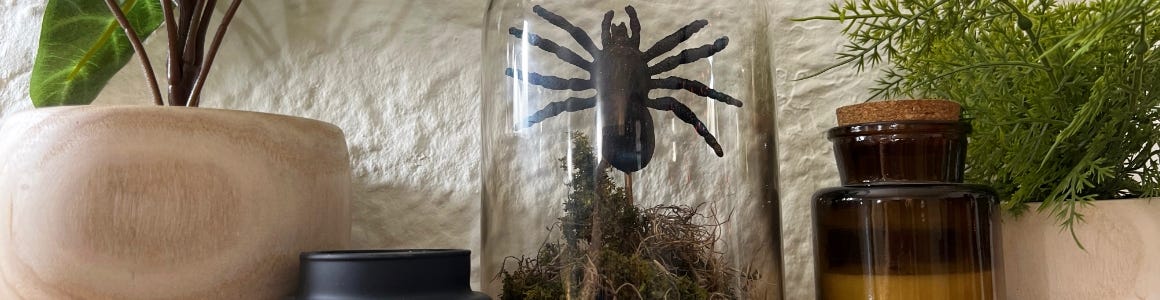
DIY Eerie Spider Cloche
Supplies
- Glass Cloche
- Faux Spider
- Lid of a Jar
- Wooden Skewer
- Gold & Purple Airbrush Paint
Step-by-Step Instructions
Tool Tip
Before airbrushing, test and practice on a scrap piece paper.
Steps
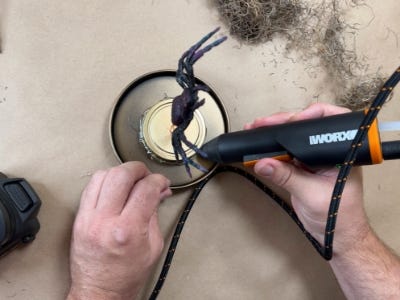
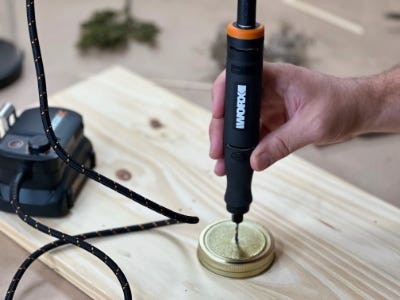
1. Mark a spot in the center of the lid. Place the lid on a scrap piece of wood and use the Rotary Tool to drill a hole in the center of the lid.
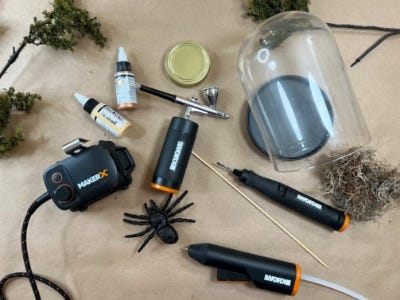
2. Cut the skewer down to size to fit inside the cloche. Place the skewer inside the hole in the lid and glue it into place using the Glue Gun.

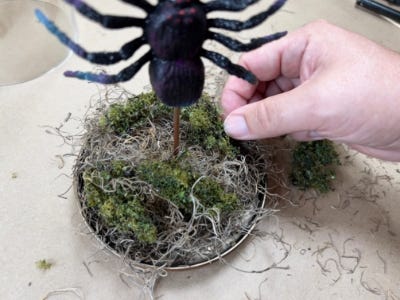
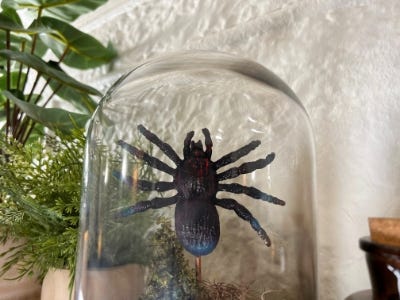
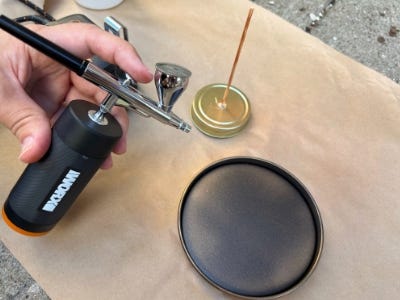
3. Load the airbrush with different colored airbrush paint and airbrush the stand, the base of the cloche and details on the spider. You can get really creative with this step, using colors that match your aesthetic and decor.
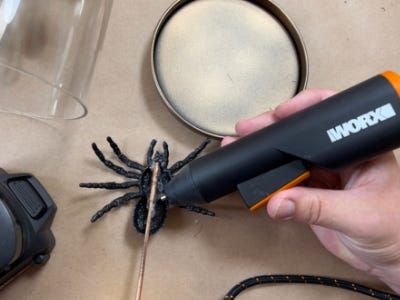
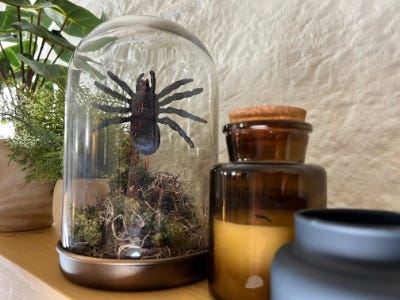
4. Once all the paint is dry, glue the spider to the end of the skewer. Glue the lid on the base of the cloche and add moss around it.