Beginner
DIY Embroidered Cardboard Christmas Trees
Supplies
- Cardboard Boxes
- Ruler
- Pencil
- Green & White Yarn
- Plastic Yarn Needle
Step-by-Step Instructions
Steps
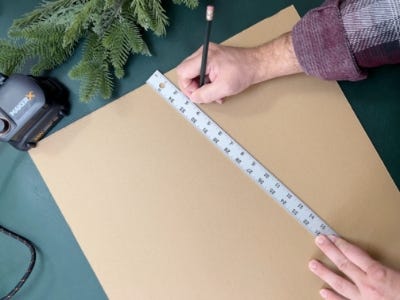
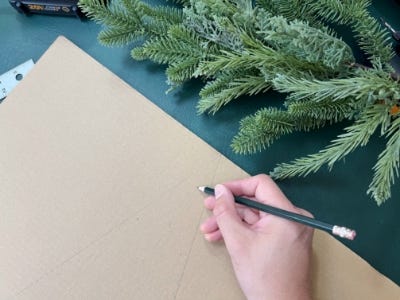
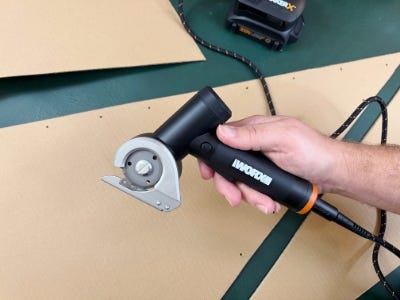
1. Use the Rotary Cutter to cut out the flat side of a box. (There should be no creases or folds so the tree can stand straight.) Draw a simple triangle tree using a pencil and a ruler.

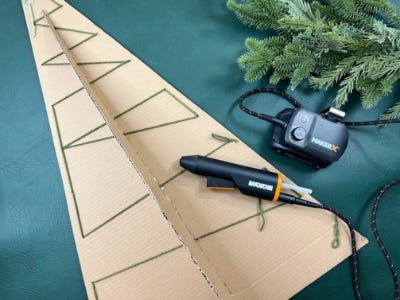
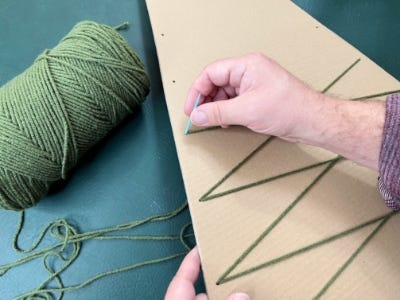
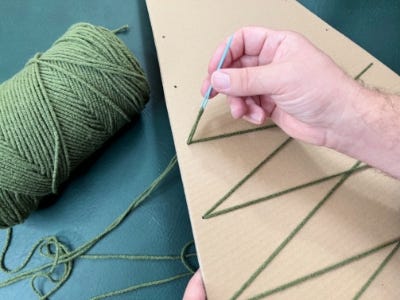
2. On the tree design, use a pencil to mark out the pattern where the yarn will thread through. Get creative with this process, it might be easier to map out a design on a scrap piece of paper before trying it on your tree.
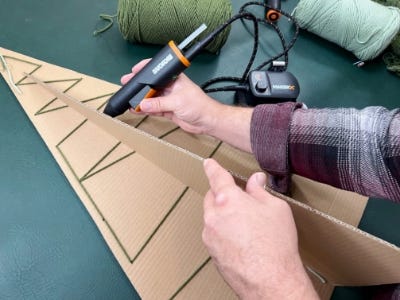
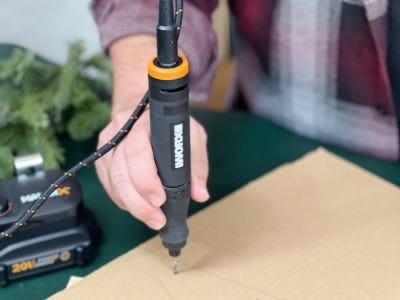
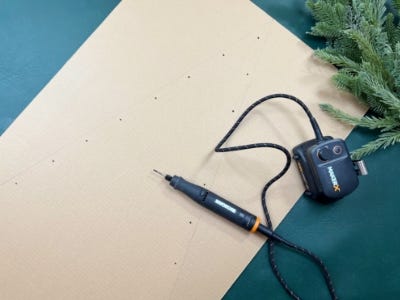
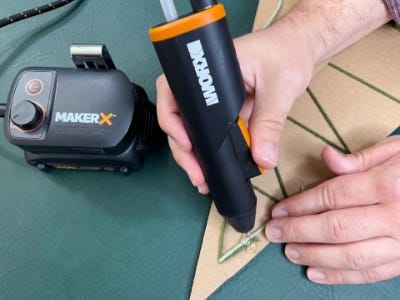
3. Use the Rotary Tool to drill a hole in each marked spot being sure that the hole goes all the way through the cardboard.
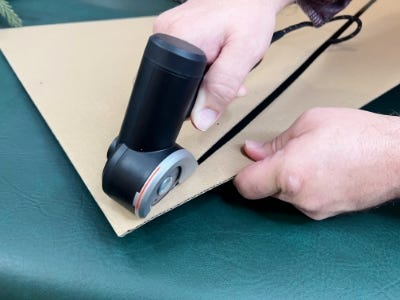
4. Cut out the tree using the Rotary Cutter. Tip: Hold onto the scrap cardboard to use as a base to stand each tree upright.
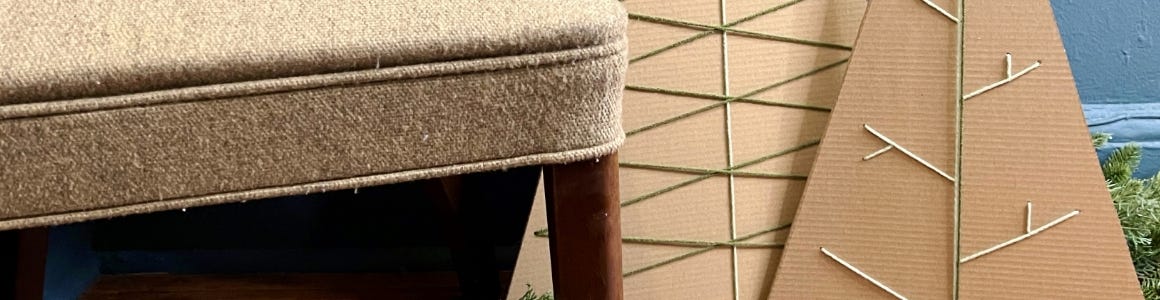
5. Thread the yarn through a large needle and begin to “embroider” the tree in the pattern you’d like, with a piece of green yarn. Once completed, tie a knot on the back big enough so it doesn't slip through the hole or hot glue the end of the yarn.. Tip: Repeat the process with a different color yarn sporadically throughout the design for more dimension or to add a snowy detail with white yarn.)
6. Use the scrap cardboard to cut a small triangle for a stand. Hot glue it to the back bottom of the tree.