Intermediate
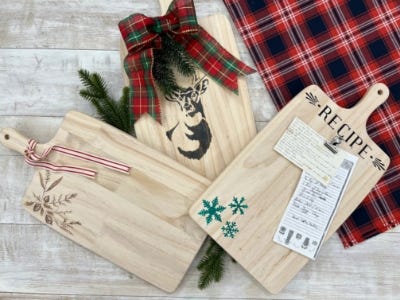
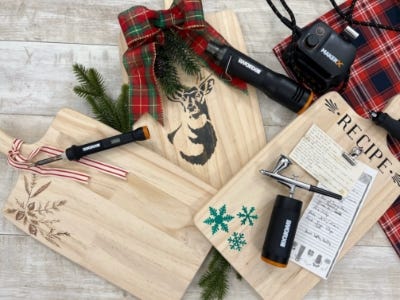
DIY Holiday Wood Cutting Boards (3 Ways)
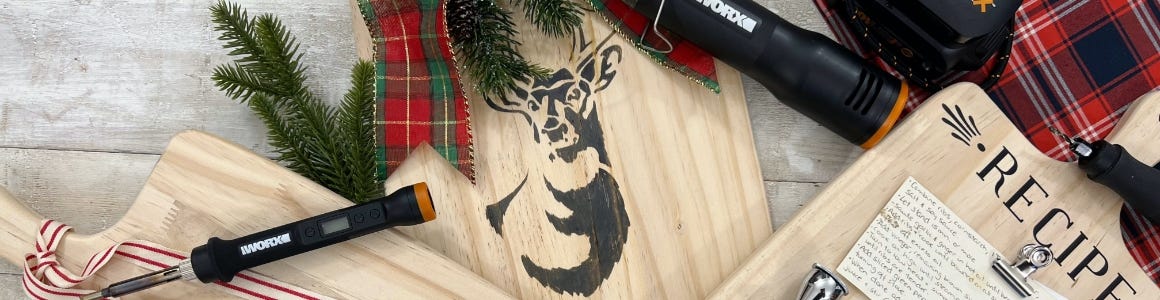
Supplies
- Unfinished Wood Cutting Boards
- Stencils
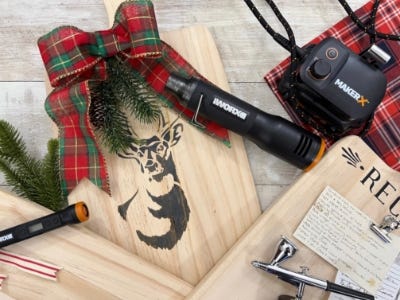
- Wood Burning Pen
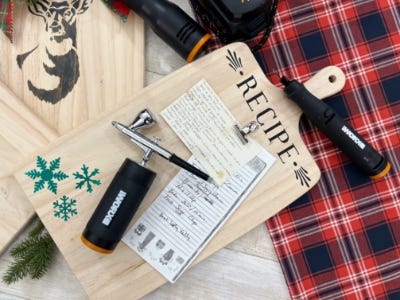
- Clip with Screw
- Painters Tape
- Airbrush Paint
Step-by-Step Instructions
Steps
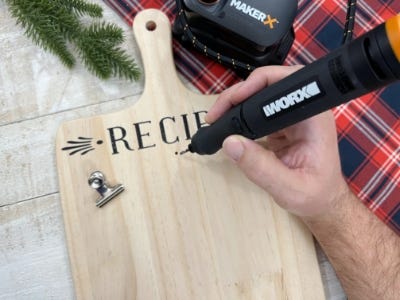
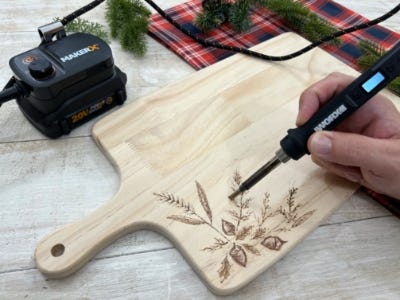
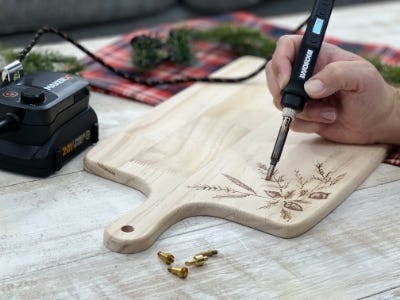
1. Wood Burned Cutting Board - Lightly draw a simple image in the corner of a cutting board with a pencil. Turn on the wood burning tool and allow it to heat up until maximum temperature is reached. Hold the wood burning tool like a pencil and trace over the drawing. Tip: Get familiar with the wood burning tool- Practice on an old or scrap piece of wood. Try different tips and test the temperature you like working with best.
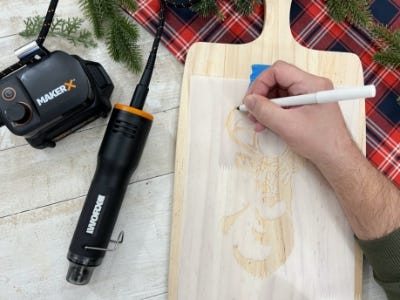
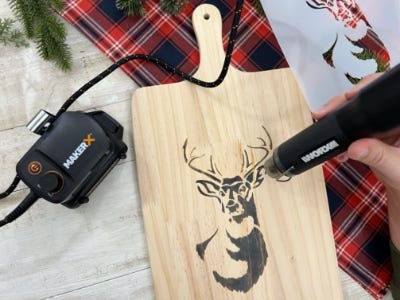
2. Heat Gun Wood Burned Cutting Board - Tape down a stencil in the center of a cutting board. Hold the stencil in place and fill in the stencil with the wood burning pen. Allow it to dry and remove the stencil. Turn on the heat gun and hold it about six inches away from the cutting board while waving it consistently over the image. Watch the marker color change and burn as you work.
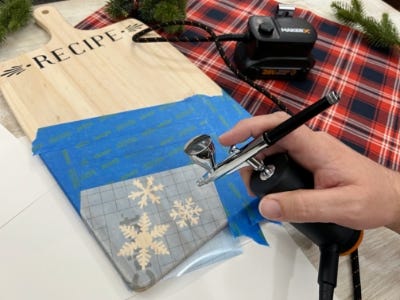
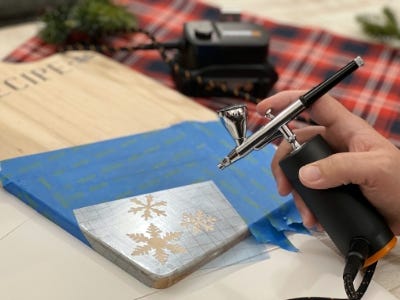
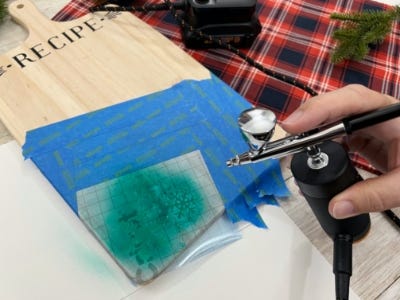
3. Airbrushed Recipe Cutting Board - Add an adhesive stencil to the cutting board. Make sure the edges are pressed down well. Cover the surroundings with painters tape to protect the surface. Load the paint reservoir of the airbrush approximately ⅓ full with white airbrush paint. Begin painting in a consistent swirling motion about four to six inches away from the wood until the entire stencil is filled in, peel away while the paint is still wet. Use the rotary tool with the drill attachment to drill a hole in the center of the cutting board. Screw in a clip to hold recipes. Enjoy!