Intermediate
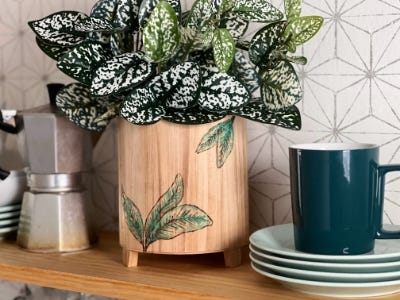
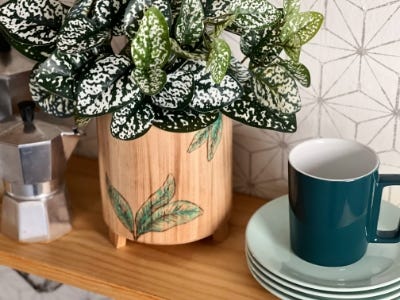
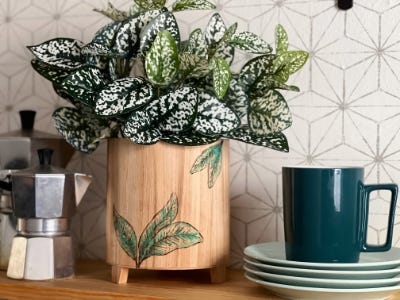
DIY Wood Burned Flower Pot

Supplies
- Unfinished Wooden Pot
- Pencil & Eraser
- Watercolors & Brush
- Floral Foam
- Faux Plant
Step-by-Step Instructions
Steps
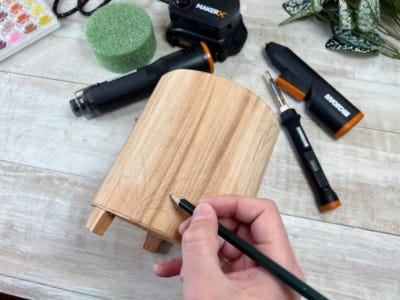
1. Use a pencil to free-hand sketch a design with medium pressure on the wood pot. Tip: Print out an easy design or pattern from free clip art and trace if needed.
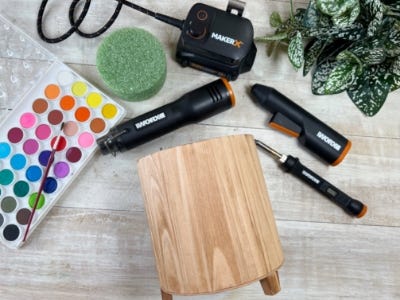
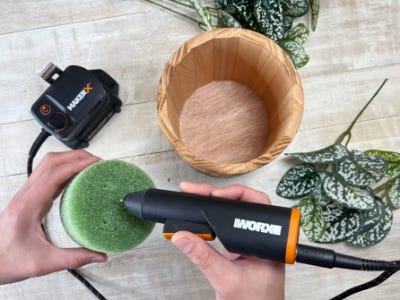
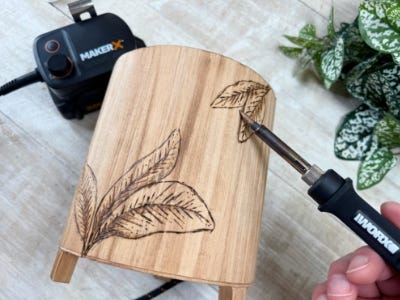
2. Turn on the wood burning tool and allow it to heat up until maximum temperature is reached. Tip: Get familiar with the wood burning tool- Practice on an old or scrap piece of wood or on the bottom of the planter. Hold the tool like a pen or pencil, try different tips and test the temperature you like working with best.
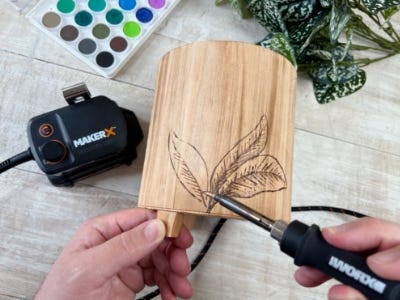
3. Use the point of your choice and trace over the pencil drawn image on the pot. Tip: Trace slowly and use even pressure for the best results.
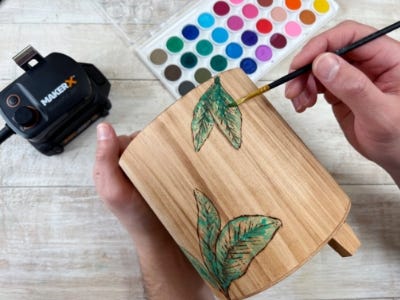
4. Once completed, use the eraser to erase any left over pencil markings. Then paint and color the image with watercolors. Tip: Use the heat gun for quicker drying time.
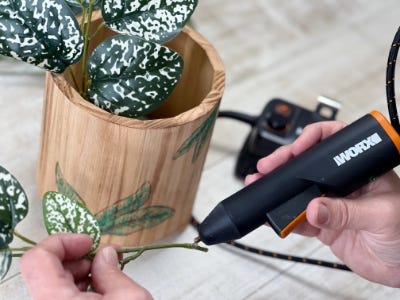
5. Hot glue the foam into the bottom of the pot and place in the faux plant using some extra hot glue to secure it in place.