Intermediate
DIY Wood Slice House Numbers
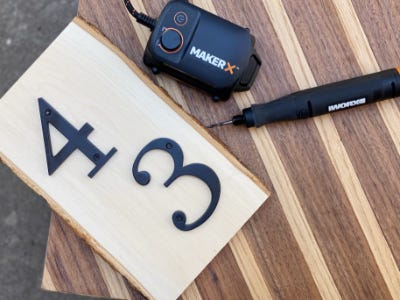
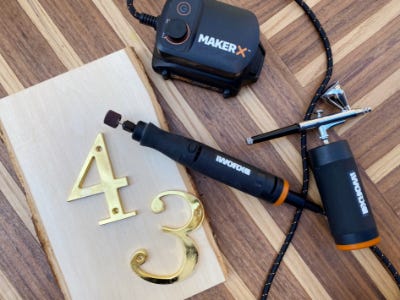
Supplies
- Metal House Numbers
- Wood Slice
- Airbrush Paint
- SwitchDriver or Screw Driver
- Pencil
- Dropcloth (optional)
- Spray Sealant
Step-by-Step Instructions
Steps
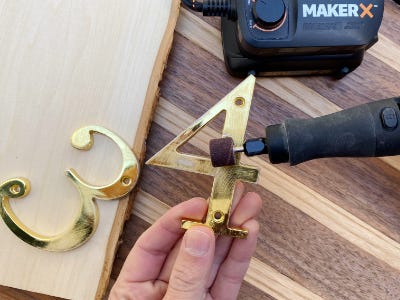
1. Remove old house numbers. Hold the rotary tool like a pencil and sand down the metal numbers until smooth. Make sure to sand down the sides and crevices as well. Once sanded, use a rag to wipe clean.
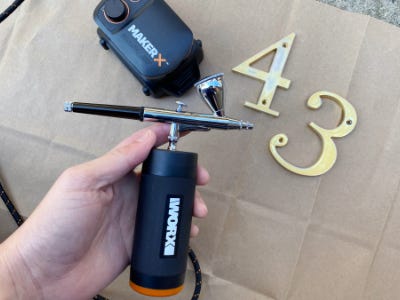
2. Load the paint reservoir of the airbrush approximately ⅓ full with black airbrush paint. Test and practice on a scrap piece paper and adjust the settings accordingly.
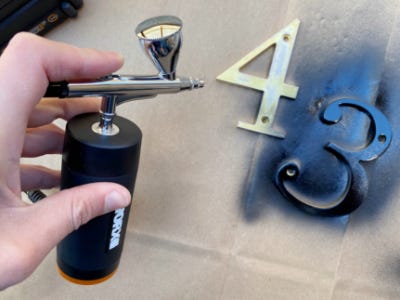
3. Lay house numbers on a dropcloth or protected surface and begin painting the numbers in a consistent swirling motion about four to six inches away until completely evenly covered. Once happy with the results, set to dry. Repeat with another light coat if necessary. Tip: Don’t forget to paint the screws as well!
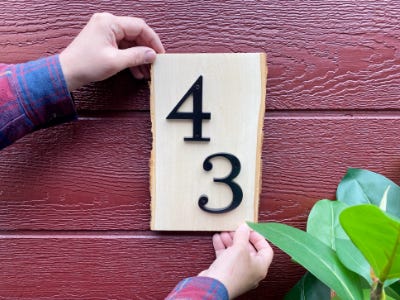
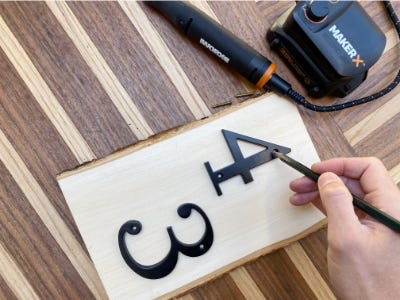
4. Measure the center of the wood slice and lay out the numbers so they are evenly spaced. Mark the holes with a pencil.
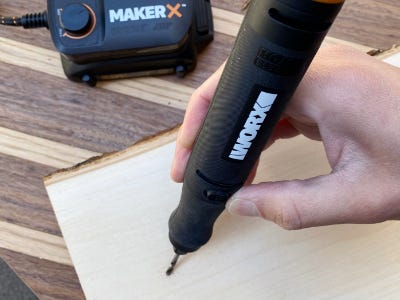
5. Swap out the rotary sanding tool for the drill bit and pre-drill the marked holes.
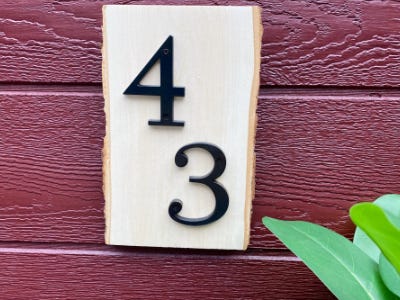
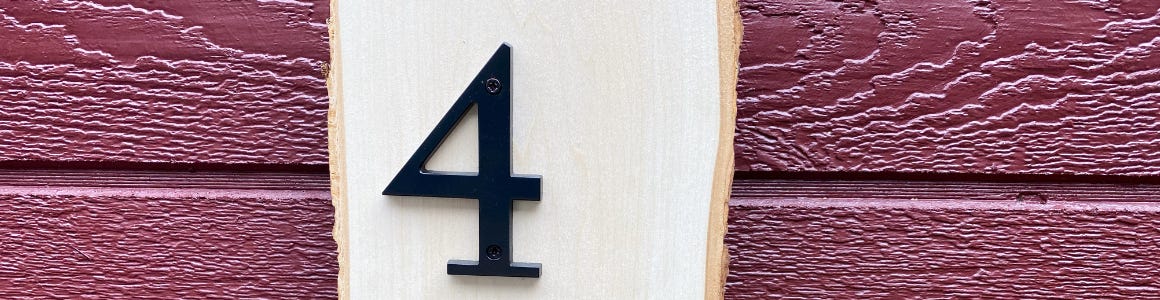
6. Screw in the numbers with the SwitchDriver or a screwdriver. And add attachments in the back to hang! Tip: Add a coat of spray sealant on the front and back before hanging.