Beginner
Fairy Lantern Party Favor Project


Supplies
- 12 oz. Mason Jar
- LED Mini Fairy Lights
- Laser CutFairy Silhouettes
- Assorted Greenery or Silk Flowers
- Ribbon
- Glitter or Confetti
- Stickers
- Tacky Glue or Glue Dots
Step-by-Step Instructions
Steps
1. Start by gathering all of the mason jars and fairy lights.
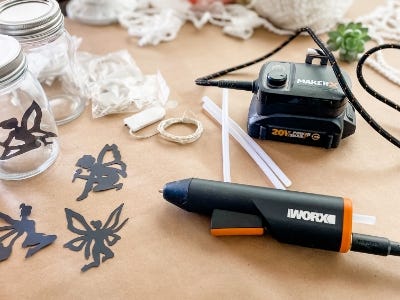
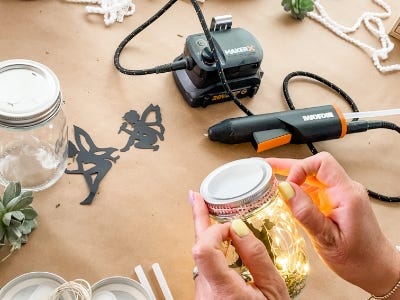
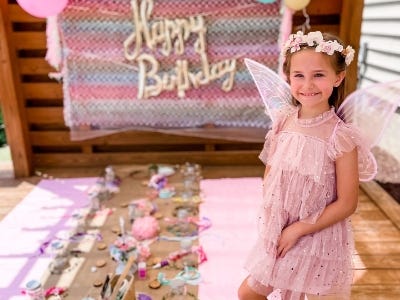
2. Since we were using this as a craft for my daughter’s Fairy-themed birthday party, I prepped all the jars in advance by using the MAKERX Hot Glue Gun to attach the fairy lights’ battery packs to the inside of the jar lids.
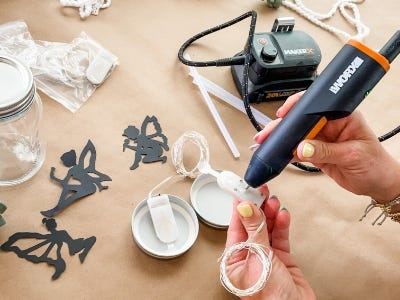
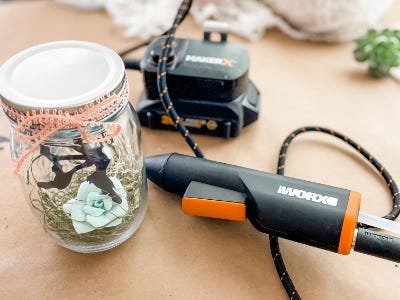
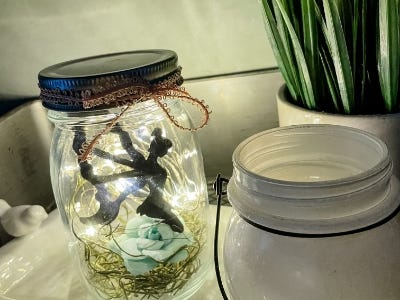
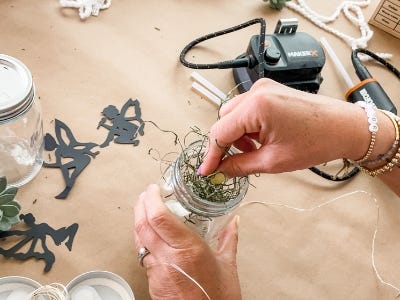
3. I also wanted to create a completed Fairy Lantern for the girls to use as a guide during the party so I added some greenery to the base of my jar.
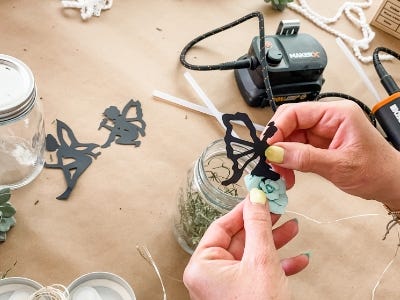
4. Next, using the glue gun, I attached a fairy silhouette to a paper flower and carefully placed her into the jar.
5. Once the fairy was safely inside, I unraveled the fairy lights and carefully placed them around the fairy inside. Then, I added some ribbon to the lid for a little pop of color.
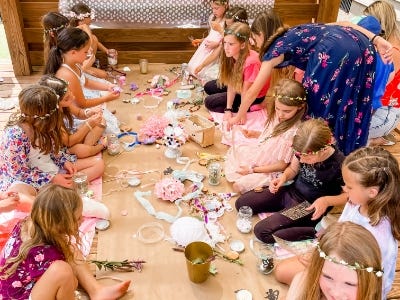
6. PARTY TIME! I rolled out some craft paper and added some raw cut fabric on each side for our crafting area. Each place setting had a pre-prepped jar and all the trimmings were placed throughout the center of the workspace. I gave some brief instructions and showed the completed Lantern as an example and they went to town.
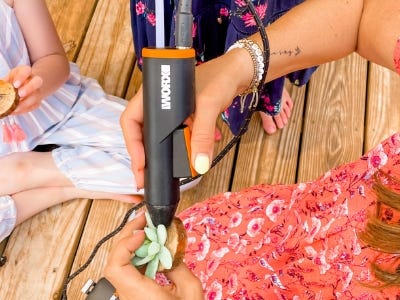
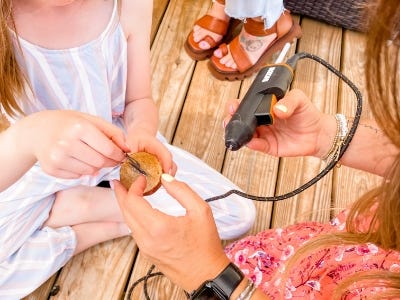
7. I posted up at one end of the deck with the glue gun and helped with anything that needed hot glue.
8. The creativity just BLOOMED! I loved seeing the unique ways that each girl decorated their favor. It was a great activity with easy clean up and something special that they made themselves to take home. Overall, it was a HUGE success and I’ve heard from many Moms that the girls are using their lanterns as a nightlight every night!
