Intermediate
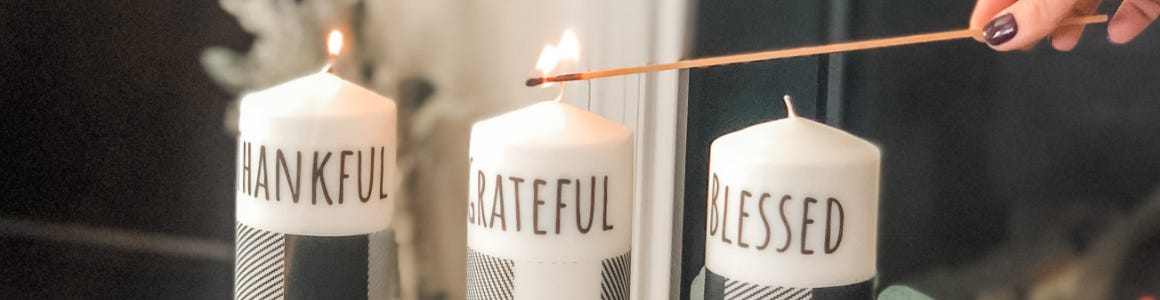
DIY Holiday Candle Image Transfer
Supplies
- MAKERX Heat Gun
- White Pillar Candles
- White Tissue Paper
- Painters Tape
- Wax Paper
- Cardstock or Heavy Paper for Printing
- A Printer
- Optional Template
Step-by-Step Instructions
Steps
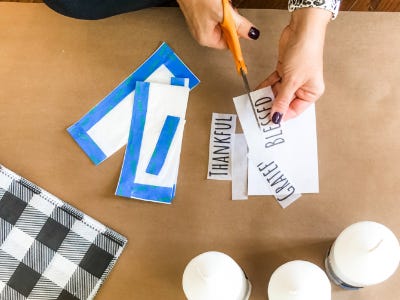
1. Choose the image you would like to transfer.
2. Cut your tissue paper to the size of your printer paper.
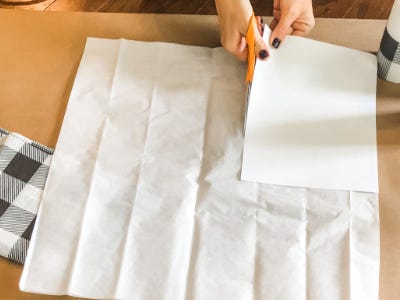
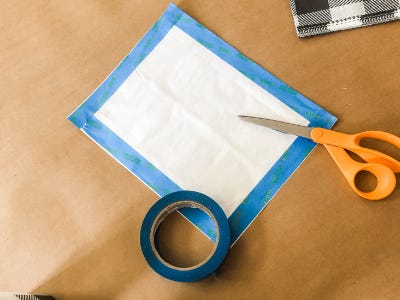
3. Tape the tissue paper to the printer cardstock with the matte side up (make sure to print on the matte side not the shiny side.) *The cardstock is really used just to keep your tissue paper flat so it can pass through the printer without getting stuck.

4. Print your chosen image onto the paper and cut it out so that it will fit onto your candle.
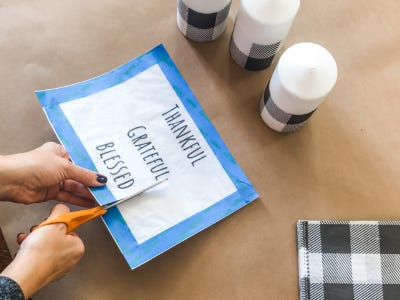
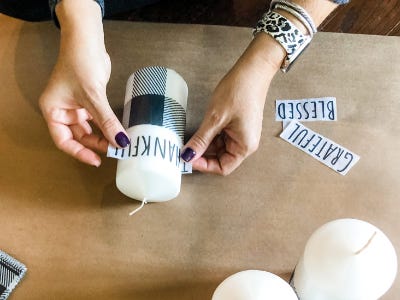
5. Decide where you want to place your image and center it onto the candle with the matte side facing out.
6. Cut a piece of wax paper big enough to fit around your candle. You can make it bigger than the candle so that you can keep it secure by holding it or just use some tape to secure it for the next step.
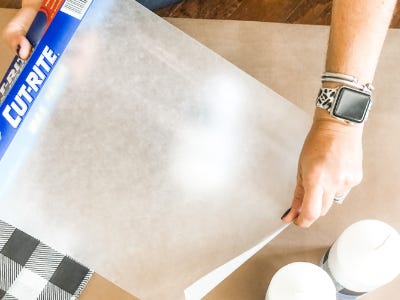
7. Wrap the wax paper (wax side down) around the candle and secure.
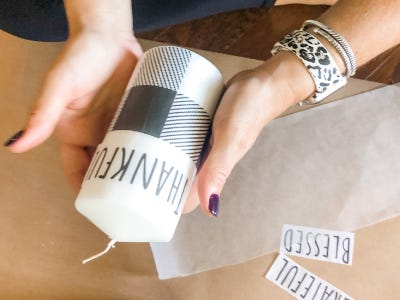
8. Grab your MAKERX Heat Gun. Holding it about 1 inch away from your candle, heat the image until you see it darken through the wax paper (as soon as you see this, the image is fused so move onto the next part).

9. Continue until all of the image is fused. *This process does not take very long. Be sure not to spend too much time on one area or your candle will start to melt.
10. Carefully pull off your wax paper before the candle cools completely.
11. That’s it! You can truly transfer any image onto a candle and make some great Holiday decor or personalized gifts.

Bonus Tip
Have the kiddos draw special pictures directly onto tissue paper and use steps 6-10 to transfer their artwork onto a candle for a special keepsake. What a great gift idea for the Grandparents!


