Beginner
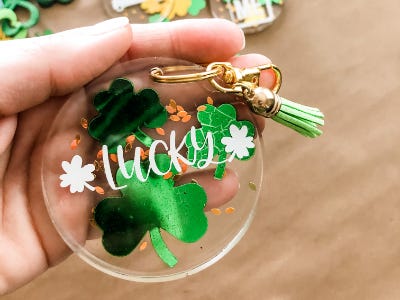
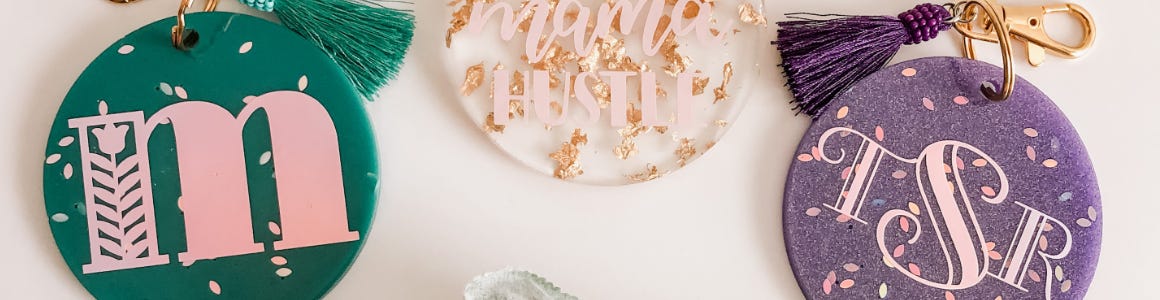
“Lucky Charm” Resin Keychain
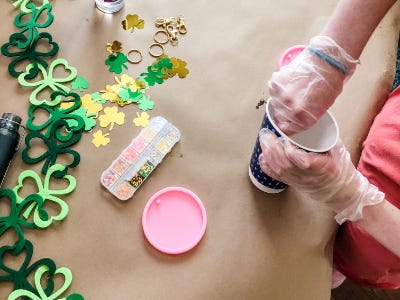
Supplies
- Butcher Paper
- Gloves
- Silicone Keychain Molds
- Epoxy Resin Kit
- Small Plastic Cups
- Large Disposable Cups (for mixing)
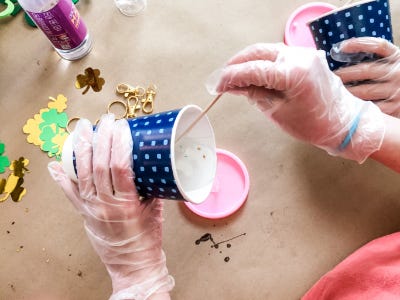
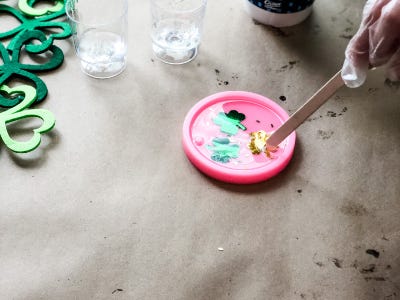
- Popsicle Sticks
- Shamrock Confetti, Green Glitter or Acrylic Paint
- Keychain Rings
- Tassels (optional)
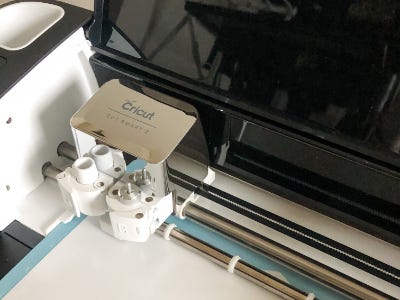
- Cricut (No Cricut? No problem! Just Use some Shamrock or Alphabet Stickers!)
- Cricut Permanent Vinyl
- Cutting Mat
- Weeding Tool
- Transfer Paper
- Scissors
Step-by-Step Instructions
Steps
1. Begin by covering your work surface with 2 layers of butcher paper or cardboard. (Working with resin can get very messy!)
2. Put on some gloves and mix equal parts Resin Base and Hardener in a disposable plastic cup.
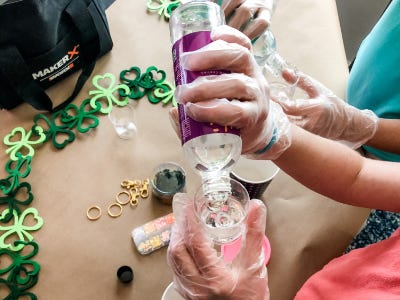
3. Using a popsicle stick, mix thoroughly for at least 3 minutes or according to package directions.
4. Place Silicone Molds onto your workspace.
5. Sprinkle some confetti or glitter into your resin and stir.

6. Working on one at a time, pour a small amount of resin into a mold.
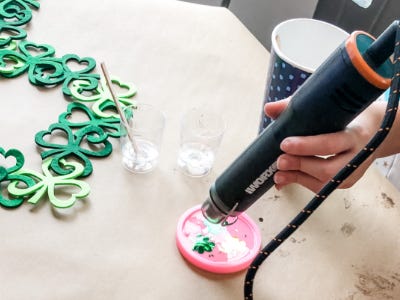
7. Turn on the MAKERX Heat Gun and guide over the resin to remove any bubbles.
8. Add your Shamrocks or other decoration to the mold.
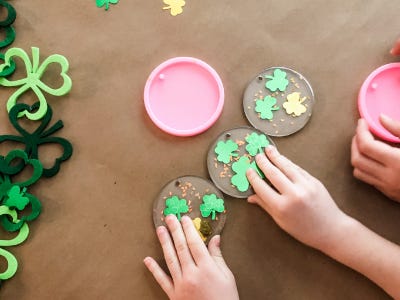
9. Pour a little more resin on top until the mold is filled.
10. Use the MakerX Heat Gun again to remove any more bubbles in the resin.
11. If desired, sprinkle some more glitter or confetti into the resin.
12. Set molds aside on a flat surface and allow to cure for at least 24 hrs.
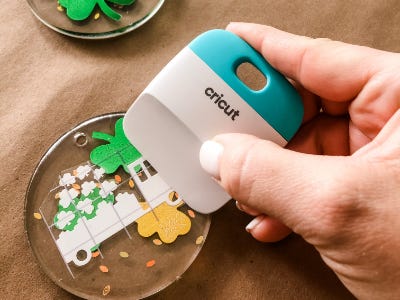
13. While your resin cures, cut the desired sayings for the keychains with a Cricut. We used white vinyl for these but you can use any color. If you don’t have a Cricut, you can use any strong adhesive stickers.
14. Once your vinyl is cut use your weeding tool to remove excess vinyl from the design.
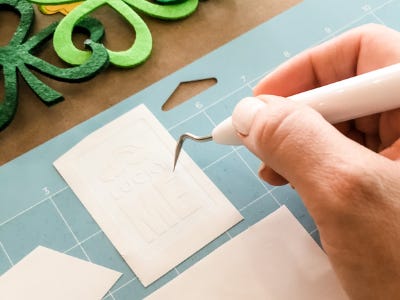
15. Apply transfer paper and trim around the edges of the design.
16. Once the resin has cured, carefully remove the keychains from the molds.
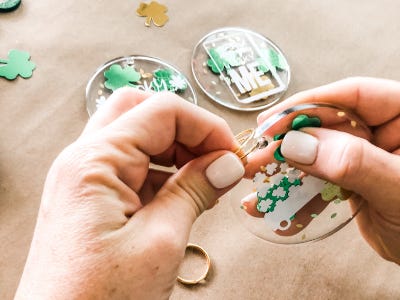
17. Peel off the backing from the vinyl designs and place them on your keychain.
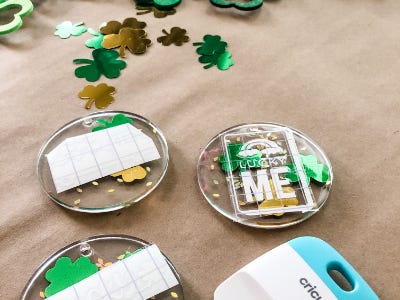
18. Rub the vinyl with a Cricut tool or credit card to ensure that the design is attached.
19. Pull back the transfer paper from the top down revealing your design.
Attach the key rings to your keychains. We even added a small tassel for a little extra fun.