Beginner
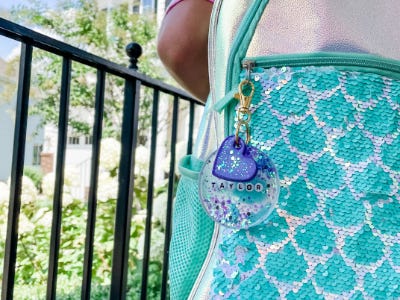
Resin Bag Tag

Supplies
- Resin Kit (with resin and hardener)
- Plastic Measuring cups
- Popsicle Sticks (for stirring)
- Plastic mixing cups
- Silicone Keychain Molds
- Alphabet Beads
- Chunky Glitter
- Acrylic Paint
- Tweezers
- Butcher Paper or Silicone Mat (to cover workspace)
- Gloves
- Keychain Rings and Bag Clips
Step-by-Step Instructions
Steps
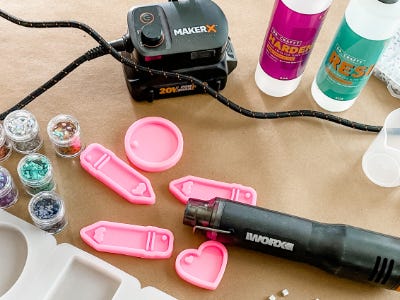
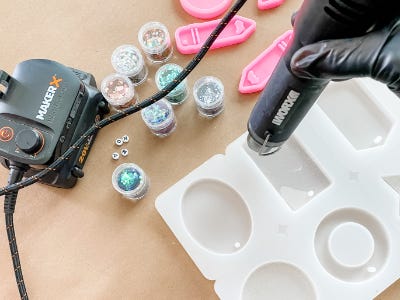
1. Start by gathering all of your supplies and covering your workspace.
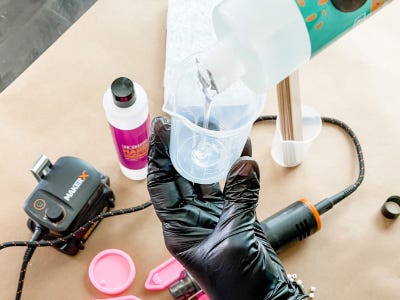
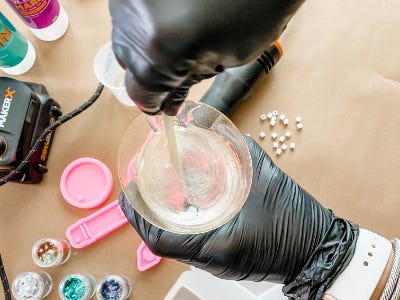
2. Using the plastic measuring cups, measure equal parts of resin and hardener and pour into the mixing cup. Stir for at least 3 minutes or according to package directions to make sure the resin is thoroughly mixed.

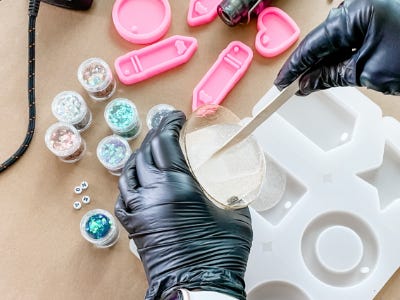
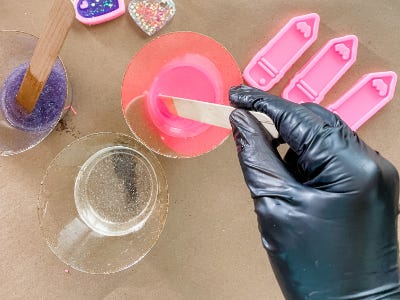
3. Carefully pour a thin layer of resin into the mold making sure that it fills in all of the edges.
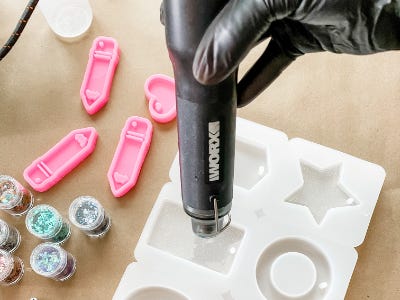
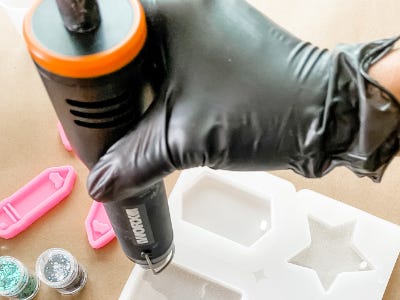
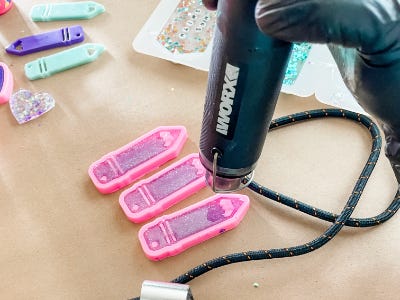
4. Once you have filled all of the desired molds, grab your MakerX Mini Heat Gun and run it over the resin. This will help to pop any bubbles and speed up the curing process.
5. Allow the resin to set up a bit. This should take anywhere from 30 minutes to an hour depending on the type of resin used.
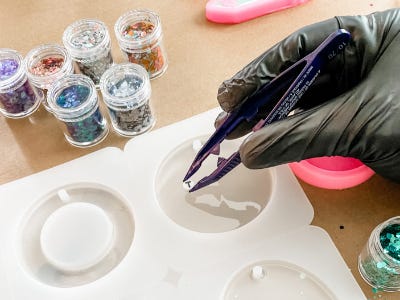
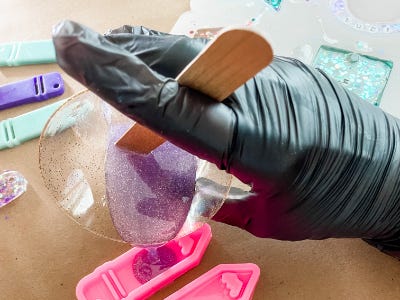
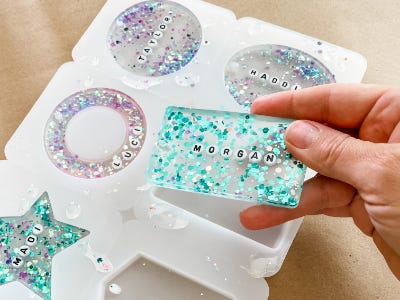
6. Once the resin is set enough that you can set the beads on without them sinking in, add your letter beads and glitter. Get creative with this!
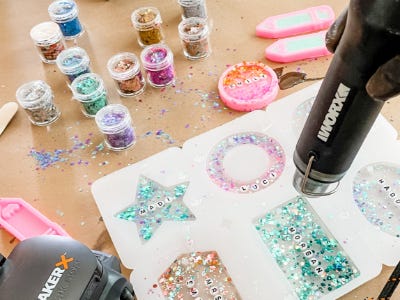
7. After you have added all of the names and glitter to your tags, mix up another batch of resin and pour over the top, being sure to fill the molds completely.
8. Using the heat gun, pop any bubbles in this layer of resin and set the molds somewhere flat to set.
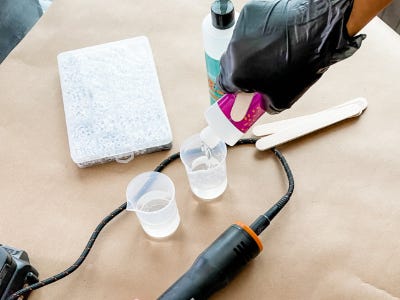
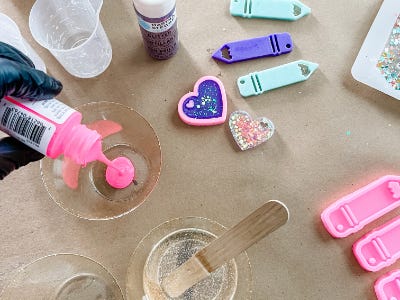
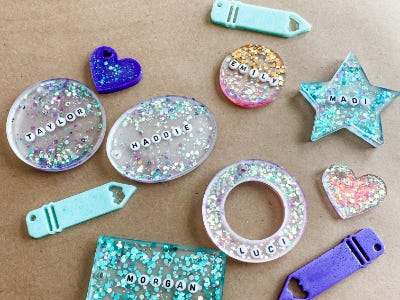
9. We wanted to add a little flair to our tags by making pencil and heart shapes too. For this, we mixed up another batch of resin and divided it into mixing cups. Add a small amount of acrylic paint and mix well. This will color the resin. Pour the colored resin into your molds and use the heat gun to pop any bubbles (this step is optional).
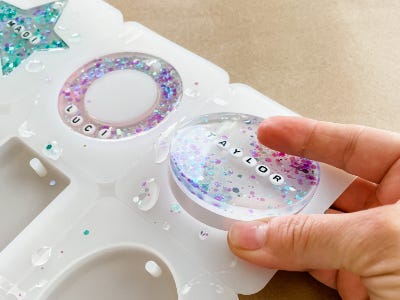
10. After the resin has cured for at least 24 hours, pop them out of the molds.
11. Now grab your MakerX Rotary Tool and attach a buffing pad. Power it up by turning on the hub at about medium speed. Buff away sharp edges and remove any excess resin.

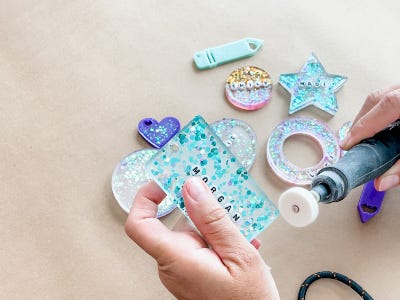
12. Switch the bit out to the metal pointed tip and use this to remove any resin from the tag holes and fine details on the pencils.
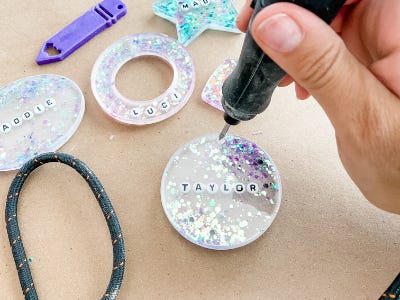
13. Once all of the edges are smooth, rinse any dust off of the tags and attach the key rings.

14. All that’s left to do is hang them on a backpack and you're Back to School ready!! My girls absolutely loved making these and are so excited to show off their new bag tags at school on the first day!