Intermediate
Valentine Clay Earrings
Supplies
- Polymer clay
- Small cutters
- Clay roller or rolling pin
- Parchment paper and try or ceramic tile for baking
- Jewelry glue
- Earring posts and backs (stainless steel works best)
- Pliers or tweezers
- Optional: Skewer or yarn needle
- Optional: Jump rings
Step-by-Step Instructions
Steps
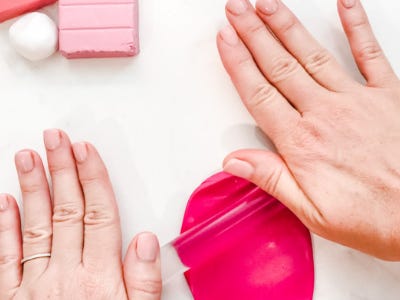
1. Open the clay and begin to warm and knead the clay with your hands. (This is called “conditioning” the clay) Continue to work and roll out the clay until it is soft and pliable.
2. Next, decide if you want to mix colors. (My girls LOVE to mix the clay into swirls and patterns. It is really fun to see the different earrings that you can make from one slab of marbled clay!) (If using solid colors just skip right from conditioning to step 4)
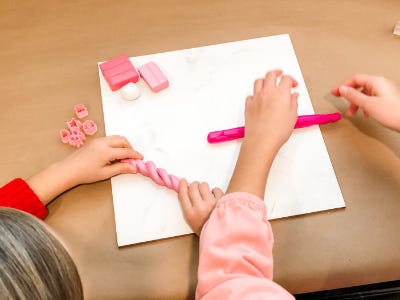
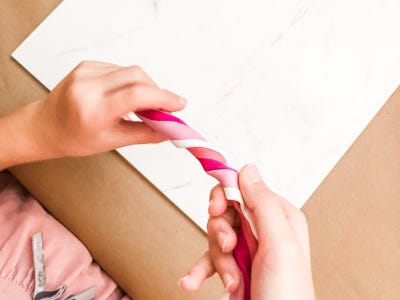
3. If mixing colors, roll out each color into a “snake” and twist them all together. Fold and twist until the colors look like a rope then roll into a ball.
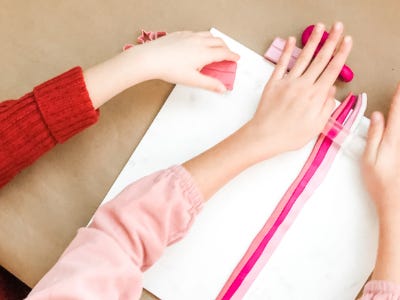
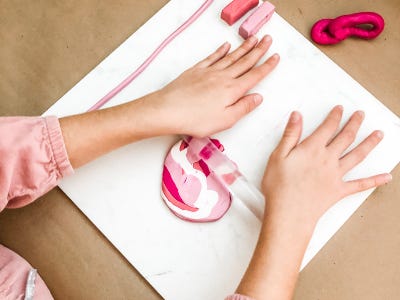
4. Place your ball of clay on a smooth flat surface (Granite countertops or ceramic tiles work great!) then roll out the clay with your roller until you have reached your desired thickness. (approximately 1/8th inch)
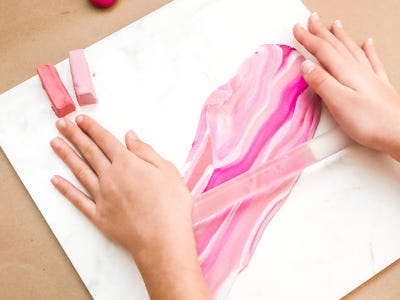
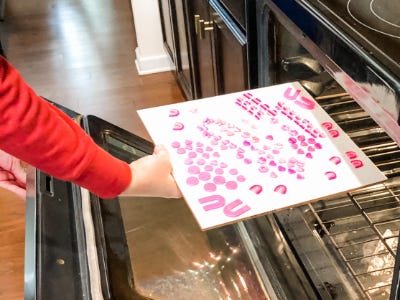
5. Once you have your “slab” rolled and ready, place it onto the parchment paper or ceramic tile.
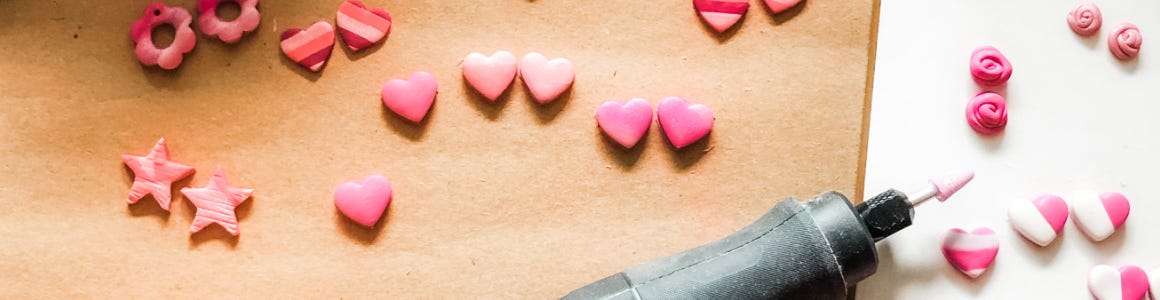
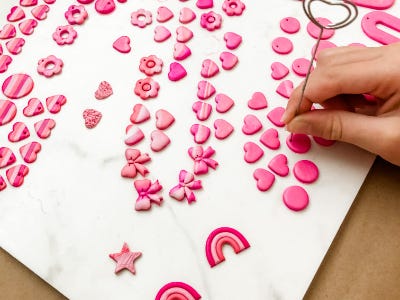
6. Select your desired shapes and cut out your earrings. Make sure to cut an even number! If you want to create a dangle earring, line up the shapes that you want and use the skewer to poke a hole in each piece where they will later be attached.


7. Bake according to package directions for your clay.
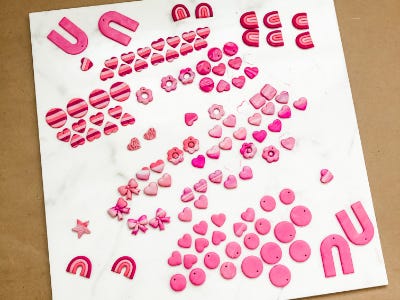
8. Let your earring pieces cool.
9. With the buffer attachment on your MAKERX rotary tool, buff and sand the edges of the earrings to remove any imperfections or extra clay left from the cutters. Start with low power and increase until you find a speed that works for you.
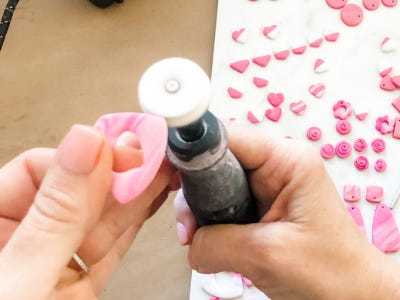
10. Continue to buff the earrings until all pieces have been finished.
11. Give the earrings a “bath” by rinsing them in a small bowl with water to remove any debris from the sanding process.
12. Allow the clay pieces to dry on a paper towel.
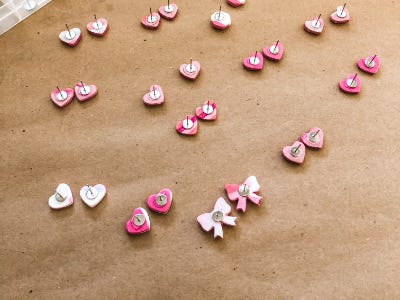
13. When all of the pieces are dry, decide which earrings to pair together and set them upside down together.
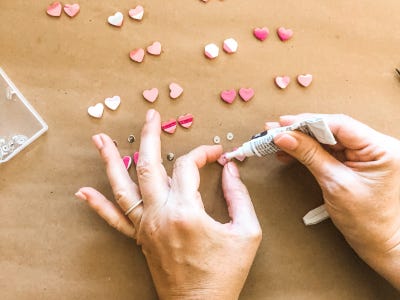
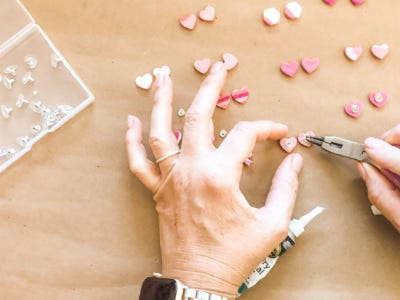
14. Dab a bit of jewelry glue onto the back of each earring and apply the earring post gently pushing down with the pliers into the desired spot. (If a little glue seeps out around the post that is ok. It will dry clear. If there is a large amount of extra glue simply wipe away with a wet cloth or paper towel being careful not to move the post.)
15. Once all of the posts have been glued to your earrings, allow them to dry completely. (Usually about 4-6 hrs. Follow package directions.)
16. If you are making dangle earrings, assemble the pieces by threading a jump ring through each piece and squeezing it closed with the pliers.
17. Attach the earring backs to each pair and Voila! You have created your very own Polymer Clay Earrings!


