Beginner
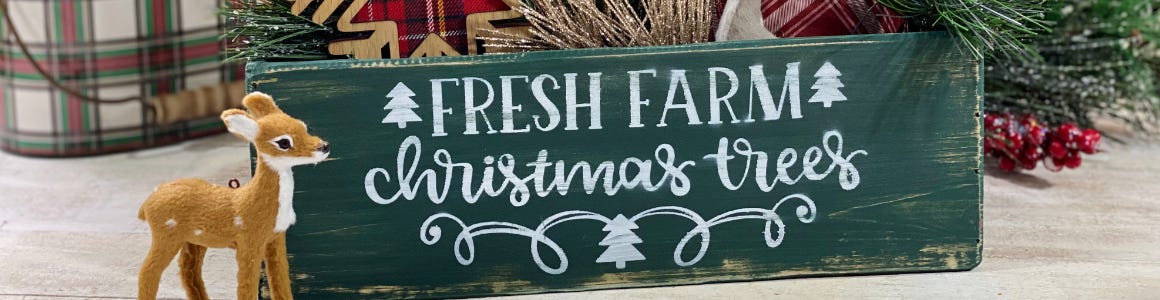
Vintage Tree Lot Crate
Supplies
- Wooden Box
- Acrylic Paint & Brush
- Air Brush Paint
- Adhesive Stencil
Step-by-Step Instructions
Steps
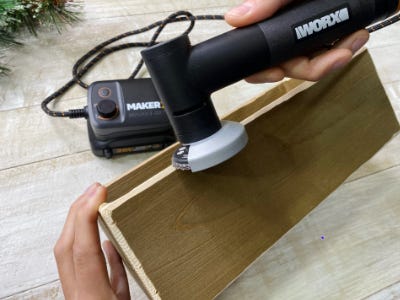
1. Sand down the sharp edges of the box by moving the angle grinder along the lip and sides. This will give the box a worn and used look. After sanding, wipe down the box with a slightly damp rag.
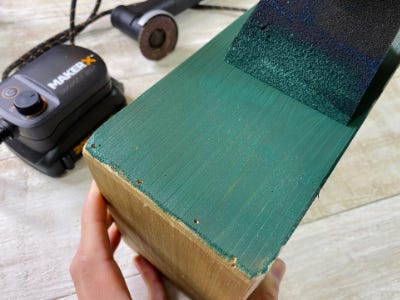
2. Give the box a full coat of acrylic paint and let dry.
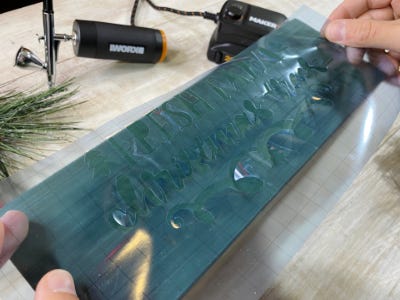
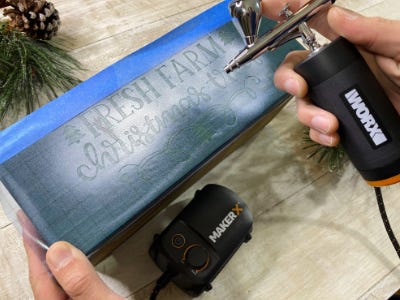
3. Place an adhesive stencil centered on the front of the box. (If your stencil does not have adhesive, spray the back with an adhesive spray or tape the sides well so the stencil lays as flat as possible.)
4. Load the paint reservoir of the airbrush approximately ⅓ full with white airbrush paint.
5. Before painting, test and practice on a scrap piece paper.
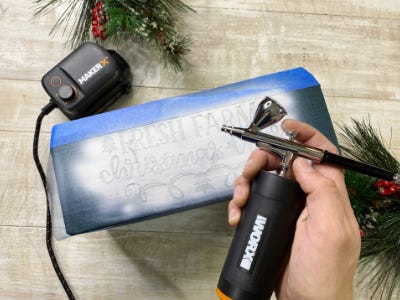
6. Begin painting in a consistent sweeping motion about six inches away from the surface. Remove stencil when fully dry.

7. Add a detailed distressed look by lightly sanding down the acrylic paint with the rotary tool.
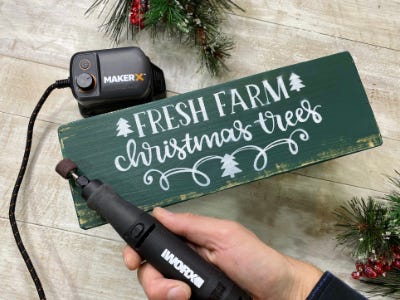
8. Fill your box with greenery Christmas goodies to display.