Beginner
Whimsical Wooden Easter Bunny DIY
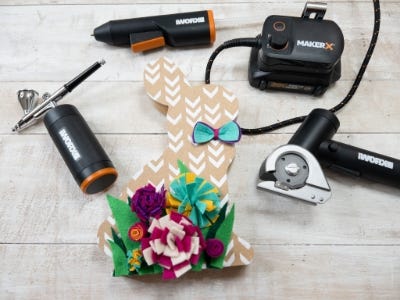
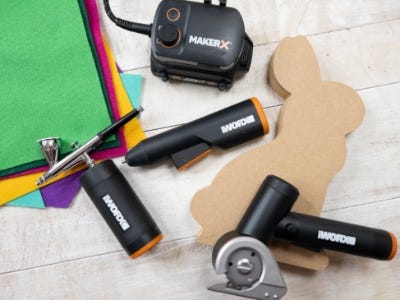
Supplies
- Wooden Bunny
- White Air Brush Paint
- Stencil or Cutting Machine
- Different Color Felt
Step-by-Step Instructions
Steps
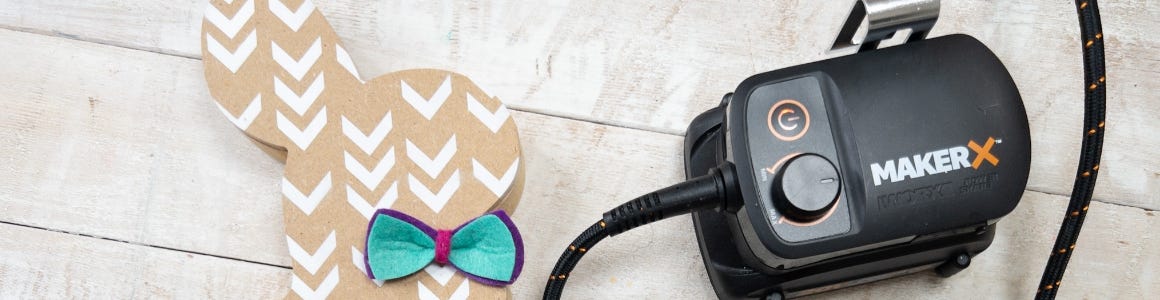
1. Measure the wooden bunny. Use a pre-cut stencil that is larger than the bunny or use a cutting machine to cut out a vinyl stencil to size. Apply the stencil to the bunny. Tip: Use a lint roller to get any dust or lint off the wood before applying the stencil.
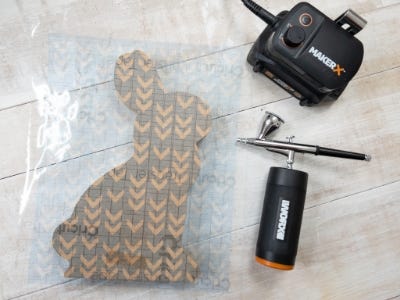
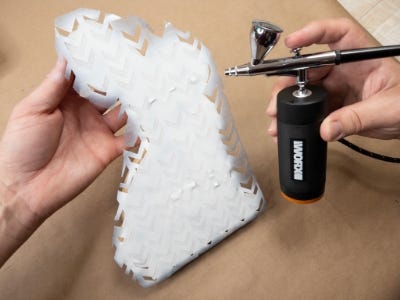
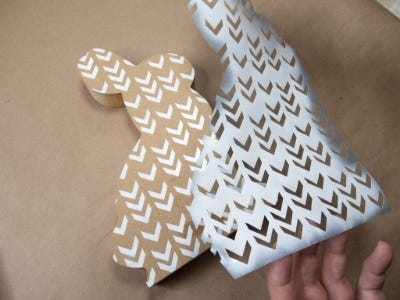
2. Load the paint reservoir of the airbrush approximately ⅓ full with white airbrush paint. Hold the bunny at an angle and begin airbrushing in a swirling motion about six inches away. Carefully pull off the stencil before the paint dries then allow the paint to fully dry before touching it. Tip: Before airbrushing on the bunny, test and practice on a scrap piece paper.
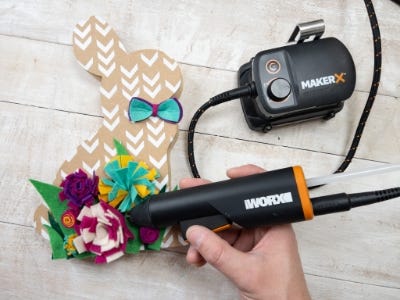
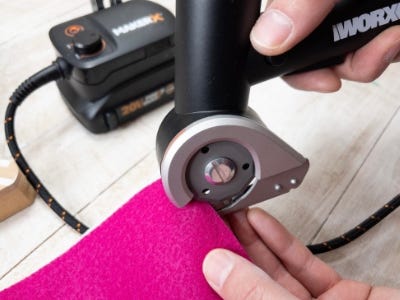
3. Felt is a great material to use for crafting because it requires no sewing, the edges don’t fray and it glues easily. Cut out blades of grass and flowers using the rotary cutter.
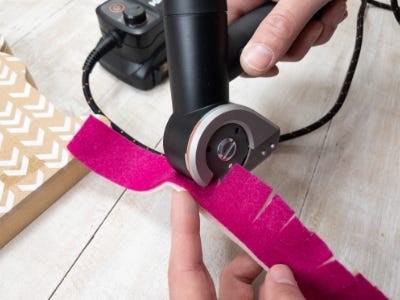
4. To create the flowers place two pieces of felt on top of each other and cut out an inch wide strip with the rotary cutter. Keep the two strips directly on top of each other and cut slits half way into the strips about a quarter inch apart from each other. Pull the two pieces of felt apart and use the glue gun to add a line of glue along the base of one of the strips and sandwich the two strips together. Add another line of glue on the bottom and begin to roll the strip, creating a flower bud. Tip: Change the look of the flower by cutting the slits at different widths.
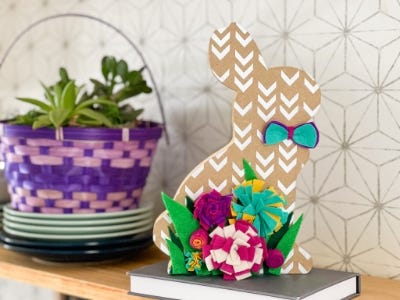
5. Use the glue gun to glue the blades of grass to the bottom of the bunny then add the flowers on top. Continue to layer different sized flowers in different colors to really create a statement. Continue to embellish the bunny with a felt bowtie or any other festive embellishments!