Beginner
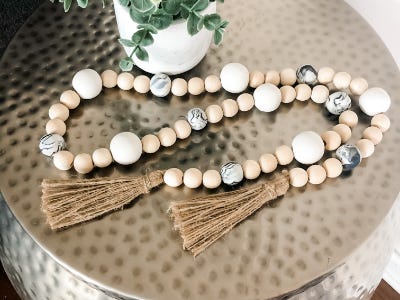
Wood Bead & Polymer Clay Garland
Supplies
- Polymer Clay
- Putty Knife or Butter Knife
- Baking Sheet
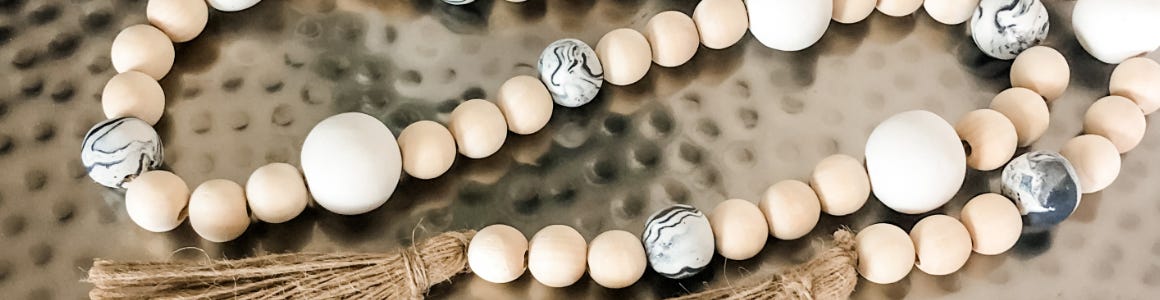
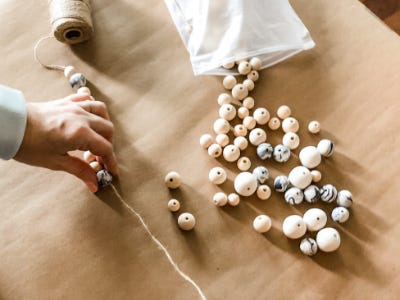
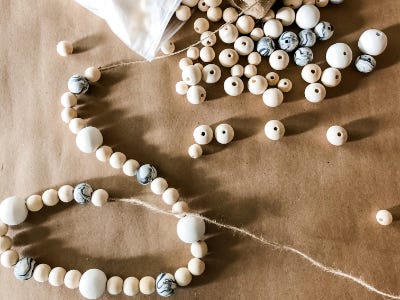
- Wood Beads
- Jute Twine
- Jute Tassels
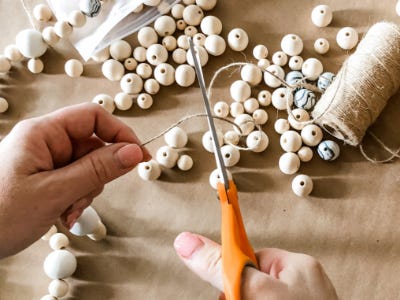
- Scissors
Step-by-Step Instructions
Steps
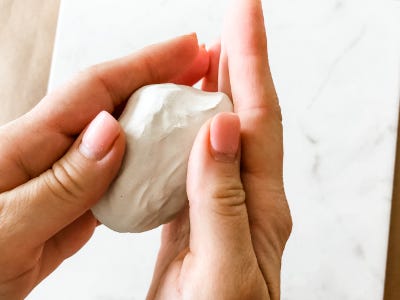
1. Start by conditioning your polymer clay. Knead and roll the clay until it feels soft and pliable.
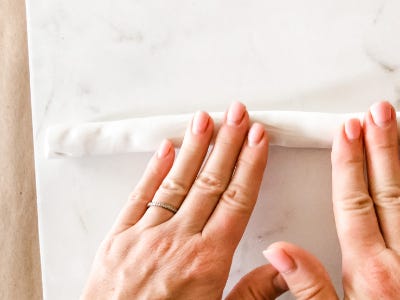
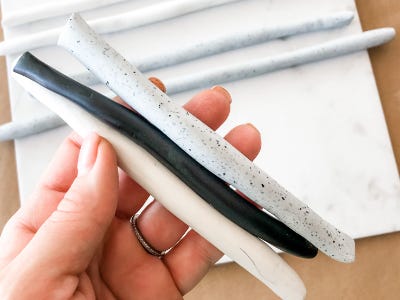
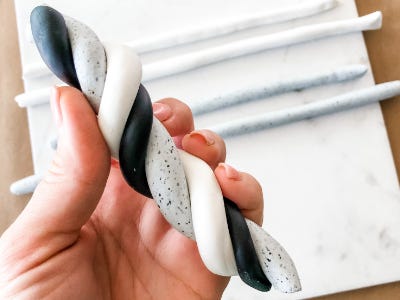
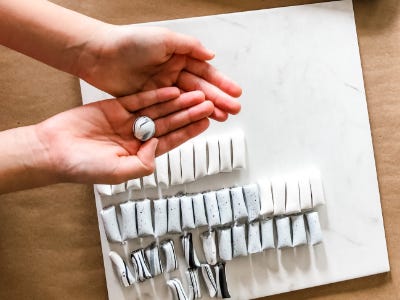
2. Roll the clay into “snakes” or logs until they are about a half inch thick. Feel free to combine colors for a marbled effect or just stick with a solid color for a more classic look. (We did one of each as an example)
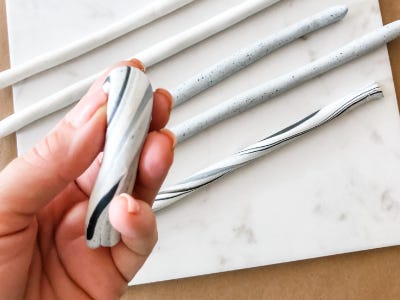
3. Lay each snake onto a cutting board or solid surface and cut into even sections. This does not have to be exact, just eyeball it.
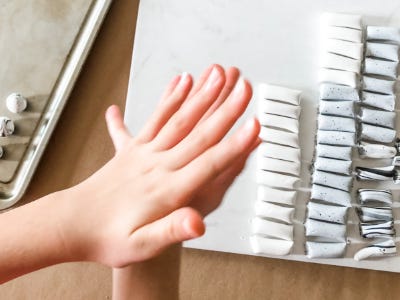
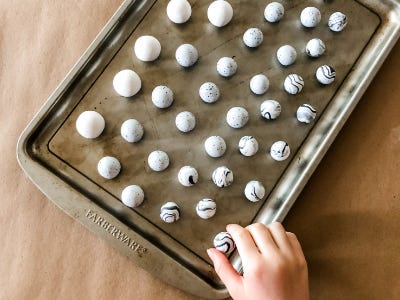
4. Roll each section into a ball with your hands. These will be your clay beads so mold until they feel as round as possible. They should be about the same size as your wood beads. Slightly smaller or bigger will also work and add some dimension to your garland if desired.
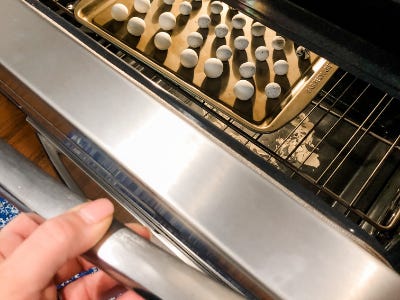
5. Place your clay “beads” onto a baking sheet and bake according to the package directions of your clay. (Typically around 265 degrees for 15-30 min depending on the thickness of the clay.)
6. While the clay beads are baking, gather up the other supplies and lay them out on your work area.
7. Allow the clay beads to fully cool.
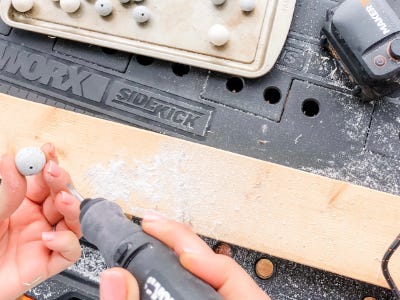
8. Power up your MAKERX Rotary Tool with the drill bit attachment and carefully drill holes into the clay beads. Be sure to do this on a safe surface to avoid damage. (A block of scrap wood works like a charm!)

9. After all of your clay beads are drilled, decide on a pattern and length for your garland and string the beads leaving each end open.
10. Once the beads have been strung, tie a knot in each end of the garland big enough to secure the beads.
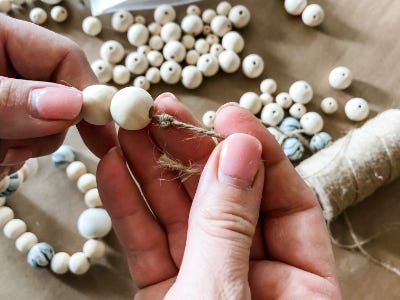
11. Now add the tassels to each end by tying them to the remaining twine. Trim any excess twine.


12. The garland is ready! All that's left to do is decide where to display it! Try it on your mantle or tablescape, or on a bookshelf or built-ins. The options are truly endless!