Intermediate
Wood & Resin Coasters
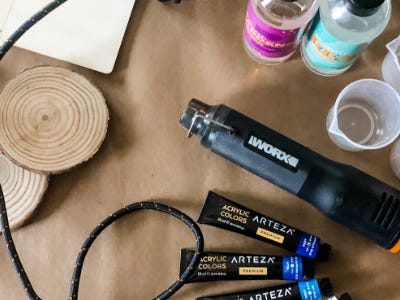
Supplies
- Wood Slices or Unfinished Coaster Slices
- Resin Kit (Resin Base plus Hardener)
- Plastic Cups (Large and Small)
- Popsicle Sticks
- Gloves
- Acrylic Paints (We used different shades of blues and white to create an ocean like effect but you can use any variation of colors for this project)
Step-by-Step Instructions
Steps
1. First, gather the cups and cover your workspace. We used a double layer of butcher paper. (Things can get a little messy when working with resin pouring) Make sure you have plenty of extra gloves on hand and put your first pair on now.
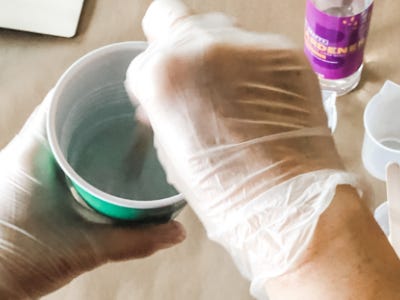
2. Mix the resin according to package directions. Make sure to stir well so that both ingredients are fully integrated. Approximately 3 minutes.
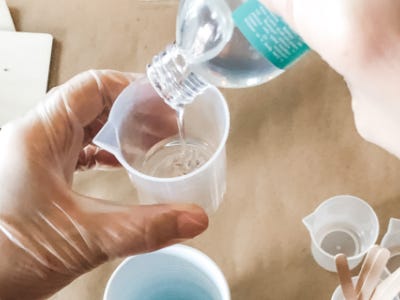
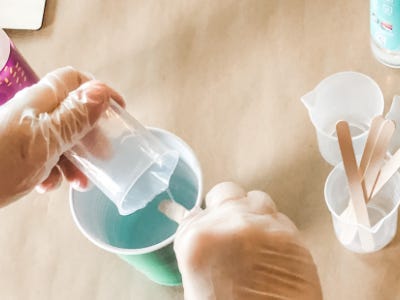
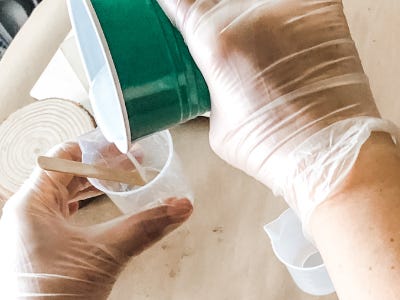
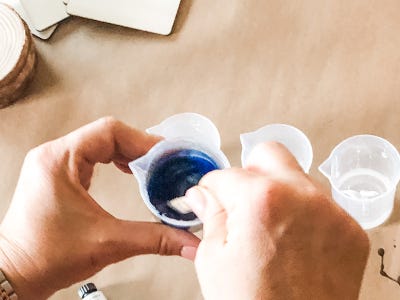
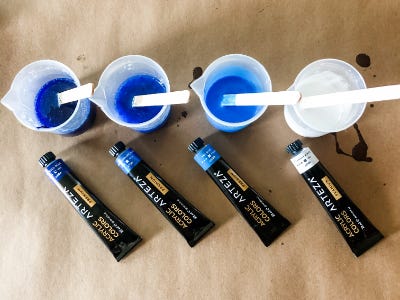
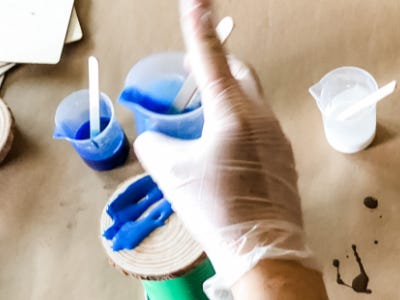
3. Divide the mixture amongst the smaller cups - one for each color you want to use.
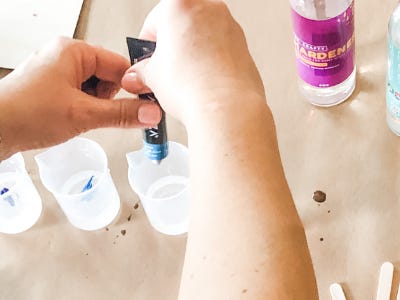
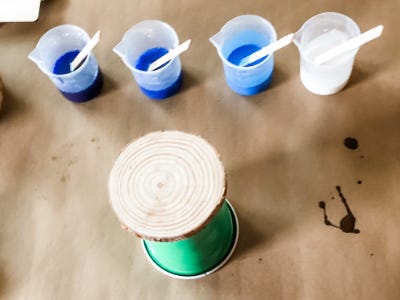
4. Add a small amount of the acrylic paint to each cup and mix well. Avoid using too much because this can dilute the mixture and prevent it from curing. We used 3 gradient shades of blue and one white.
5. Set the first wood slice on top of an upside down large cup or solo cup. This helps prevent the coaster from sticking to your workspace and allows for excess resin to drip off.
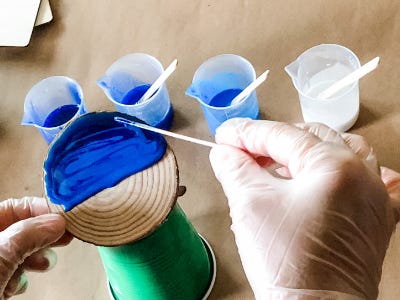
6. Starting with the darkest color, pour the resin onto the wood slice in lines across the coaster.
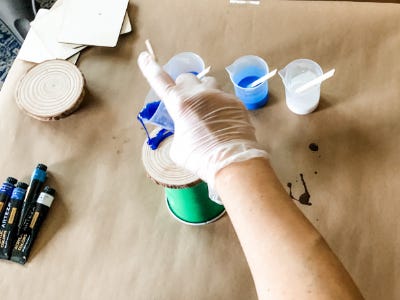
7. Before adding the white, you can tilt the coaster back and forth to allow the colors to mix slightly and the resin to reach the edges of the coaster. Feel free to use a popsicle stick to help move the resin around and to create patterns with the colors.
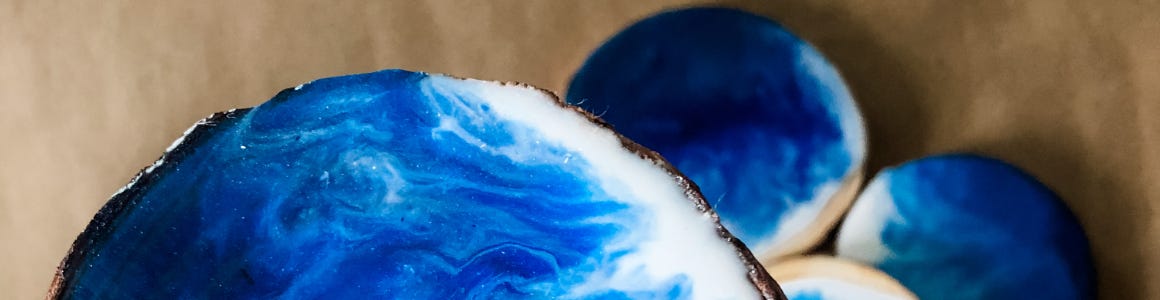
8. Add a thin line of white to the edge of the blue resin. We wanted to create an ocean like effect so we left a little of the raw edge of the wood uncovered.
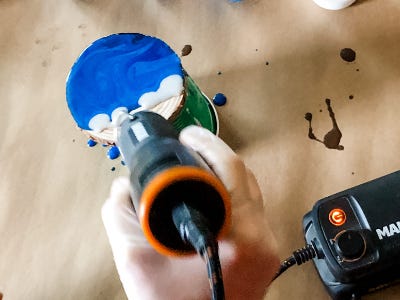
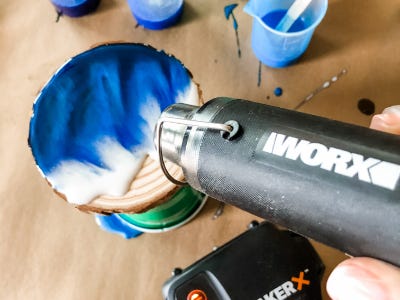
9. Using the MakerX heat gun, heat the resin to remove any bubbles.
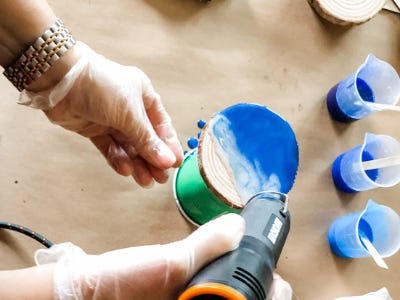
10. Once the bubbles are gone, use the heat gun to move the resin around and create a wave like effect with your colors. Get creative with this and have fun! We loved watching the way the colors flowed and swirled into each other.
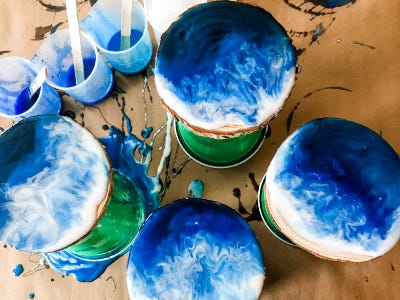
11. Continue with this until you have created your desired effect and set that coaster aside on another upside down cup. Make sure it is on a flat surface to allow for a level cure.
12. Repeat steps 5-11 on the other three coasters to make a set of four. We tried to keep the colors as consistent as possible although variations in pattern are to be expected.
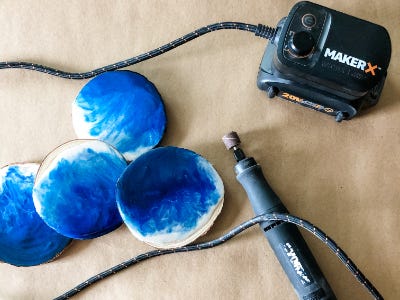
13. After all four coasters have been finished allow them to cure for at least 24 hours. Be sure to keep them in a climate with low humidity and free from excess dust.
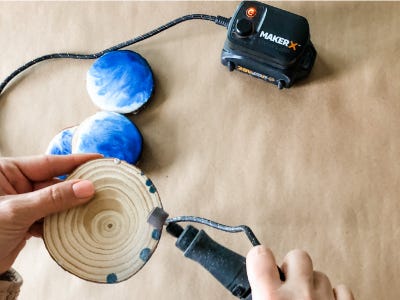
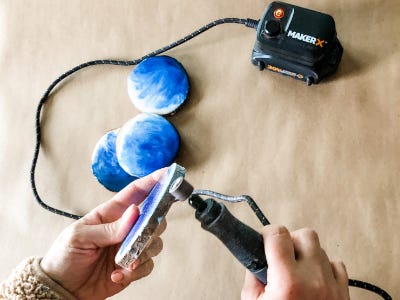
14. Once the coasters have cured, grab your MakerX rotary tool and sanding attachment.
15. Sand along the bottom and edges of each coaster to remove any resin drips.
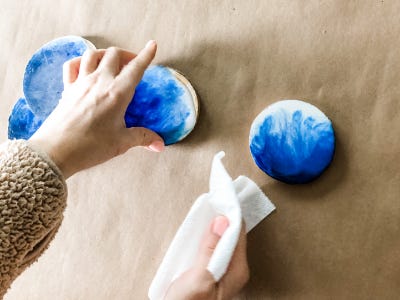
16. Using a damp cloth, wipe the coasters clean of any sanding dust. (We also rubbed them with a little cutting board oil on any exposed wood to condition and enhance the edges, but this is optional)

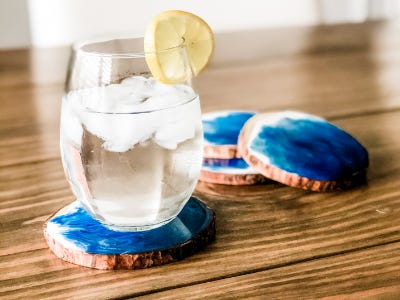
17. Sit back, relax and enjoy a cold beverage with your beautiful and unique coasters!