Intermediate
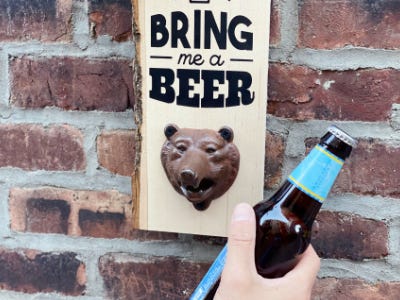
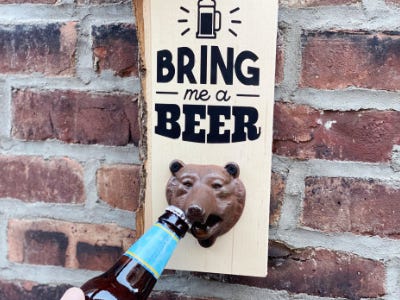
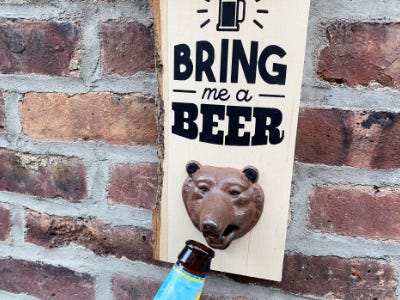
Wood Slice Bottle Opener

Supplies
- Wood Slice
- Adhesive Stencil
- Bottle Opener
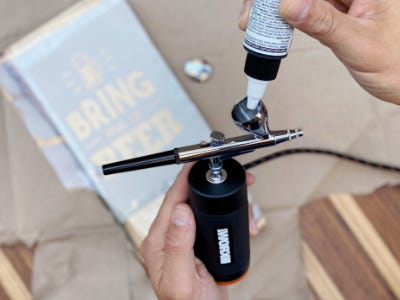
- Black Airbrush Paint
- Drill & Screws
- Wall Hanging Hardware
Step-by-Step Instructions
Steps
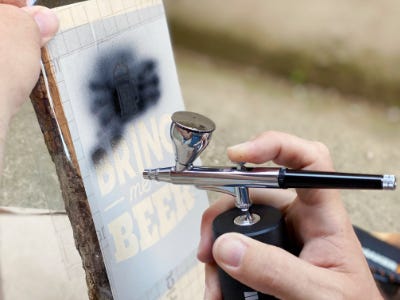
1. Place the adhesive stencil on the wood slice and press down the edges firmly. Cover any exposed areas to protect the surface before airbrushing.
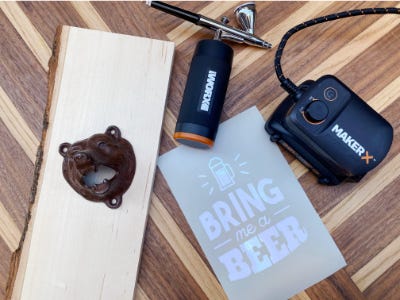
2. Load the paint reservoir of the airbrush approximately ⅓ full with black airbrush paint and begin painting in a consistent swirling motion about four to six inches away from the stencil. Once complete, set to dry before removing the stencil.
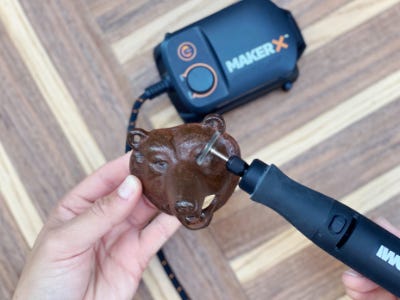
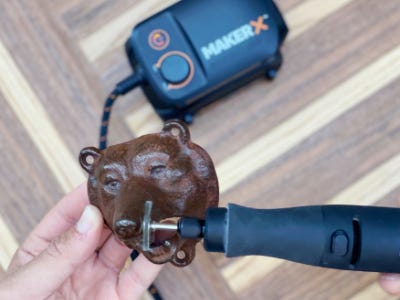
3. Use the rotary tool to give the bottle opener a distressed vintage look by sanding down some areas with the wire brush accessory. When complete, wipe clean with a damp rag.
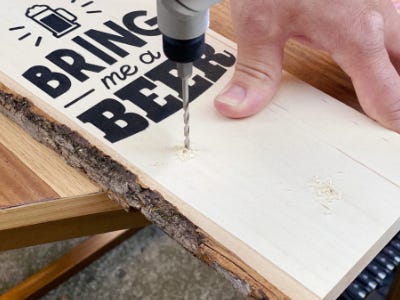
4. Measure and mark the bottle opener to the wood slice and predrill holes for screws. Screw the bottle opener in place.
5. Add hardware to the back of the wood slice to hang and enjoy!