Advanced
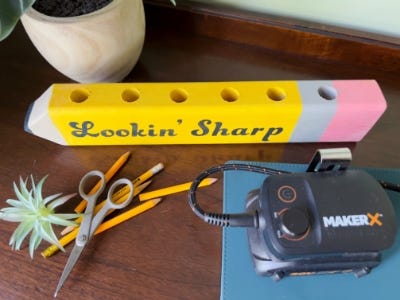
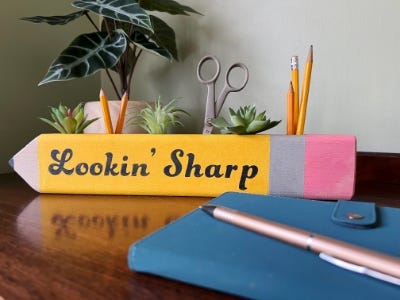
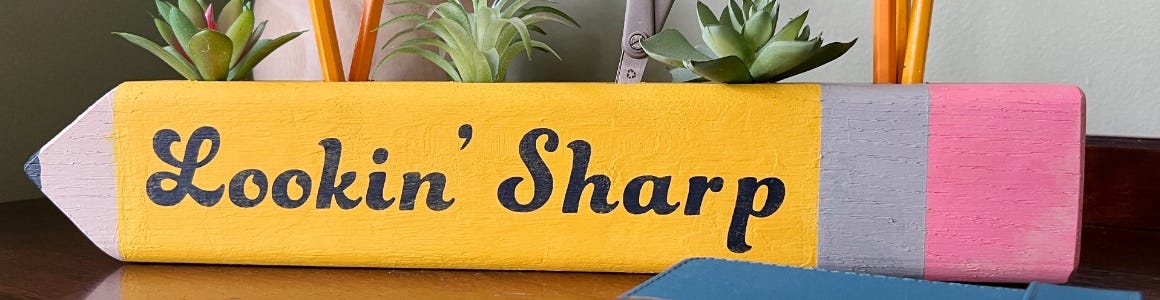
Back to School Wooden Pencil Holder
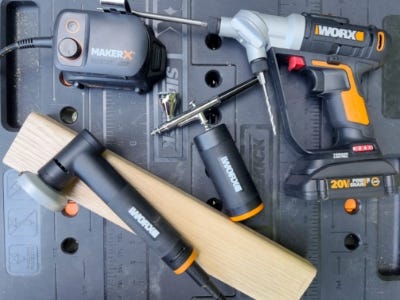
Supplies
- 12" x 3" Piece of Wood
- Acrylic Paint
- Paint Brush
- Airbrush Paint
- Painters Tape
- Spade Drill Bit
- Cutting Machine and Vinyl Stencil
Step-by-Step Instructions
Tool Tip
Before airbrushing, test and practice on a scrap piece paper.
Steps
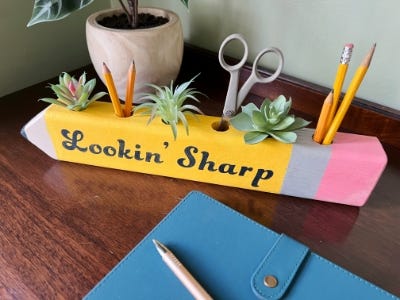
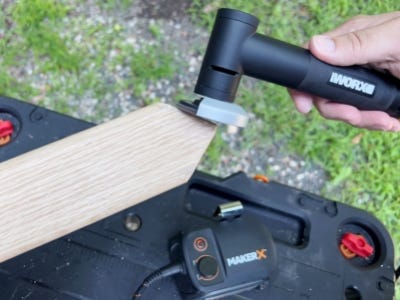
1. Start with a rectangular piece of wood about 12’’ long. Mark off a point on one end of the piece. Use the angle grinder to sand down the wood to a point. Continue to use the angle grinder to sand down the edges of the wood to give the whole pencil a nice rounded look. Tip: If the wood is too dense to sand through, cut the wood to a point using the Powershare Cordless Jigsaw.
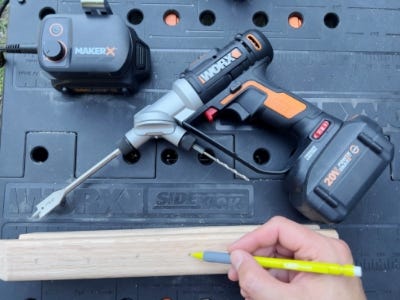
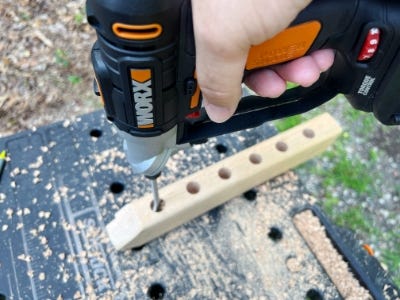
2. Mark the top of the pencil every two inches. Use the Switch Driver and a spade drill to drill each marked spot.
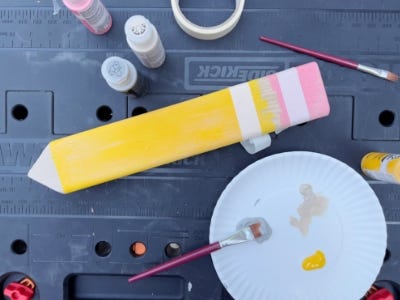
3. Use acrylic paint and a paintbrush to paint the features of the pencil. Tip: Use painters tape to help get clean lines.
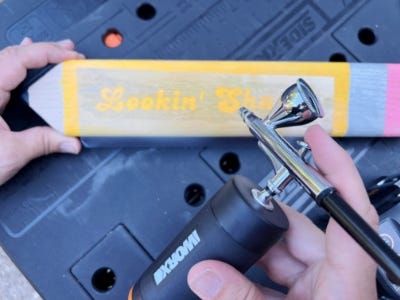
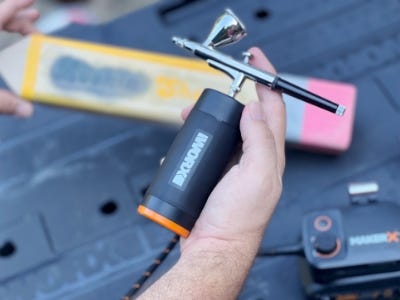
4. Use a pre-made adhesive stencil or cut out a stencil using a cutting machine. Place the stencil centered on the pencil and use the airbrush to fill it in. Tip: Make sure the base paint on the pencil is completely dry before adding the stencil, if it’s not fully dry the adhesive will peel off paint.
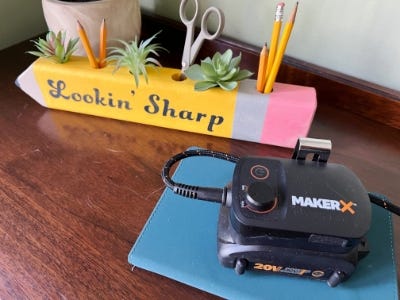
5. Add school supplies into the top holes and get studious!