Intermediate
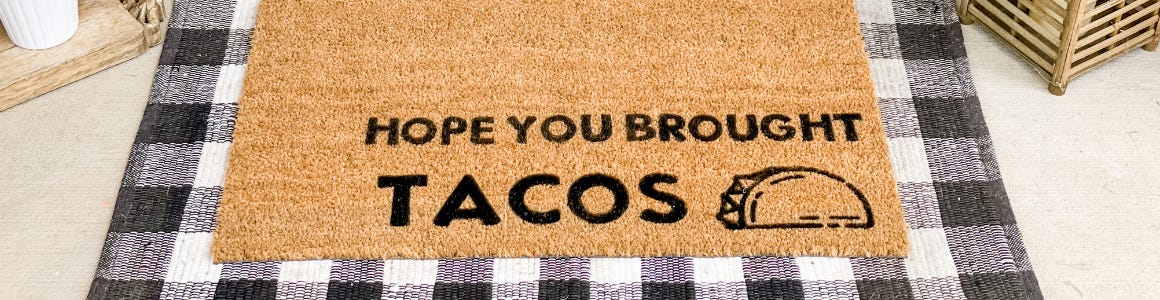
Custom Air Brush Doormat DIY
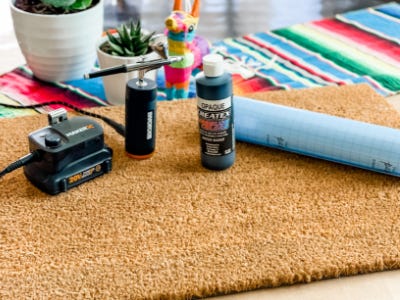
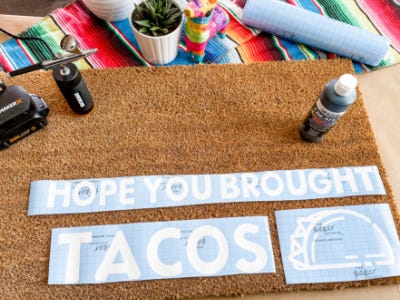
Supplies
- Plain Coir Doormat
- Vinyl Stencil Material or any Pre-made stencil
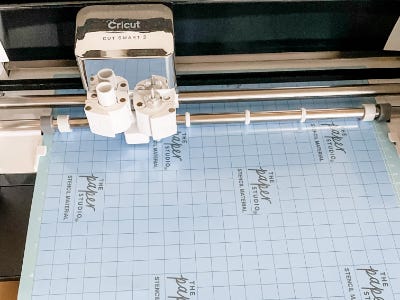
- Cricut (optional)
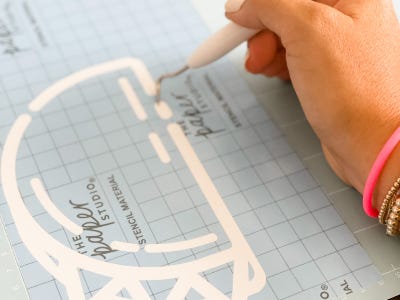
- Weeding tool
- Painters Tape
- Airbrush Paint
- Scissors
- Ruler or Measuring Tape
Step-by-Step Instructions
Steps
1. Start by measuring the space for your stencil on the plain doormat. Then, create or select the stencil you would like to use. Choose a funny saying, a monogram/last name or even a simple “Welcome.”
2. If using a Cricut to create your design, cut the image and weed the letters leaving the negative space as your stencil.
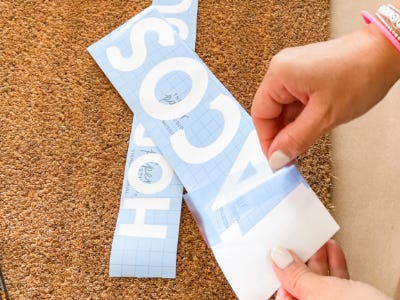
3. Cut the stencil to fit your mat and lay out the design as desired.
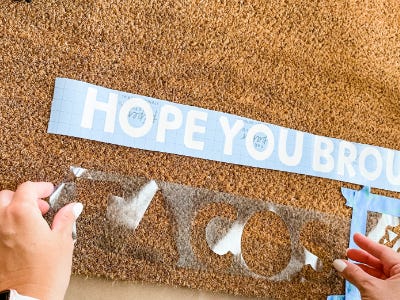
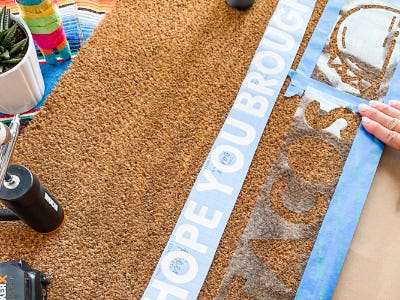
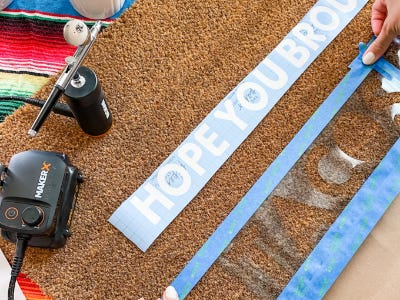
4. Peel your stencil and place it on the mat, being sure to press down on all of the edges to get a secure seal.
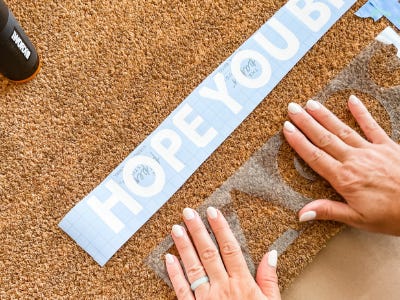
5. Using the painters tape, tape around the edges of your design, making sure there is a border big enough to protect the rest of the mat.
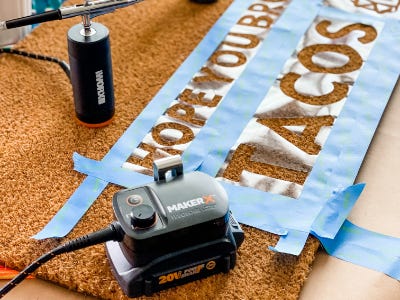
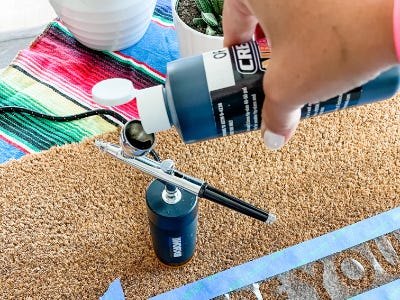
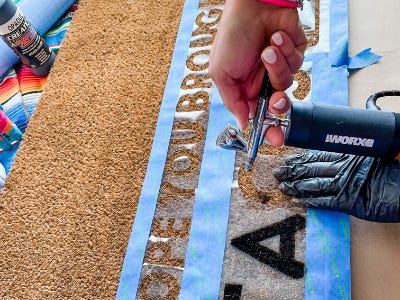
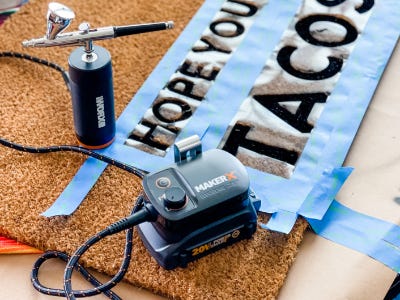
6. Fill the reservoir of your MakerX Airbrush with the airbrush paint of your choice.
7. Power up the airbrush and paint, being sure to fill in all the letters well without over saturating near the edges.
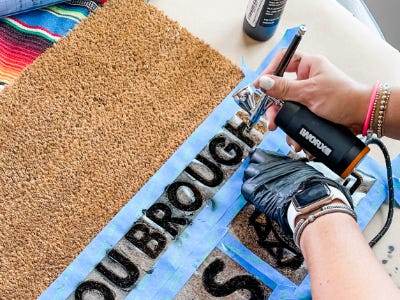
8. Let the paint set for a bit until it is dry to the touch and then peel back the stencil carefully, revealing your design.

9. That’s it! Roll out your new Custom mat and greet guests with a smile!