Intermediate
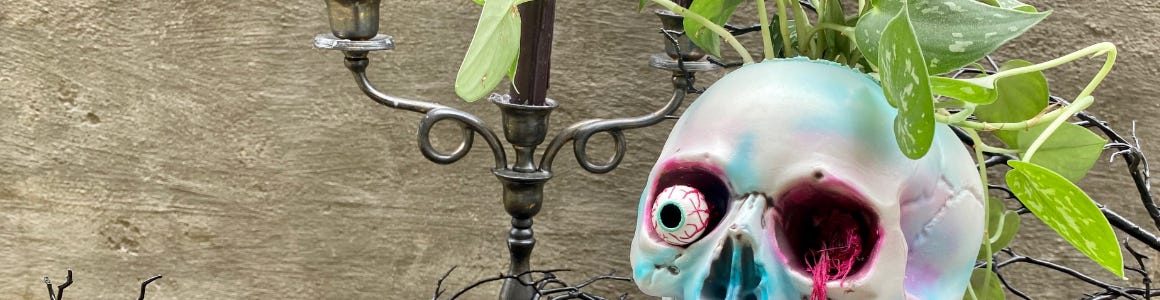
DIY Skull Planter
Supplies
- Plastic Skull
- Airbrush Paint (Pink & Teal)
- 2 Wooden Beads
- Acrylic Paint
- Red Embroidery Thread
- Decoupage Medium
- Plant
Step-by-Step Instructions
Steps
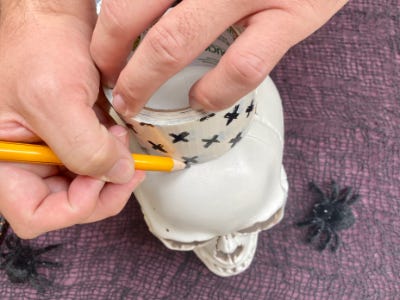
1. Use a roll of tape to trace a circle at the top of the skull large enough to fit your plant.
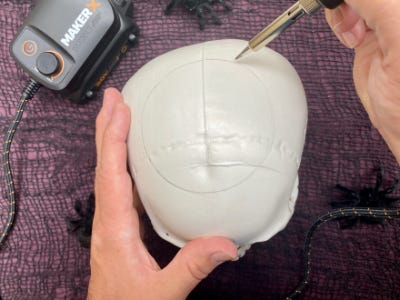
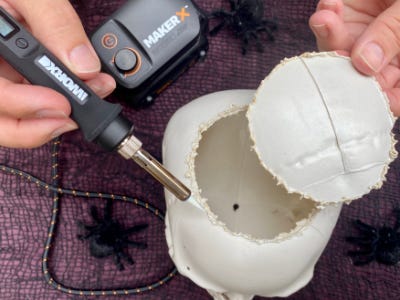
2. Preheat the wood crafting tool then carve out the traced circle on the top of the skull.
Tip: Check to see if the plant fits in the hole, if not keep carving away.
3. Load the paint reservoir approximately ⅓ full with the pink airbrush paint.
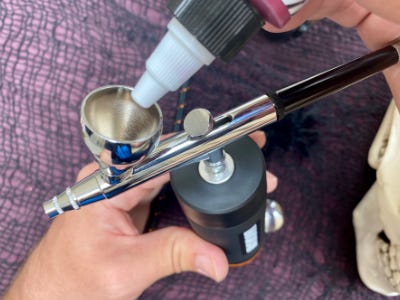
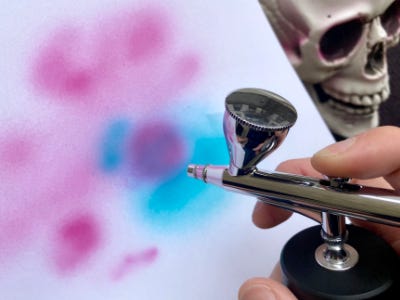
4. Before painting, test and practice on a scrap piece paper.
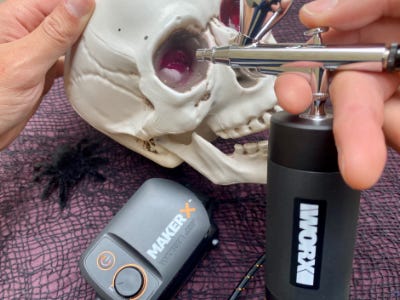
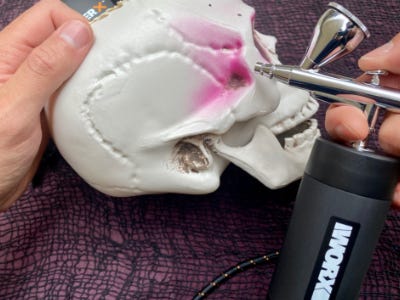
5. Begin painting nooks and cracks in the skull. Start further from the skull and work your way closer, in a slow steady motion. Adjust the air and paint flow as needed to create a creepy effect.
6. Once happy with the pink accents, rinse the reservoir with water. Add the teal paint to the reservoir and spray on scrap paper until the teal paint comes through.
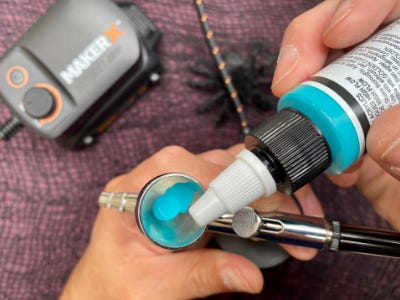
7. Lightly add pops of teal over the pink accents and in other areas on the skull until happy with the look.
8. Let dry.
9. Create eyes by painting two wooden beads with acrylic paint.
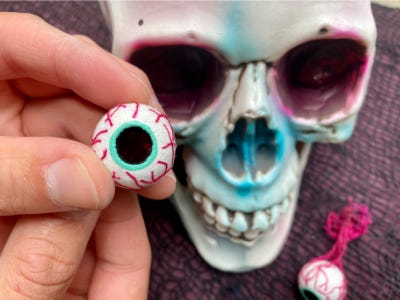
10. Use a decoupage medium to add long pieces of embroidery thread around the bead for a bloodshot look.

11. Hot glue the beads to the sockets...if you’re really creepy keep one dangling.
12. Finally, place your plant inside the skull. Ta-da!