Intermediate
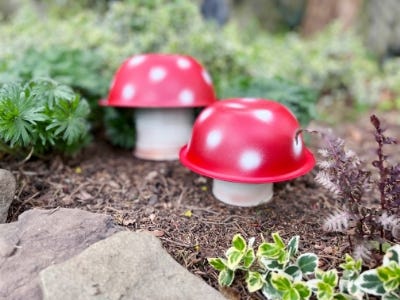
DIY Metal Mushroom Garden Accents
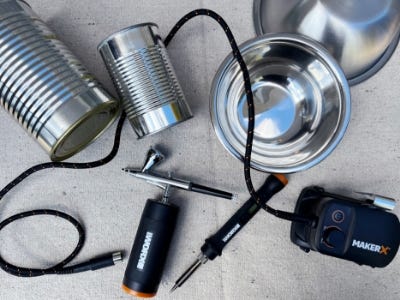
Supplies
- Metal Bowls
- Tin Cans
- Red & White Spray Paint
- White & Brown Airbrush Paint
- Flux
- Solder Wire
Step-by-Step Instructions
Tool Tip
Before airbrushing, test and practice on a scrap piece paper. Wear protective eyewear and gloves when soldering and spray painting.
Steps
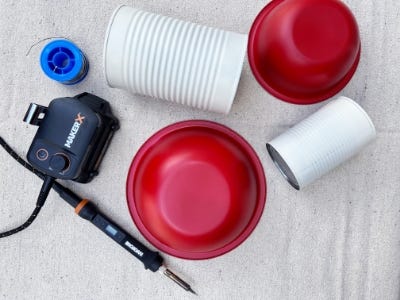
1. Remove any labels from the tin cans. Wash and dry the tin cans and bowls well to remove any residue. Turn the bowls upside down and spray paint them red. Spray paint the tin cans white. Allow them to dry completely before moving on to the next step.
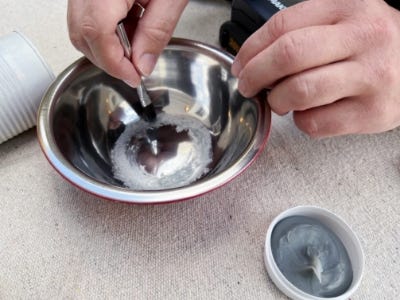
2. Place the bowls on a protected work surface and place the cans inside the bowl. Remove the can and add flux, with a brush, to the bottom of the bowl in the area where the can sits. Add flux to the rim of the can and place them inside the bowls again. The flux will help the solder stick to the metal, this is a step you don’t want to skip.
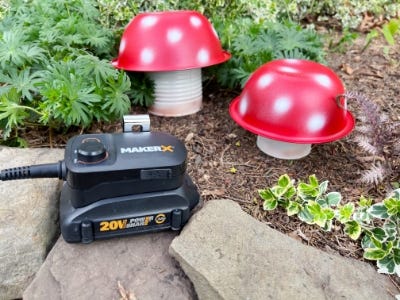
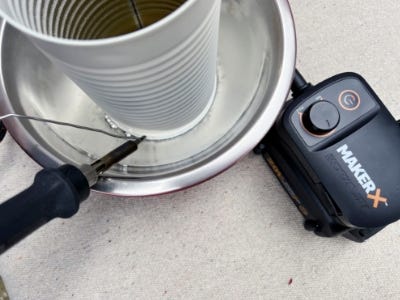
3. Turn on the metal crafter and let it heat up. Place the solder wire close to where the bowl and the tin can meet, gently touch the wire with the metal crafter to melt the solder. Continue this process around the tin can.

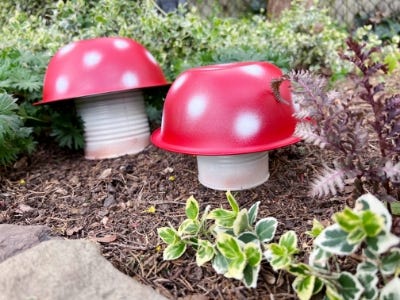
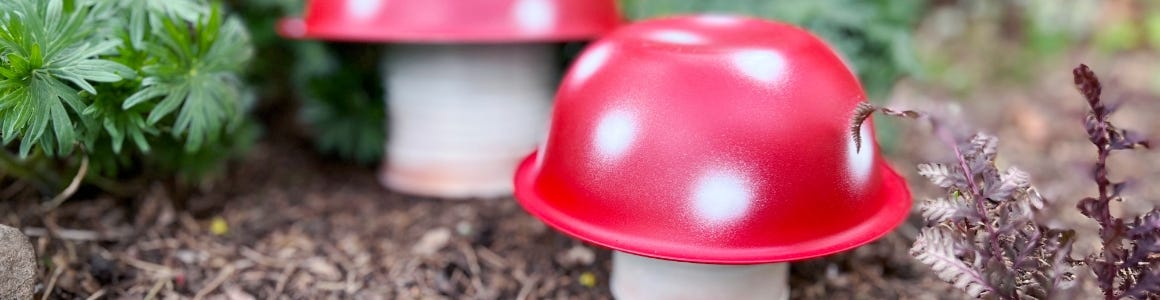
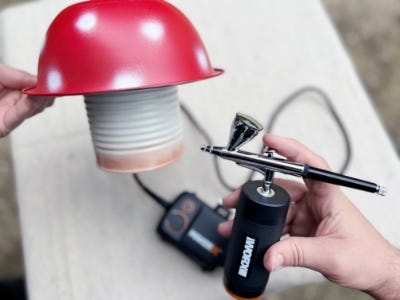
4. Load the paint reservoir of the airbrush approximately ⅓ full with the white airbrush paint. Test the airbrush on a scrap piece of paper before trying it on the bowl. Add white polka dots on the bowl by holding the airbrush in one spot and moving it in a swirling motion.
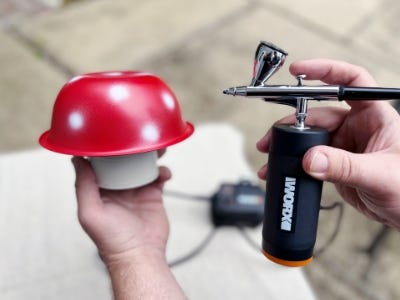
5. Empty out the remaining paint and add brown paint into the reservoir. Spray it on a piece of scrap paper until the paint fully turns brown and begin to spray the base of the mushrooms for added detail.
6. Spray the mushrooms with a clear sealant to make them weatherproof.
7. Place them in your garden and enjoy!