Intermediate
Patriotic Star Garland


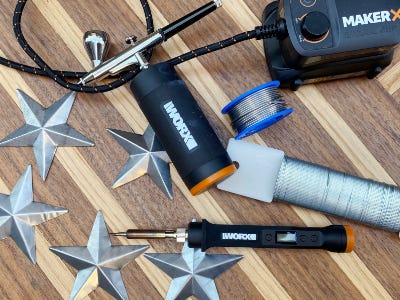
Supplies
- Metal Stars
- Red, White & Blue Airbrush Paint
- Flux
- Solder Wire
- Craft Wire
Step-by-Step Instructions
Tool Tip
- Before airbrushing, test and practice on a scrap piece of paper.
- Wear protective eyewear and gloves when soldering.
Steps
1. Protect your work surface and separate the stars into the colors you’d like to paint them.
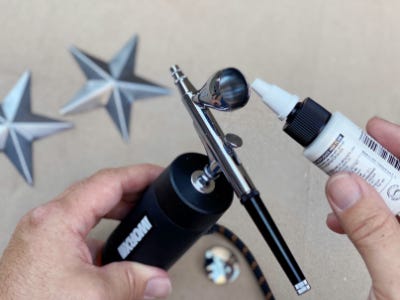
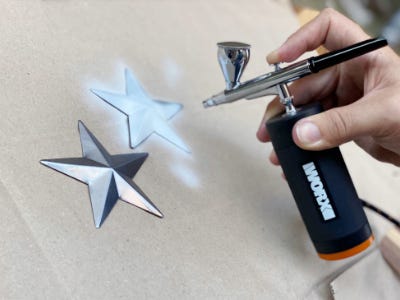
2. Load the paint reservoir of the airbrush approximately ⅓ full with the white airbrush paint. Begin painting the first set of stars in a consistent swirling motion about four to six inches away from each star. Continue the process until happy with the look and set them to dry.
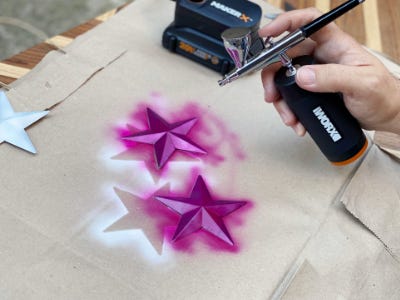
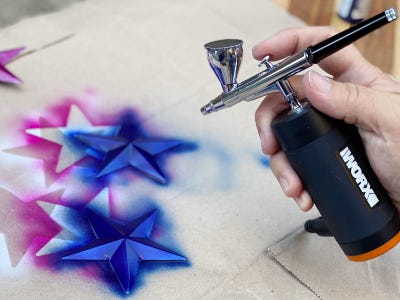
3. Empty out the remaining paint and add the red paint into the reservoir. Spray it on a piece of scrap paper until the paint fully turns red and begin to spray the next set of stars. Repeat this process until all the stars are painted red, white & blue and set to dry.
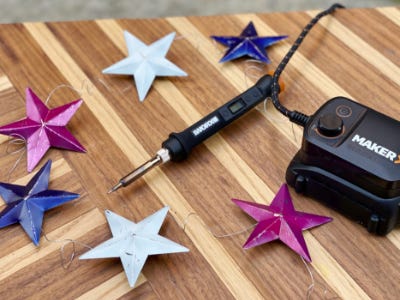
4. Turn on the metal crafter and let it heat up. Flip and arrange the stars in a pattern. Add a small amount of flux to the center of each star.
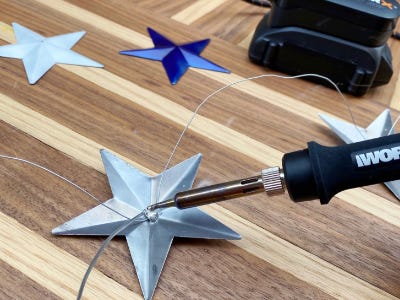
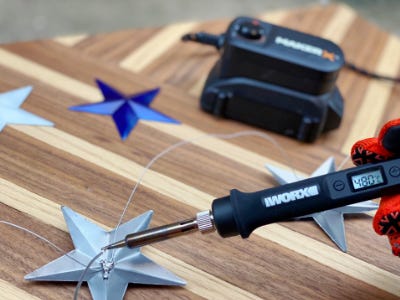
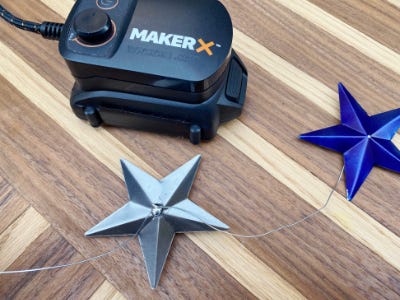
5. Hold the craft wire in the center of the first star and use the metal crafter to melt a small amount of solder on top of the wire. Continue until the wire and star are fused together. Repeat this process for each star.
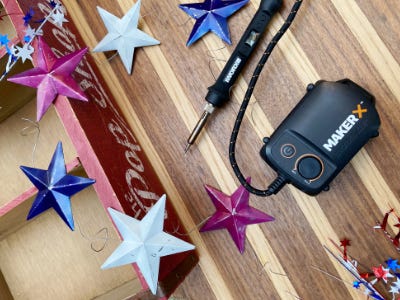
6. Distress the stars with a piece of sandpaper for a rustic look. Add a whimsy detail by wrapping the craft wire around your finger to create a coil.
