Beginner
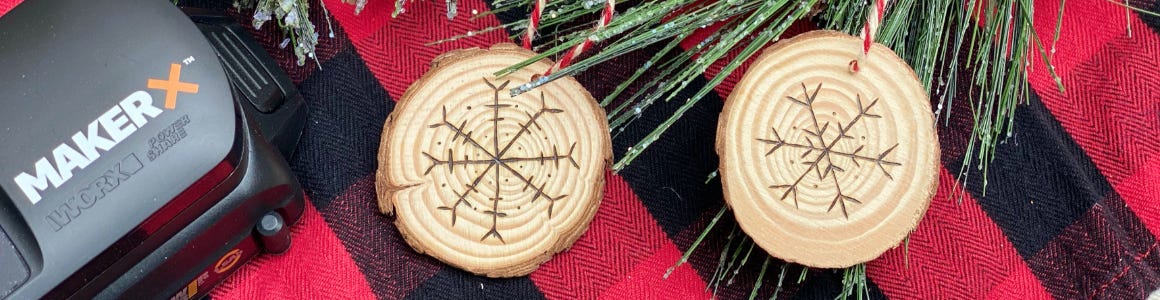
DIY Snowflake Wood Slice Ornaments
Supplies
- MAKERX Wood & Metal Crafter
- MAKERX Rotary Tool
- Wood Slices
- Printed or Drawn Design
- Pencil
- Ruler
- Bakers Twine
Step-by-Step Instructions
How To Video
Steps
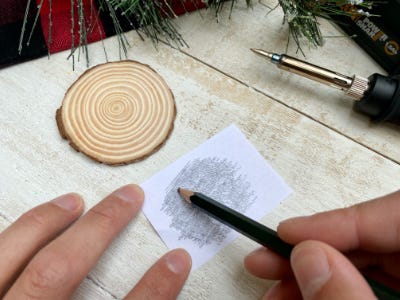
1. Draw or print out a snowflake design to the size of the surface of the wood slice on a piece of paper. Tip: Keep the design simple for best results.
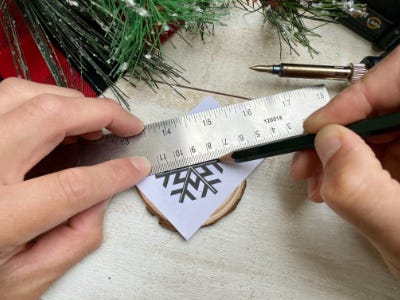
2. Transfer the snowflake design onto the wood slice by covering the back of the design with pencil, then place the design right side up on top of the wood slice and trace snowflake with medium pressure.
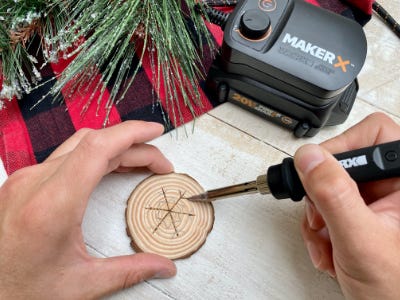
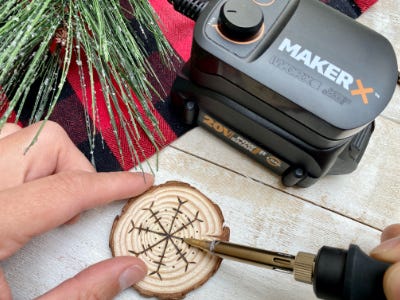
3. Turn on the wood burning tool and allow to heat up until maximum temperature is reached.
4. Use the point of your choice to trace over your snowflake until they are as thick and dark as you like until happy with the burn. Tip: Trace slowly and use even pressure for the best results.
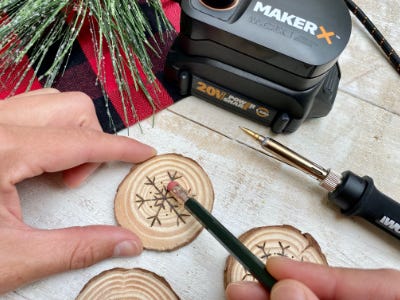
5. Use your pencil to erase any unwanted pencil lines.
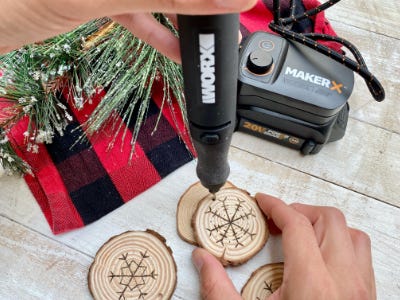
6. Remove the wood burning tool from the hub and attach the rotary tool. Tip: Use caution when handling as the wood burning tool will still be hot.
7. Place the wood slice on a piece of scrap wood and use the drill bit to drill a hole at the top center of the wood slice.
8. Thread a piece of bakers twine through the hole and tie to hang.


