Intermediate
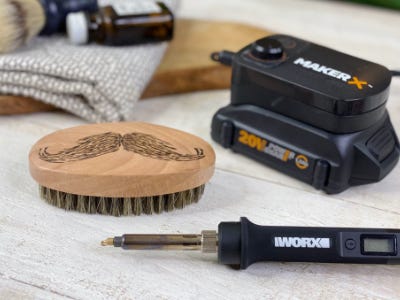
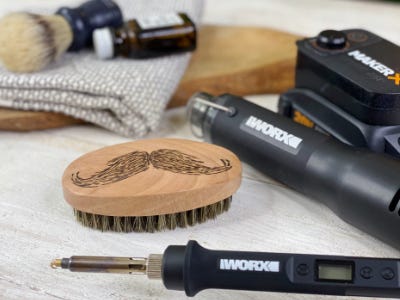
Wood Burned Beard Brush

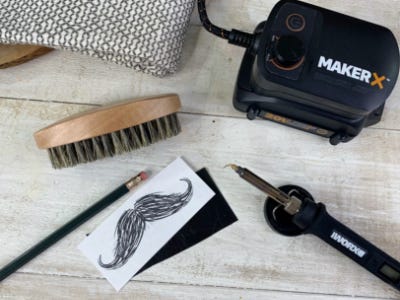
Supplies
- Printed Clip Art (Mustache Image)
- Carbon Paper
- Pencil
- Beard Brush
- Polyurethane
- Paint Brush
Step-by-Step Instructions
Tool Tip
Get familiar with the wood burning tool - Practice on an extra piece of scrap wood. Hold the tool like a pen or pencil and try different tips while testing the temperature you like working with best.
Steps
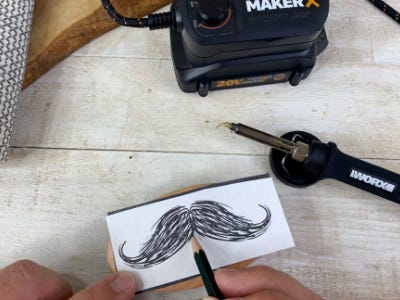
1. Enlarge and print free clip art of a vintage-style mustache image and size it to fit the top of the beard brush.
2. Transfer the design onto the beard brush by laying a piece of carbon paper between the beard brush and the print out. Trace over the image with a pencil with medium pressure.
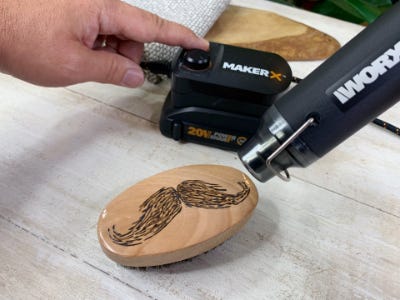
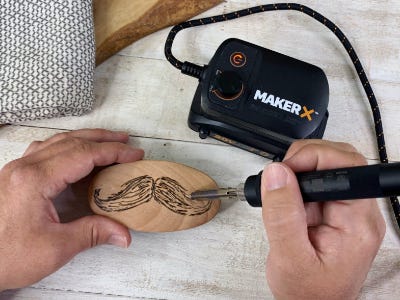
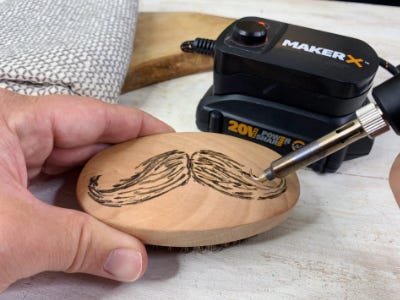
3. Turn on the wood burning tool and allow it to heat up until maximum temperature is reached.
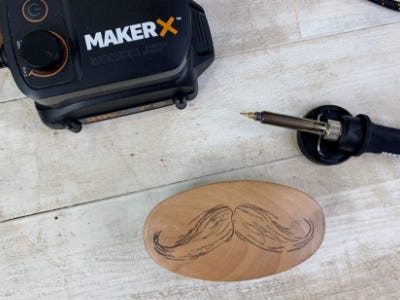
4. Using the point of your choice, wood burn over the image. Use even pressure for the best results being sure to rotate the brush as you work.
5. When completed, erase any pencil marks and wipe down clean with a damp rag.
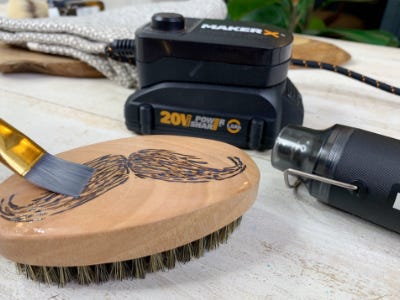
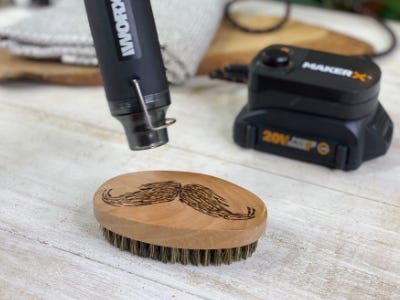
6. Waterproof and seal in your work with polyurethane. Use a paintbrush to apply a thin coat of the sealant. For the best results, follow the direction on the can or bottle. Turn on the heat gun and wave it in a constant motion over the beard brush for about 10-20 seconds to help pop any air bubbles and give the smoothest finish. Let the polyurethane dry for at least 24 hours before handling.