Intermediate
Wooden Dreidel


Supplies
- Wooden Block
- Wooden Dowel
- Drill/Drill Bit
- Clamp
- Airbursh Paint
- Adhesive Stencil
- Painters Tape
- Rag
Step-by-Step Instructions
Steps
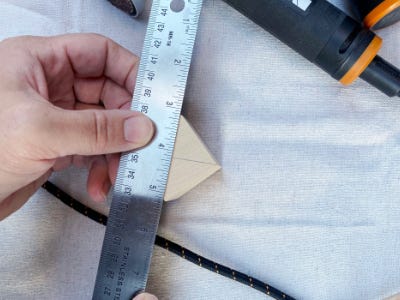
1. Find the center of the top of the wooden block by marking out an X corner to corner with a ruler and pencil. Repeat on the parallel side of the block.
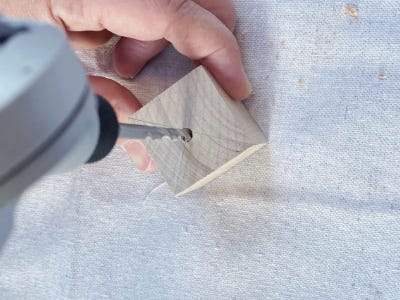
2. Drill a hole about a ½ inch deep in the center of the block for the dowel. Make sure the drill bit matches the size of the dowel.
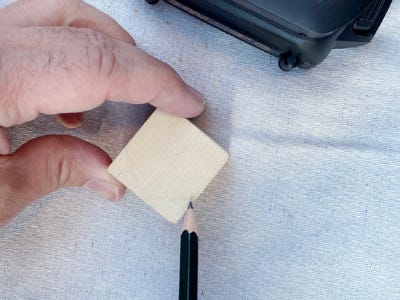
3. On each side of the block mark out two diagonal lines to help guide you when you’re sanding your point.
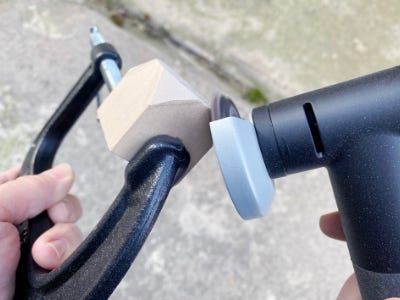
4. Place the block in a clamp with the bottom of the cube sticking out as much as possible.
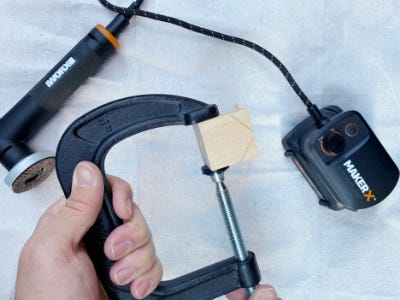
5. Turn on the angle grinder and turn the speed to high. Begin to sand off the corners of the block to make a rounded point at the bottom. Rotate the block to help get even sides.
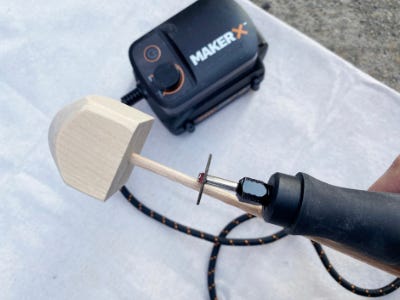
6. Place the dowel into the hole at the top and trim it off using the rotary tool.
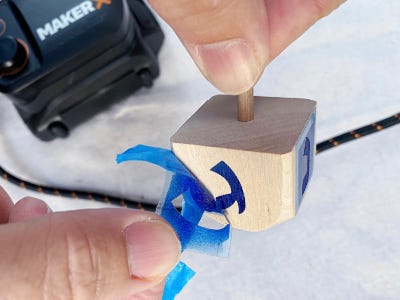
7. Wipe down the sides of the block with a rag to remove any sawdust. Place an adhesive stencil centered on each side of the block and mark off any other areas with painter tape. Tip: If your stencil does not have adhesive, spray the back with an adhesive spray or tape the sides well so the stencil lays as flat as possible.
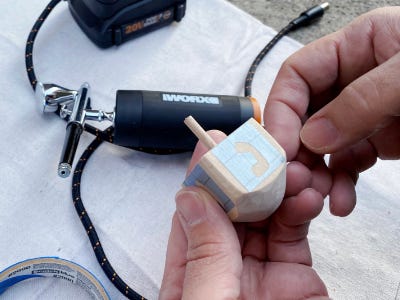
8. Load the paint reservoir of the airbrush approximately ⅓ full with airbrush paint. Tip: Before painting, test and practice on a scrap piece paper.
9. Begin painting in a consistent circling motion about six inches away from the stencil.
10. Remove stencil when fully dry and give it a spin!


