Intermediate
Wooden Tree Ornament Display DIY

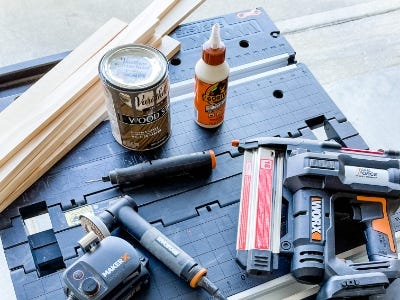
Supplies
- 6, ½" x 2" x 3' Pine Boards
- 1, 1" x 4" x 6 Piece of Pine
- 3, ⅜" x 3' Dowels
- Wood GLue
- Wood Stain
- Clean Rags
- Gloves (for working with stain)
- Measuring Tape and Triangle
- Pencil
- Level
- Painter's Tape
- 1/8" Nail Gun Tacks
- 1" Nail Gun Tacks
Step-by-Step Instructions
Steps
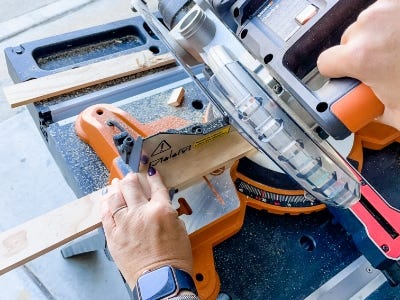
1. Start by gathering up your lumber and setting up the Worx Tools Miter Saw on your work table.
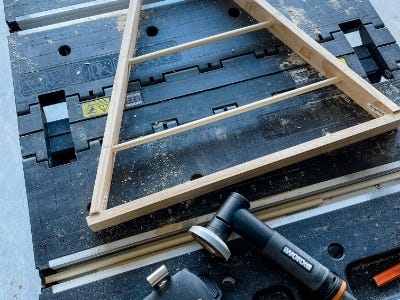
2. Then, lay out your pieces into triangles and measure the angles you will need for them to line up. We made most of our cuts at a 45 degree angle for this project, but this will vary depending on how big or small you decide to make your trees.

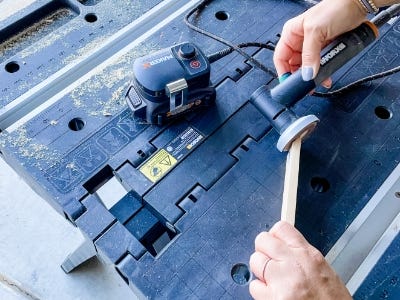
3. Now, make your cuts. This part requires a lot of measuring and cutting and measuring again to get the pieces to fit together just right. We used our angle grinder with the sanding wheel to shave off any odd pieces and get those angles to match up.
4. Next, it’s time to measure and cut your 1"x4"s to create the base for your tree. We centered ours with approximately 4-5" left on either side of the bottom part of the tree.

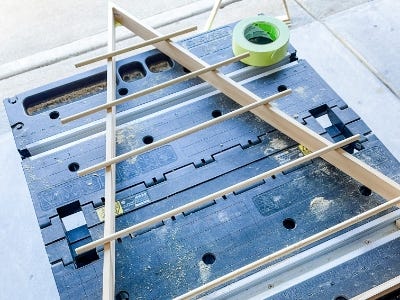
5. Once you have all of the cuts made, lay out your first tree and grab your measuring tape and level to mark where the holes for your dowels will be. We decided to make our dowels go straight across but have seen it done at an angle as well. This part is up to you. To measure, we decided on 3 rungs for our small tree and 5 rungs for our large tree. This part was not super exact, we just layed the dowels across until we liked the spacing and measured to get them as close to evenly spaced as possible.

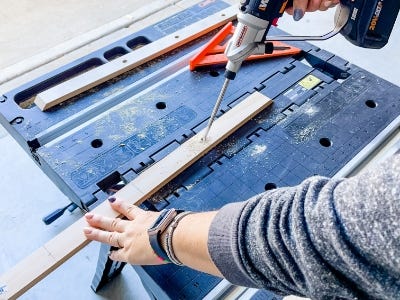
6. Now, grab the Switchdriver with a ⅜" bit attached and drill the holes for your dowels. These will need to be drilled at the angle in which the original cuts were made so that they can go straight across. We eyeballed this and it worked out great.
7. After all of the holes are drilled, lay out your dowels and mark where they will need to be cut. This took a little trial and error but our MAKERX angle grinder with the sanding attachment really helped to shave off any extra length in order for us to get the perfect fit.

8. Repeat this with the larger tree until all of your holes have been drilled and dowels have been cut to size.
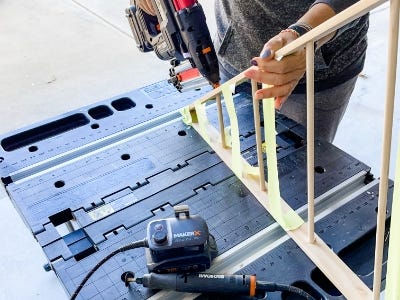
9. To assemble the trees, add a dab of wood glue to each corner and dowel and secure with painters tape. This helps to hold it all together until you tack it with the nail gun. Be sure to wipe off any excess glue with a wet rag to prevent an uneven finish when staining.


10. Next, grab your Worx Tools Nail Gun with ⅛” tacks and secure each joint of your trees.
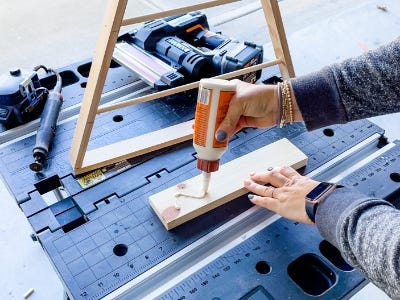
11. Once both trees have been assembled, add some wood glue to the base piece and attach the bottom of your tree with some more tacks using the nail gun. (you will need to switch to 1" nails for this)

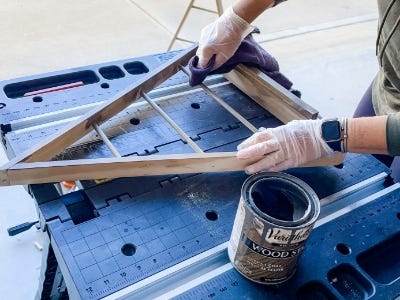
12. If you choose to stain or paint your trees, now is the time to do this. We used a smoky stain that coordinates with our decor.
13. Let the stain dry and bring them inside so you can add your ornaments.

14. We used a neutral color scheme for ours and tied the ornaments on with some jute twine. (Ornament hangers or wire would also work for this.) I just love the modern look that these Ornament Trees add to our holiday decor! Happy Crafting!