Advanced
Built-in Shelves & Plank Wall

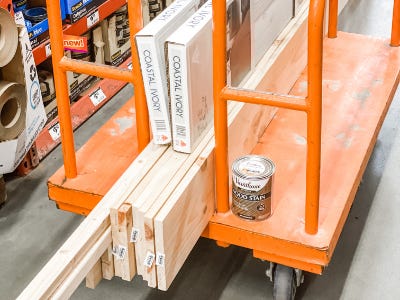
Supplies
- 2 1x4x6 Pine Boards
- 6 1x8x6 Pine Boards
- 2 2x2x10 Pine Boards
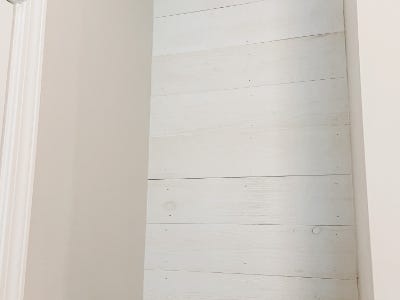
- 2-3 Boxes of Ready-Made Planks (we used Coastal Ivory color)
- Wood Screws
- Level
- Measuring Tape
- Wood Stain
- Clean Rags
- Nail Gun Nails
- Paintbrush
- Painter’s Caulk
- Coat Hooks and Hardware
- Gloves
Step-by-Step Instructions
Steps
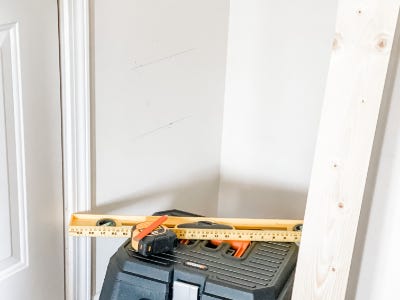
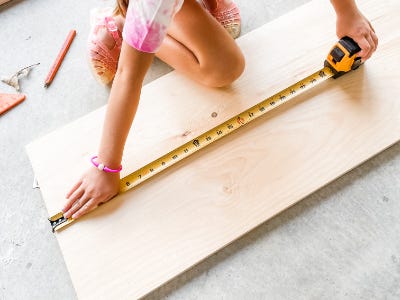
1. Start by measuring your space so you can determine how much lumber you need. This will vary depending on how many shelves you are adding and how large the space. We were working with a 2’x2’x9’ space and added three 2’x16” shelves.
2. Once you have an estimate on the space, gather all of your supplies from the hardware store. We used two 8” wide boards to create our 16” shelves and got ready-made planks for the back wall. We also used 2x2’s for the supports and a 1x4’ for the front caps of the shelves.
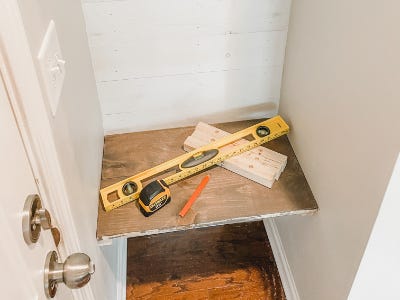
3. Mark the wall where you want your shelves to be on 2 sides making sure they are level. (You will mark the back wall after the planks are installed.)
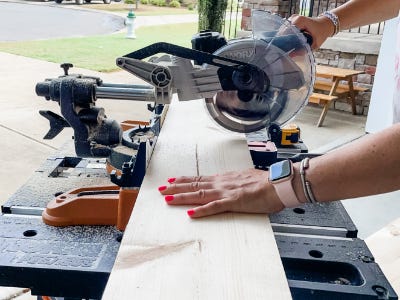
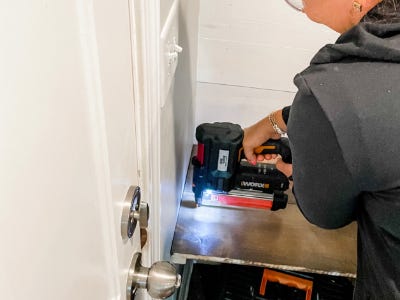
4. Measure and cut your planks for the back wall using your Worx Nitro Cordless Circular Saw. As with any home, our walls were not perfectly straight so this was a bit of a challenge. Our MAKERX Angle Grinder helped shave off any excess after the initial cut to allow each board to fit securely in the space. Attach the planks to the wall using the Worx Nail Gun. We wanted to achieve a rustic look but decided to caulk the ceiling and sides where the planks met the walls to create a cleaner line. This step is optional.
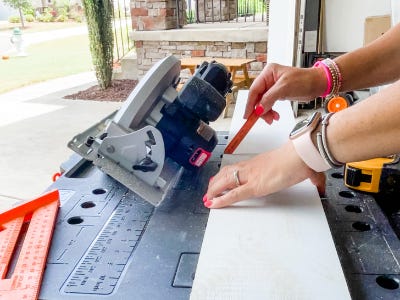


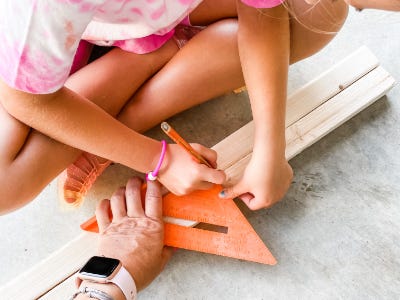
5. Once your plank wall is installed and finished to your taste, it’s time to measure your shelving boards. (This is a great time to get the kiddos involved!) Our daughter helped to measure and mark the boards for us. For this we used our Worx Sliding Compound Miter Saw. Once again, each board needed to be custom cut to fit the space which kept us from being able to assemble the shelves before installing them. Although it seemed like a big job, installing each shelf into the space was not too difficult in the end.
6. Once you have the top and bottom of your shelves cut, label each piece of wood on the back according to where they will be on your wall. (i.e.: Top, Middle, Bottom)
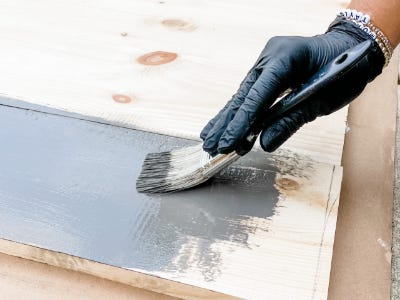
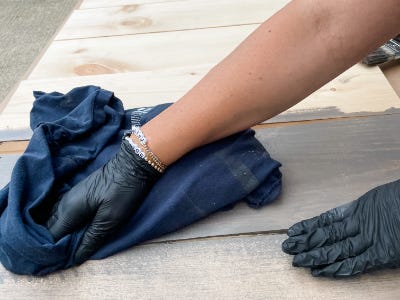
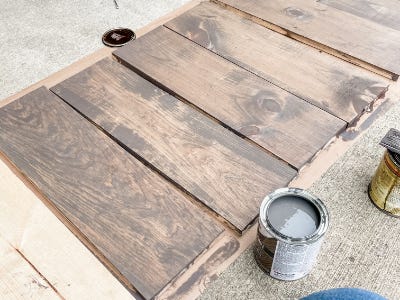
7. Lay the cut boards out on some butcher paper or newspaper and paint on the stain of your choice. We mixed 2 different colors to achieve our desired look. Working on 1 or 2 boards at a time and wiping the stain off with a clean rag, continue until all boards have been finished.
8. While the stain is drying, cut your 2x2” supports for each shelf. We made them 12” long. One for both sides and one for the back. (9 supports total for 3 shelves.)
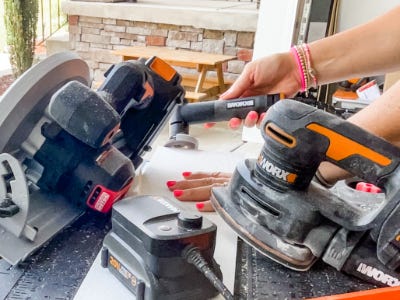
9. Using our Worx Switchdriver with the ⅜” drill bit, we pre-drilled 2 holes about a ¼ of the way into each board to allow the screw to be able to sink through into the wall.

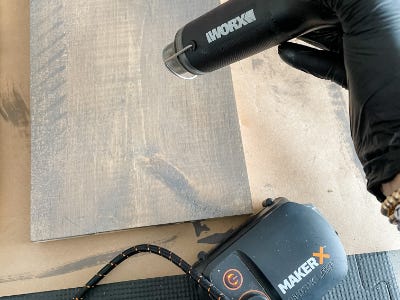
10. Next, we put a layer of satin Poly on our pre-stained boards to add a bit of durability to them. We used the Worx MAKERX Mini Heat Gun here to remove any bubbles from the poly that settled into knots.
11. While the Poly was drying, we measured where the supports for the back wall should be and marked them (making extra sure they were level).
12. Using the Switchdriver and some long deck screws, we installed each support about an inch or two away from the back wall ensuring the supports would fall somewhere in the middle of each shelf. The back support we just eyeballed to about the middle of the wall. Since each shelf had been cut to fit snugly into the space, we didn’t use a stud finder or wall dog to install the supports. You can definitely do this if you are installing shelves that may be carrying a heavier load but ours are mostly decorative so we just went without. (And these puppies are secure!)
13. We went ahead and installed the bottom shelf first to make sure our cuts were a good fit. To install the shelves we used the Nail Gun and shot a brad through the top of the shelf into the supports. We used about 2 nails on each board. For the bottoms (which are purely decorative) we added a few shims underneath the 2x2”s to allow us something for the nails to attach to underneath. This makes the bottom flush with the front caps that are the 1x4’s. (We did the front caps at the very end as a finishing piece so there were no gaps on either side creating that perfect built-in look.)
14. Continue installing each support and top and bottom of your shelves until all are up and level.
15. Once the shelves were up, we custom cut each front cap from the 1x4” and labeled the back again. (Top, Middle, Bottom)
16. Then we stained and applied poly to these 3 boards and let them dry. (The waiting is the hardest part!)
17. Finally, we installed the front caps by using the nail gun to secure the tops and bottoms to each shelf. If any nails showed afterwards, we applied a small amount of the darker stain and gently wiped it away to hide them.
18. Styling these shelves was truly a DREAM! This awkward space is now not only more functional but is also BEAUTIFUL (even with all the backpacks and shoes).


