Beginner
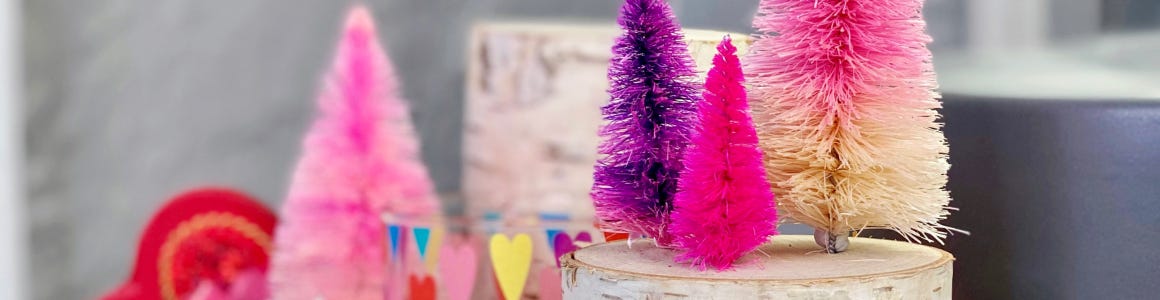
Dip Dyed Valentine’s Day Bottle Brush Trees
Supplies
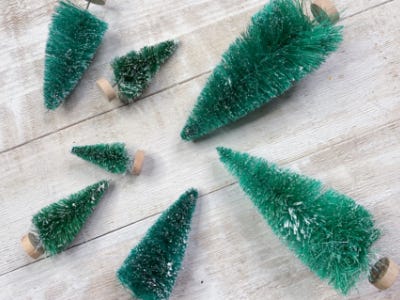
- Bottle Brush Trees
- Bleach
- Food Coloring or Die
- Water
- Small Tree Stump
- Craft Glue
- 2 Cups or Bowls
Step-by-Step Instructions
Steps
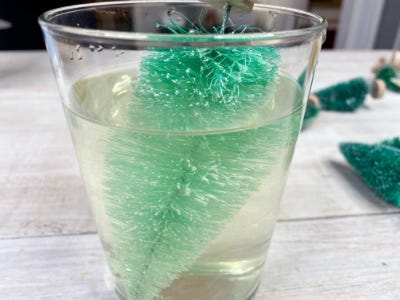
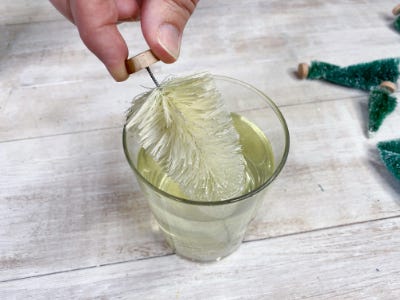
1. Turn green bottle brush trees into a blank canvas by turning them white. Add 1-part hot water to 1-part bleach into a bowl or cup and place the bottle brush trees facing down inside the solution to strip the original color. The more bleach used the quicker the color is stripped.
2. Once the color is fully removed, rinse the trees under running water to remove the bleach.
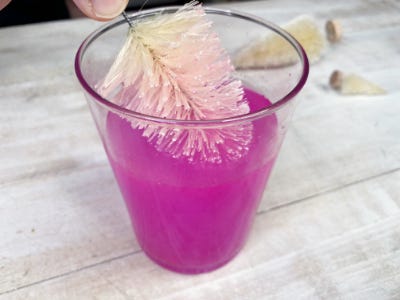
3. Add hot water and pink die into another bowl or cup. Place the bottle brush trees facing upside down into the solution. The longer the tree is kept in the solution the more vibrant it will be. Tip: Create an ombre effect by only filling the cup half way up with dye and water.
*Optional: Use the airbrush to add color to the bleached trees instead of dip dying them.
4. Once happy with the color, take the trees out of the solution and lightly pat dry with a paper towel or dish rag.
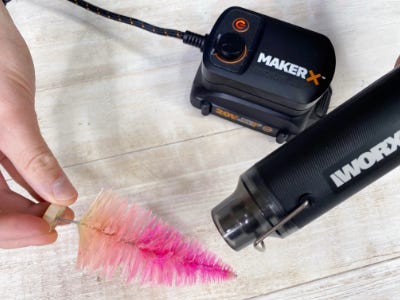
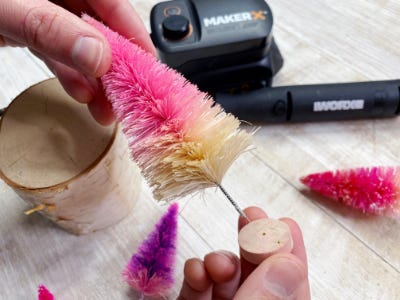
5. Use the MAKERX Heat Gun to dry off the trees completely to prevent rusting on the metal trunk. Hold the heat gun about six inches away from the tree and wave it in a consistent movement while turning the tree. Continue until the tree is completely dry. Tip: Don’t hold the heat gun in one place for too long or you will burn the tree and dull the color.
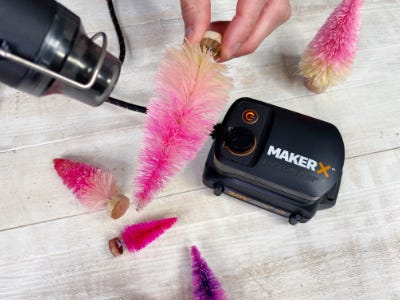
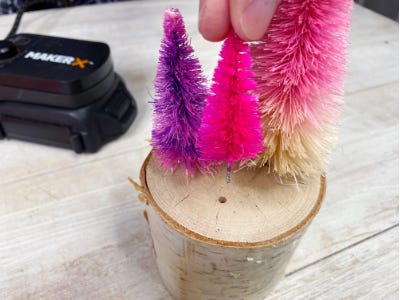
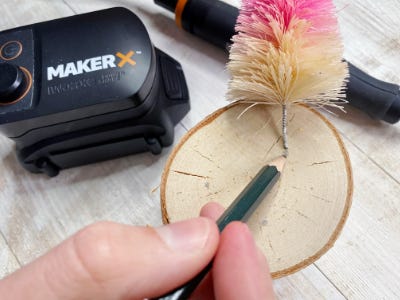
6. Create a small grouping of trees on a stump by twisting off the small round base off of each tree and marking where each tree should go on the top of the stump. Tip: Group trees in odd numbers and put the largest tree in the back.
7. Hold the rotary tool and turn on the MAKERX Hub. Drill a hole about a quarter of an inch straight down on each marked spot.
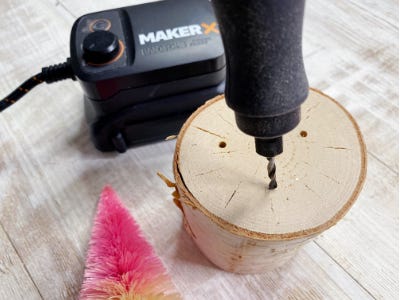
8. Place the tree stumps inside the holes and secure with craft glue or a glue gun.