Intermediate
DIY Wood Burned Plant Markers for your Garden

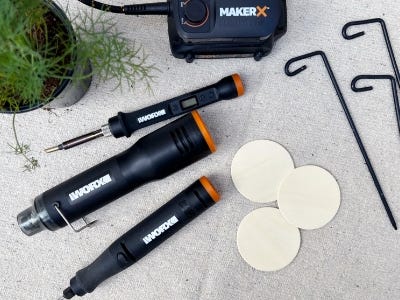
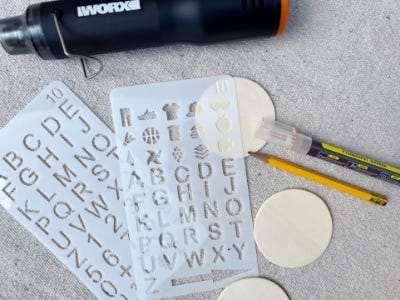
Supplies
- Wood Rounds
- Metal Stakes
- Scorch Marker
Step-by-Step Instructions
Tool Tip
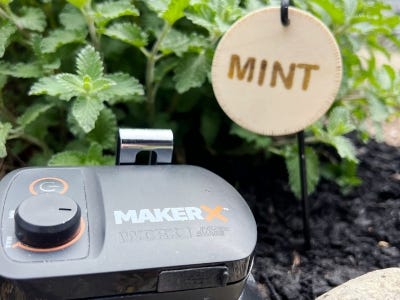
Get familiar with the wood burning tool - Practice on an extra piece of scrap wood. Hold the tool like a pen or pencil and try different tips while testing the temperature you like working with best.
Steps
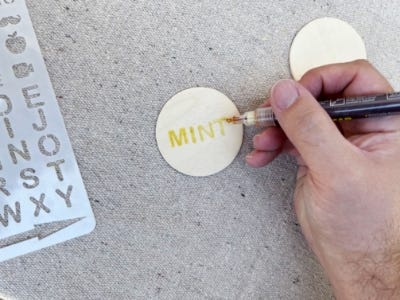
1. Use the MakerX crafter stencil and lightly trace the name of the herbs, vegetables or flowers with a pencil. This step will help with centering the name as much as possible before starting.

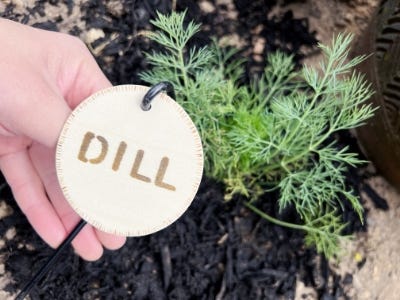
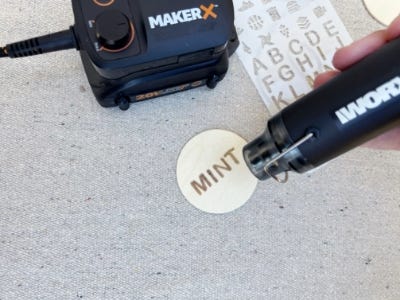
2. Place the stencil back on the traced letters. Fill in the stencil with the wood burning pen. Once finished with the whole word, turn on the heat gun and hold it about six inches away from the wood round while waving it consistently over the image. Watch the marker color change and burn as you work.
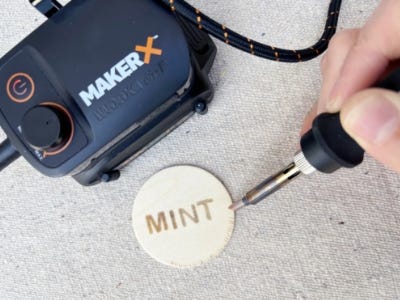
3. Turn on the wood burning tool and allow it to heat up until maximum temperature is reached. Hold the wood burning tool like a pencil and draw a simple pattern around the edge of the wood round.
4. Use the rotary tool to drill a hole in the top center of the wood round.
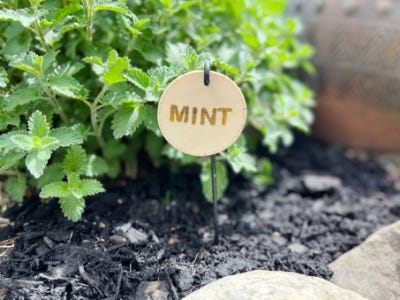
5. Slide the wood round onto the metal stake and display in your garden. Tip: To help project the longevity of each plant marker, spray with a protective protective wood water and sun proof sealant.