13 Amp Brushless 2000 PSI Electric Pressure Washer (1.2 GPM) (Discontinued)
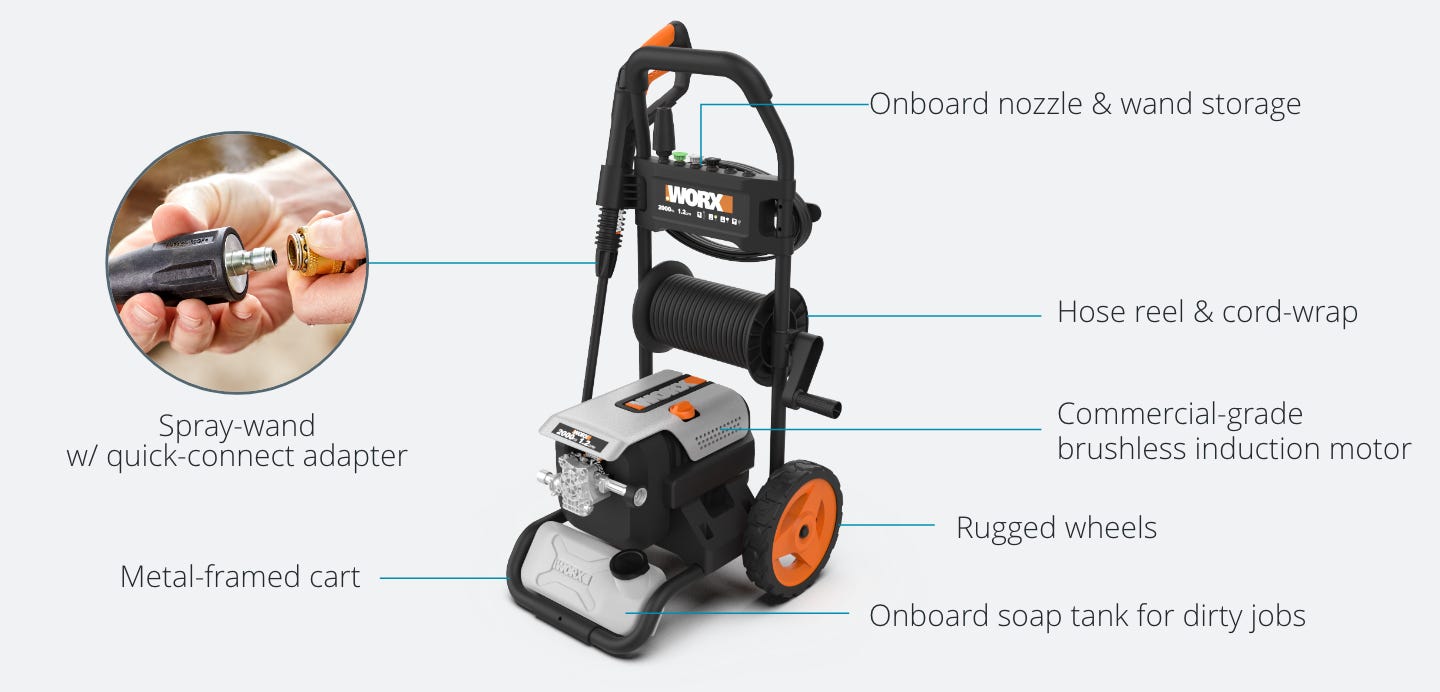
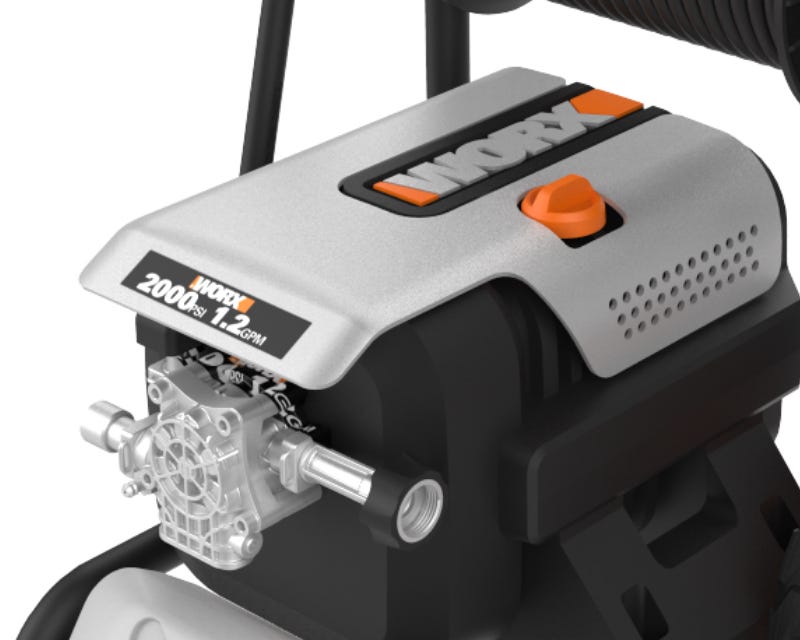
- Commercial-grade brushless induction motor for power, performance, and durability.
- Delivers 2000 PSI (MAX 2200 PSI) and 1.2 GPM (MAX 1.4 GPM).
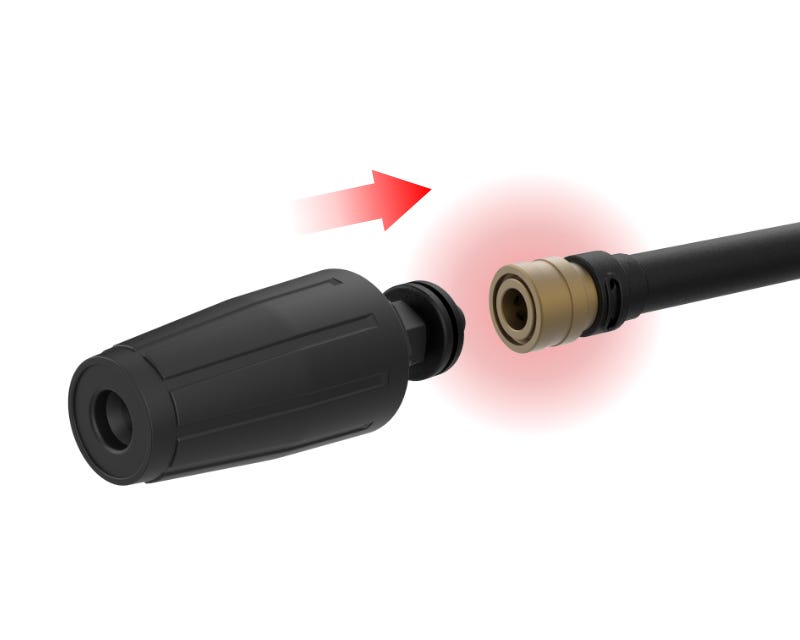
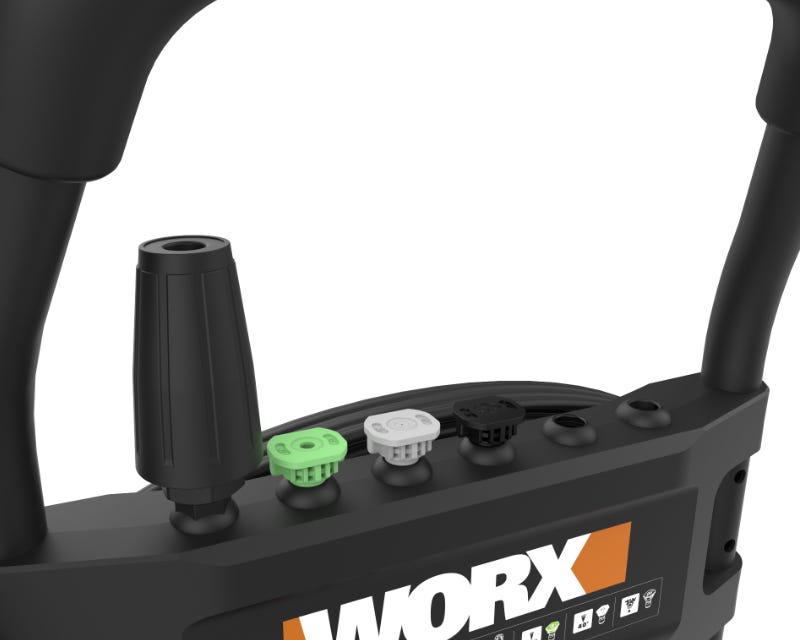
- Spray-wand with universal ¼ in. quick-connect for easy nozzle changes.
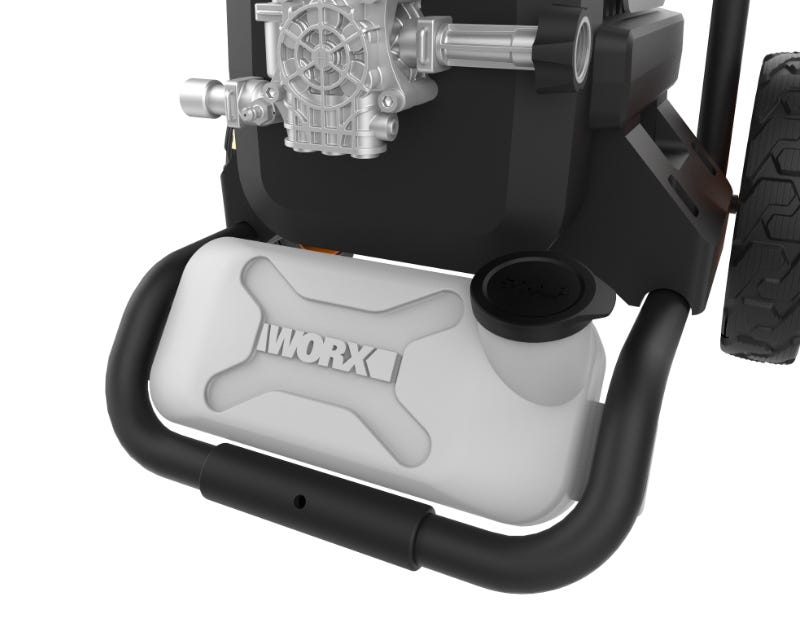
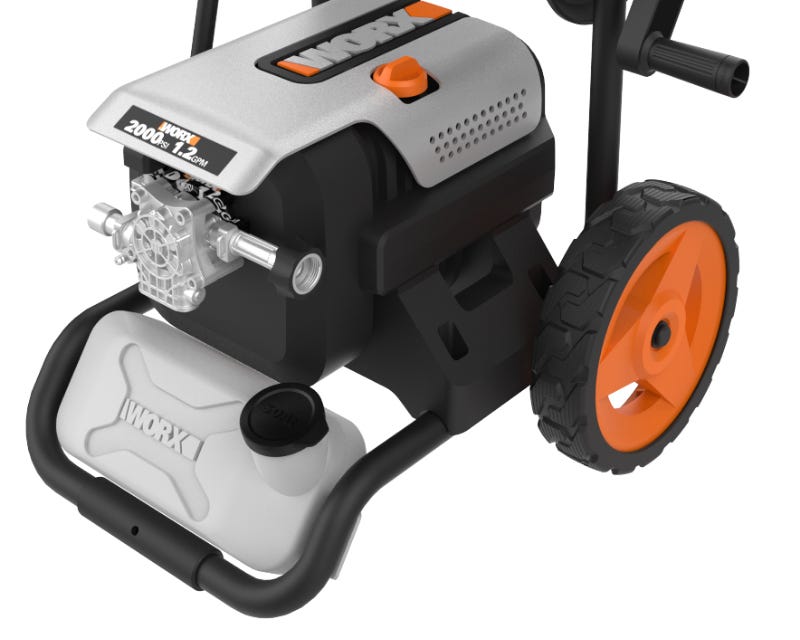
- Onboard soap tank to tackle the dirtiest pressure washing jobs.
- Durable metal-framed cart for ultimate portability.
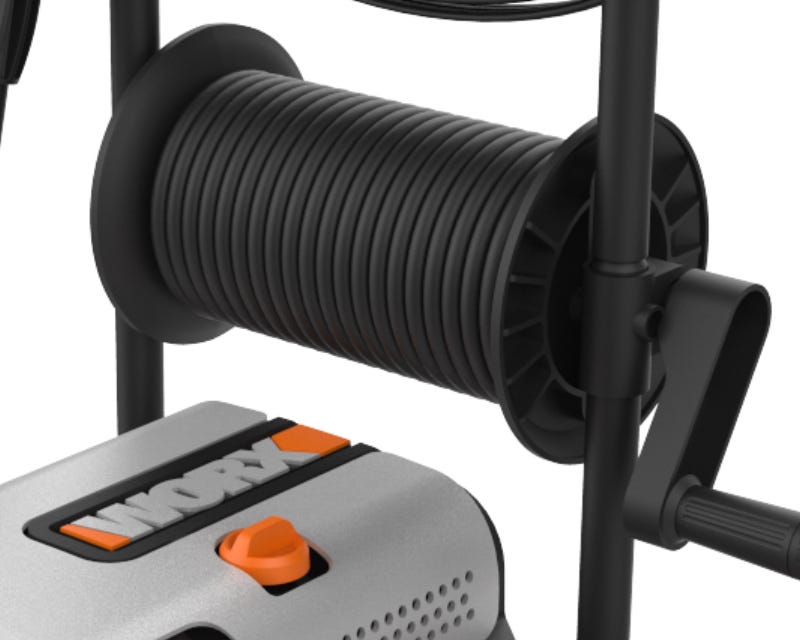
- Built-in hose reel and cord-wrap for quick cleanup and easy storage.
- Onboard storage provides quick nozzle and wand access for various applications.
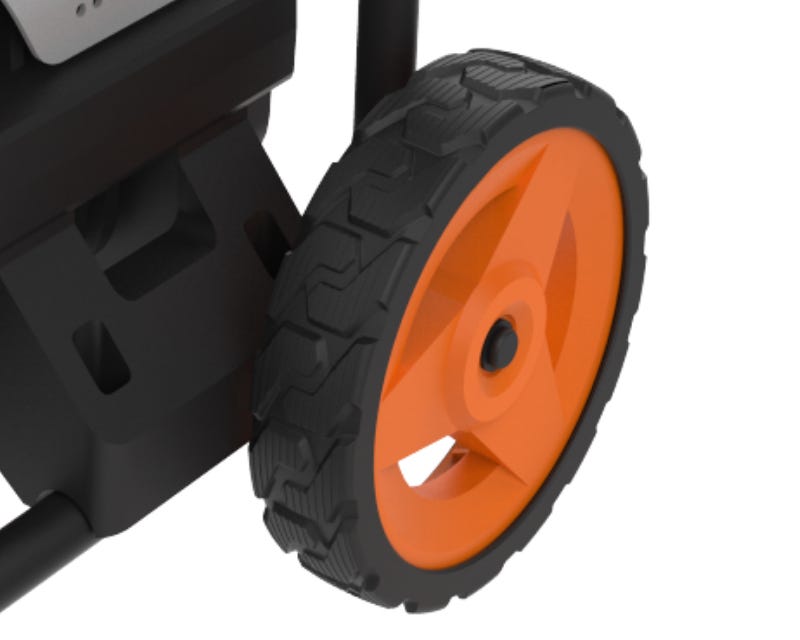
- Rugged wheels allow for easy transport over rough terrain.
- Do It Yourself. Do It Better. Do It With Worx. – Worx tools are engineered with cutting-edge technology, and above modern efficiency standards, so you can build a cost-effective tool collection that’s been designed to last.
Powerful, Portable, Easy-to-Use
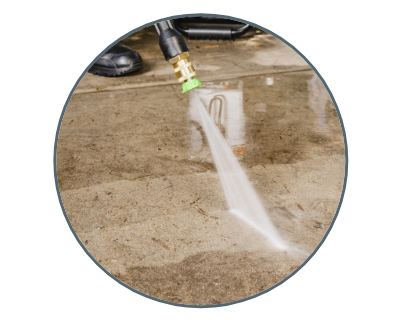

Put the Pressure on Grime
The commercial-grade brushless induction motor pumps out 2000 PSI (2200 PSI MAX) and 1.2 GPM (1.4 GPM MAX) so your driveway will look brand new.
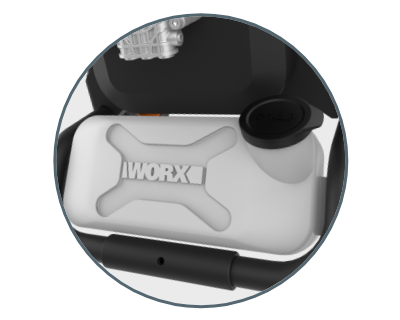

Add Some Soap to the Stream
The onboard soap tank and the included soap nozzle put detergent right into the stream for the toughest jobs that require some suds.
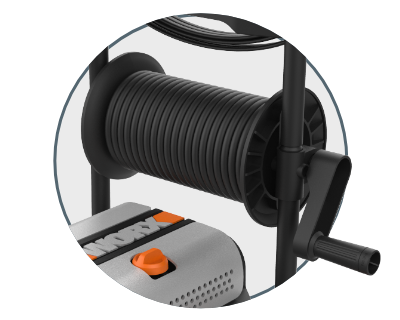

That's a Wrap!
When you're done and ready to clean up, the hose reel and cord wrap make it quick and easy. Plus, those features make it easy to store, too.
- PSI is the pressure (lbs. per square inch) at which the water exits the nozzle. The GPM (gallons per minute) refers to the amount of water volume that exits the nozzle during a specified amount of time.
- A combination PSI & GPM are important in determining the ultimate performance of a pressure washer.
- A higher waterflow rate (GPM) helps “flush” out debris from a large cleaning area, while a higher PSI provides a greater “grime” removal rate, and typically, in a more concentrated area.
The included nozzles have standard ¼ in. fittings that insert directly into the end of the spray wand by depressing the brass ring on the wand, inserting the nozzle, then releasing the ring. The nozzle should then "snap" into place.
The Hydroshot accessories are only designed (and rated) for use on the Hydroshot and cannot be used on this 2000 PSI electric pressure washer, or other pressure washing equipment.
Primarily after initial startup, residual air can still be trapped in the hose. Continue to hold down the trigger of the wand to allow the water to flow through the hose and expel any remaining air.
Fill the soap tank with a selected detergent. Secure the soap tank cap. For best results, the soap nozzle needs to be utilized to draw soap from the soap tank. The soap nozzle allows for higher flow, which in turn pulls the soap through the electric pressure washer.
This may be caused as a result of a clogged or dirty nozzle.
- Turn off and unplug the electric pressure washer. Shut off the water supply. Pull the trigger of the spray wand to release any remaining water pressure.
- Remove the nozzle from the spray wand. NOTE: Never point the spray wand at your face.
- Using a straightened paper clip or nozzle cleaning tool, free any debris that may be clogging/restricting the nozzle.
- Using a garden hose, flush debris out of the nozzle by back-flushing (running the water through the nozzle backward or from the outside to the inside).
- Ensure there are no kinks in any of the hoses.
- Ensure all parts and fittings are tightly secured on the pressure washer.
- Ensure the nozzles are not dirty or clogged.
- Ensure the pressure washer is powered ON and the water source is also ON.
Periodically inspect the entire product for damaged, missing, or loose parts such as screws, nuts, bolts, caps, etc. Securely tighten all fasteners and caps and do not operate the 2000 PSI electric pressure washer until all missing or damaged parts are replaced. Please call customer service for further assistance. Use a clean cloth to remove dirt, dust, oil, grease, etc., rather than various types of commercial solvents. Commercial solvents may damage plastic parts.
- Make sure the on/off switch is in the OFF position.
- Be sure to disconnect all hose and water connections.
- Empty water from all hoses, the pump, and the soap tank (if included) before storing. Tilt the unit to drain any remaining water in the pump from the water inlet.
- Coil the hose and place it in the storage area; ensure there are no kinks in the hose.
- Store in a dry, frost-free covered area where it is not susceptible to harsh weather conditions.
- The use of a pump protector (not included) is strongly encouraged to prevent cold weather damage during storage over the winter months.

