Beginner
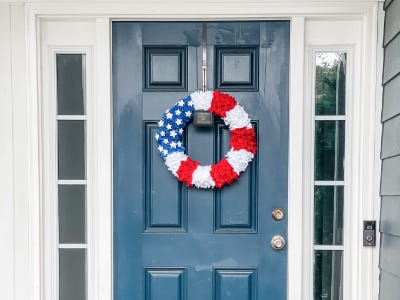
Kid Friendly Patriotic Wreath

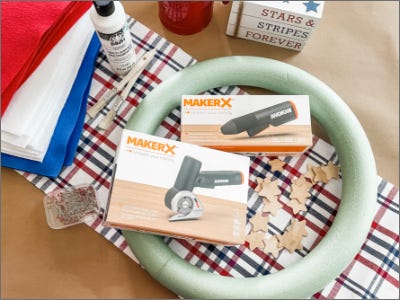
Supplies
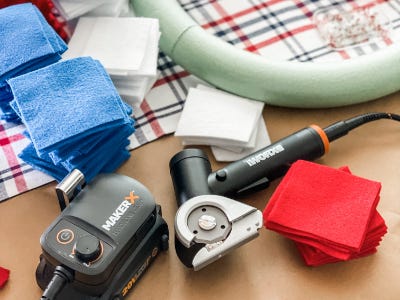
- MAKERX Cordless Rotary Cutter
- MAKERX Cordless Glue Gun
- Red, White and Blue Premium Felt
- Straight Pins
- Paintbrushes
- White Acrylic Paint
- Wooden Craft Stars
- Florist Foam Wreath Mold
- Pipe Cleaners
- Large Staples
Step-by-Step Instructions
Tool Tip
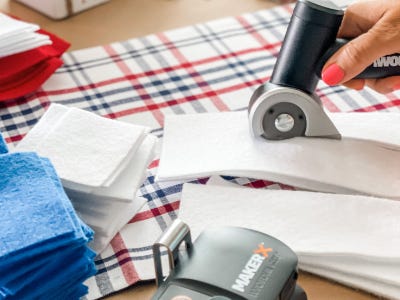
- The MAKERX Rotary Cutter saves so much time when cutting the felt for this project.
Steps
1. Start by gathering your felt pieces. We used 10 red, 10 white and 6 blue for this wreath. It was just enough blue but we did have a little red and white leftover so adjust according to your wreath size. (Our Wreath form was 16”.)
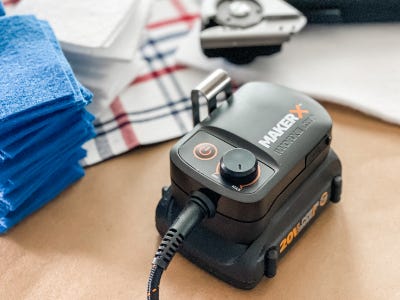
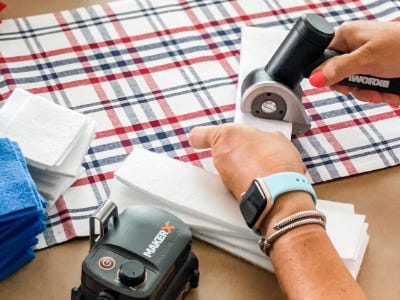
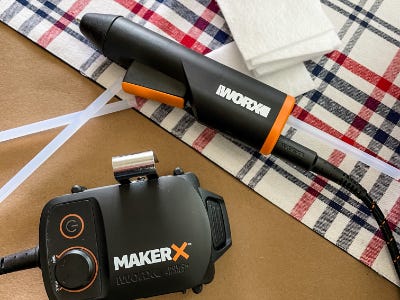
2. Set up your MakerX Rotary Cutter by attaching it to the hub and 20v battery.

3. Using the Rotary Cutter, cut your felt into strips and then into squares. This does not have to be exact, feel free to eyeball it or use your previous cuts as a guide. Ours were about 2.5-3” squares.
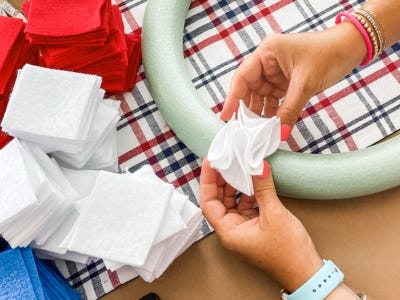
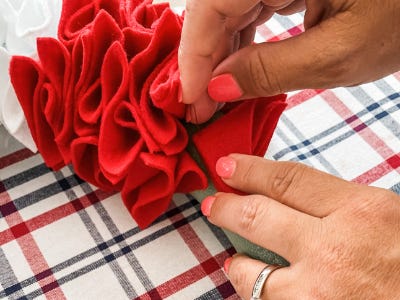
4. Once you have cut all of the felt into squares, take one piece and fold it in half corner to corner creating a triangle. Then fold it in half again to make a double folded triangle. This will be the beginning of a ruffle.
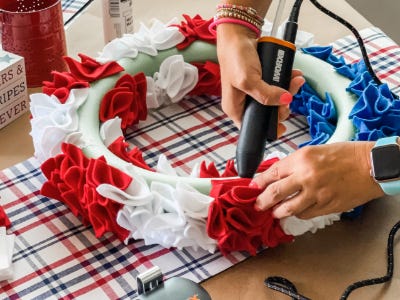
5. Next, grab your wreath mold and straight pins and attach the first triangle to your wreath by inserting the pin into the folded point. Attach the second triangle point to point with the first.

6. Then, add two more of your folded triangles point to point with the first two creating a little pinwheel shape.

7. Once all 4 triangles have been pinned down, pull the edges up gently creating a ruffle effect. This will be the starting point for the rest of the wreath but you no longer have to continue pinning them end to end.
8. Now, just work your way around pinning each folded corner near the previous ones. They don’t have to be too close. You will want to leave a little space in order to get that really fluffy look.
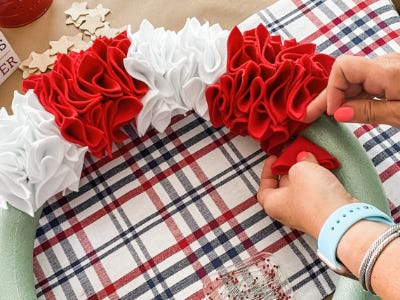
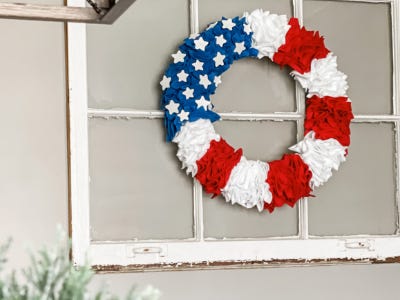
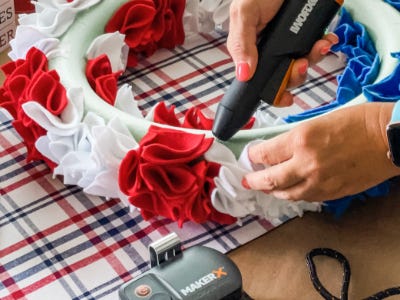
9. After each triangle is pinned, fluff it back before adding the next. Continue this way until you've created your first white “stripe.” Be sure to make the sections a little wider on the outside of the wreath and a little narrower in the middle. (We didn’t measure an exact amount of space from one section to the next so we just eyeballed the stripes making them as even as possible.)
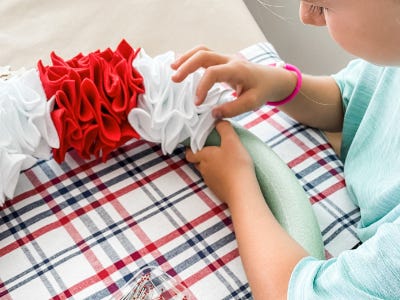
10. Keep working your way around the wreath, alternating red and white sections until you have about ¾-⅔ of the area covered. We wanted our blue to be bordered by white on each side so we made adjustments as we went to make that happen. After the last white “stripe” is finished, you can start on the blue. Keep filling in any spaces until the entire wreath is a fluffy patriotic beauty.

11. Now, flip your wreath over and power up the MakerX Cordless glue gun by attaching it to the hub and 20v battery. Load a glue stick and wait for it to heat up. (only 25 seconds!) Carefully tack down any felt pieces that hang over the edge to make sure that the wreath will hang flush when mounted.
12. While the glue sets, it’s time to paint the stars. (the kiddos loved this part) Gather up your stars and white paint and carefully paint the front of each star. We ended painting about 22, some smaller and some bigger. After applying 2 coats, we made sure to get the edges of each star as well.


13. Once the stars were dry, we set them out on our wreath where we wanted them. We alternated between the bigger and smaller stars until we liked how many there were.

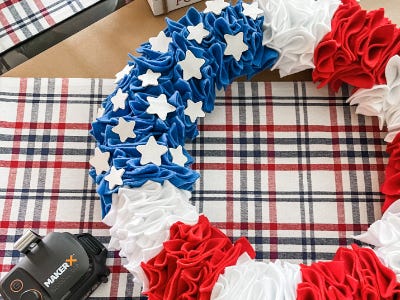
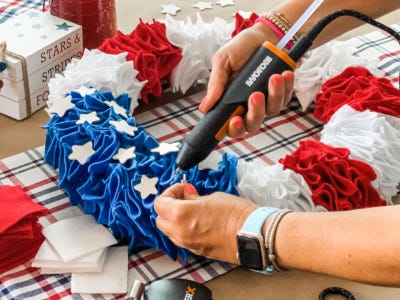
14. Power up that glue gun again and glue down each star. Be sure to find a relatively flat section of felt so that the stars have something to adhere to. Continue gluing until all of the stars are attached.
15. After the glue has set, carefully flip over your wreath and grab your pipe cleaners. We had red, white and blue on hand so we decided to twist them together to add a little festive fun to our hanger. (although you won’t see it from the front when on display)
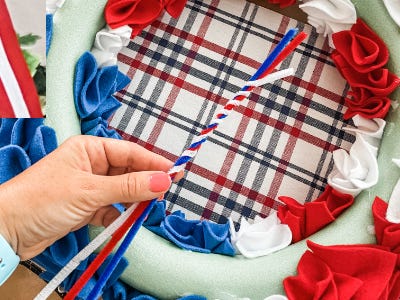
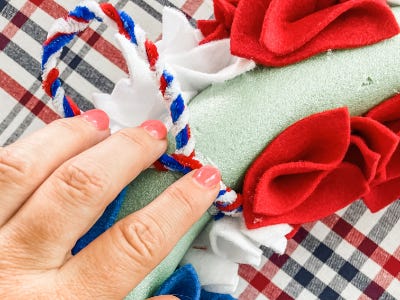
16. Take the pipe cleaners and create a loop by twisting the two bottoms together. Then apply a little hot glue to the back of the wreath and secure the bottom of the loop where you want your hanger to be. Before the glue is set, take 2 of the long staples and slide them into the wreath form securing the pipe cleaner loop to the back of the wreath.

17. Now all you have to do is hang it up! You can’t help but feel a sense of Patriotic Pride when showing off your Star Spangled masterpiece!