Intermediate
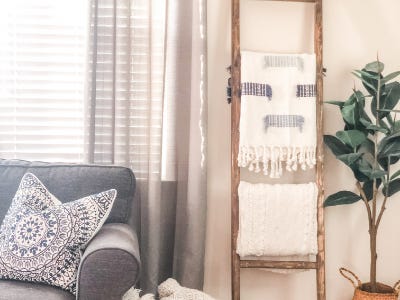
Distressed Blanket Ladder DIY
Supplies
- 3 2x2x8 boards
- Long Wood Screws (at least 1 ⅝)
- Worx Tools Switch Driver or Power Drill
- Worx Tools Detail Power Sander or 120 grit Sandpaper
- Tape Measurer
- Straight Edge Ruler
- Pencil
- Paint Brush
- Wood Glue
- Wood Filler
- Wood Stain
- Work Rags and Gloves
- Work Table
Step-by-Step Instructions
Steps
1. Get your wood and gather supplies. We had a fun family trip to the hardware store to get the wood (ok and maybe a few new plants, you can never have too many, right?). In this tutorial we used our own Worx Tools circular saw but you can easily have someone at the hardware store make your cuts for you! (Measurements: 2 boards at 6 ½ feet, and one cut into five 15 inch segments)

2. Start by measuring your ladder supports. We went with 6 ½ feet. (always use the “measure twice, cut once” rule of thumb when doing carpentry to avoid any major mishaps)
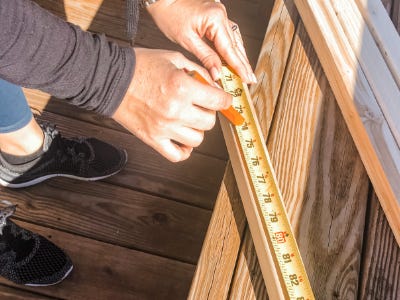
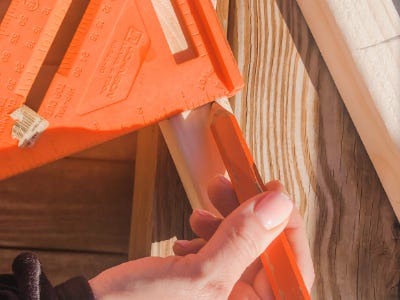
3. After using the measuring tape to get the right mark, we used our straight edge triangle ruler to draw a line across the board. This helps to know exactly where to cut when using the saw.
4. Now it’s time to measure your ladder rungs. We wanted it to make a statement in our home so we settled on 15” across. With our ladder being 6 ½ feet tall we thought 5 rungs would be perfect.
5. After measuring 5 15” segments on your 2x2x8, be sure to use your straight edge triangle to mark across your boards.
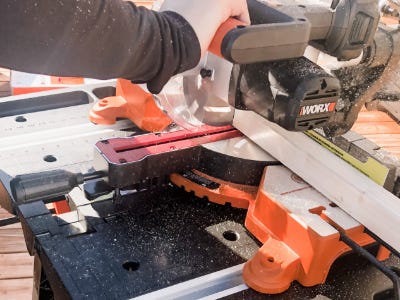
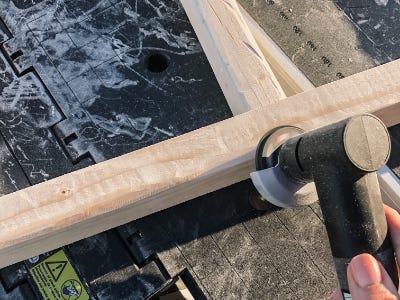
6. Now it’s time to make the cuts! (Always use safe practices when using any power tools.)
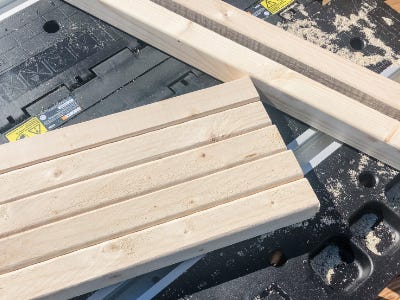
7. Once you have all of your boards cut to the desired lengths, lay them out and arrange the rungs until they look the way you’d like them. We left a smaller space at the top and a slightly larger space at the bottom, then spaced our rungs approx 13” apart. This part is entirely up to you! Just eyeball the spacing until you like it and then adjust the measurements in between each rung to make sure they are equal distances apart.

8. Now, measure that distance and mark your support boards in the middle of each rung. (this is where you will pre drill your holes for the screws to attach the rungs) I decided to do a little rough sanding before attaching the rungs because I wanted our ladder to have a rustic, distressed look to it but this is optional.
9. Using your drill with a drill bit bigger than your screw head, pre drill holes where you marked your support boards. (drill slightly more than halfway through to allow the screws to make it well into the rungs) This is where the Switch Driver from Worx Tools comes in handy. It allows you to easily toggle between your drill bit and Phillips head screwdriver in a flash!
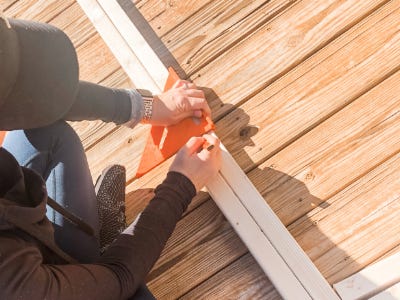
10. Add a little wood glue to your rung ends (this will help secure them and keep them from rotating once complete) and then screw through the pre drilled hole into the center of the rung. (eyeball it) Note: your pre drilled holes will be on the outsides of the ladder.
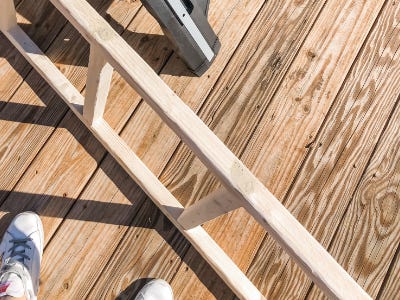
11. Continue until all of your rungs are attached and then repeat on the other side.
12. Now that your ladder is assembled, add some wood filler to the pre drilled holes and allow to set,
13. Once the wood glue and filler have dried. It’s time for the FUN part! Using your MakerX Grinder/Sander tool with the sanding attachment, go to town on the front side of your ladder. Make some grooves and imperfections, soften any corner edges and even add some deeper marks. You can't go wrong here, it’s supposed to be distressed!
14. After your ladder has been distressed to your liking use your Power Sander or some 120 Grit sandpaper to smooth any rough patches and remove any excess wood filler. Then take a damp work rag and wipe off any excess sawdust.
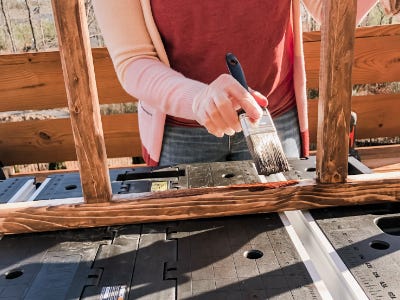
15. Using your choice of stain, paint it on in small sections and then wipe off using a clean rag. (we chose to layer Special Walnut and Weathered Oak creating a deep wood color with a slightly gray undertone)
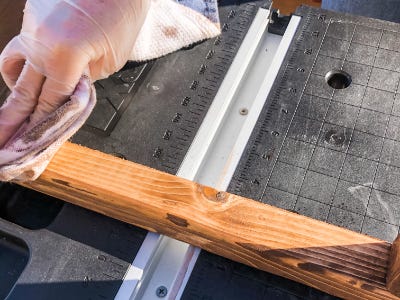
16. Continue along the length of the ladder until all surfaces have been covered. Be sure to get the corners around the rungs well. Feel free to add as many or as few layers of stain as you'd like to achieve your desired look.
17. Let the stain dry and set for approximately 24 hours before bringing it into your space.
18. Once the stain has dried completely, style your new custom Distressed Blanket Ladder with some woven throws and admire your work!