Beginner
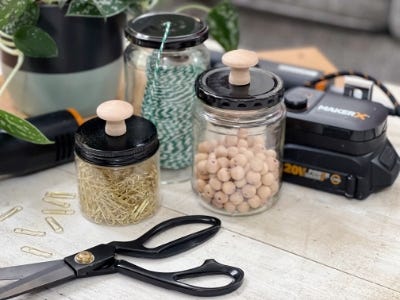
Upcycled Craft Storage Jars
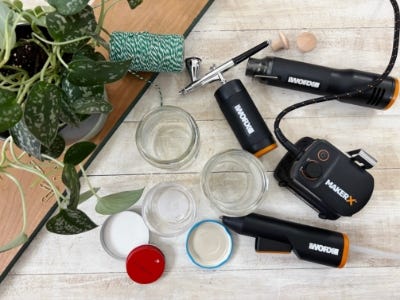
Supplies
- Glass Jars with Lids
- Black Air Brush Paint
- Wooden Drawer Knob
- 220 Grit Sandpaper
Step-by-Step Instructions
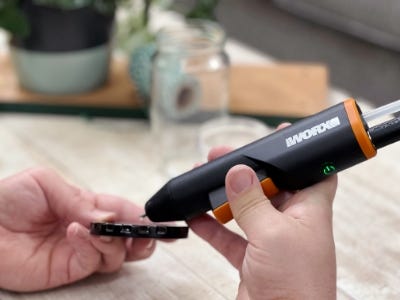
Tool Tip
Before airbrushing, test and practice on a scrap piece paper or glass and adjust the settings accordingly.
Steps
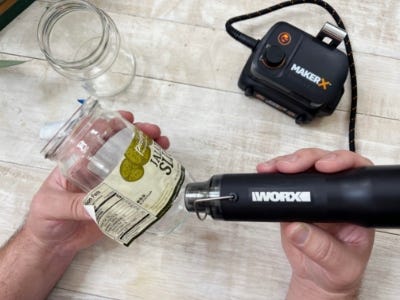
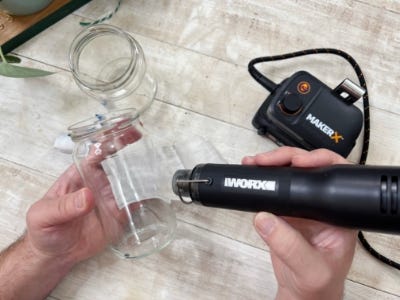
1. Remove the label on the jar by waving the heat gun over the label until it becomes easy to peel off and remove. Wash and dry the jar well. Tip: If there is any leftover sticky residue on the jar, clean it off with a little olive oil then wash with soap and water.
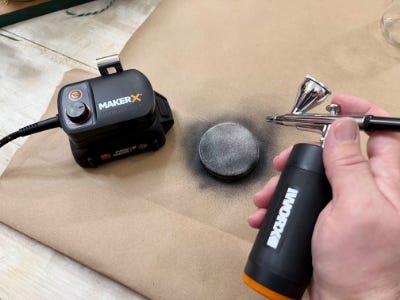
2. If any of the jar lids have writing on them, use the airbrush to paint them for a cohesive look. Before painting, lightly sand the tops and sides of the lids before painting.
3. Load the paint reservoir of the airbrush approximately ⅓ full with black airbrush paint. Begin painting in a consistent swirling motion about four to six inches away from the lid.
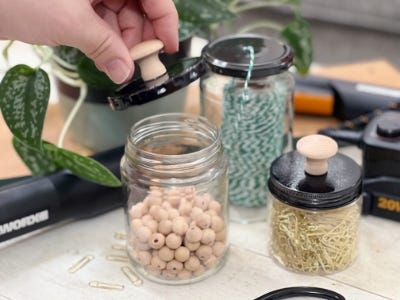
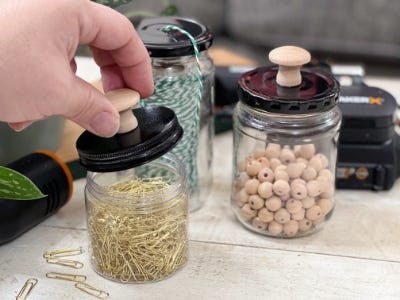
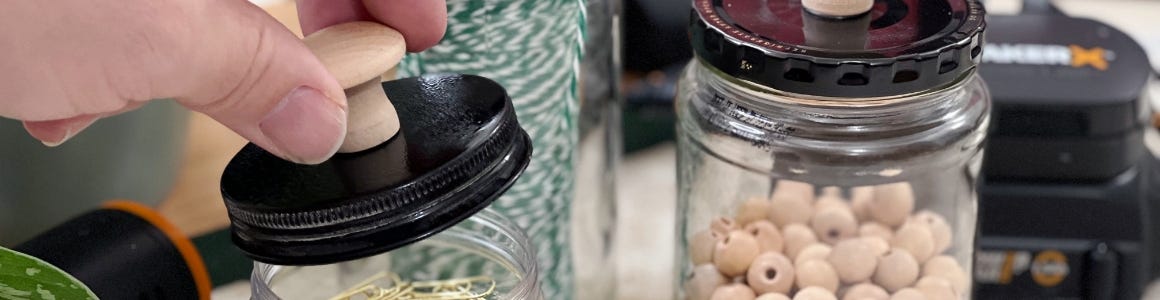
4. Once the lid is fully dry, use the glue gun to add a small amount of hot glue onto the center of the top of the lid. Press the drawer knob on top of it with firm pressure for at least 10 seconds.

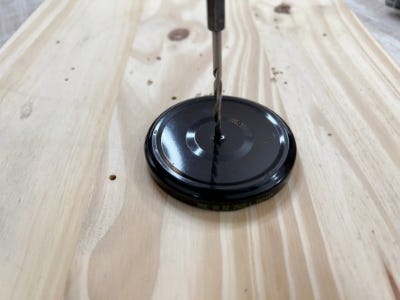
5. To turn a jar into an easy, no-knot twine holder by drilling a hole directly into the center of the lid. Make sure to sand down any splintered areas so the twine doesn’t catch.