Intermediate
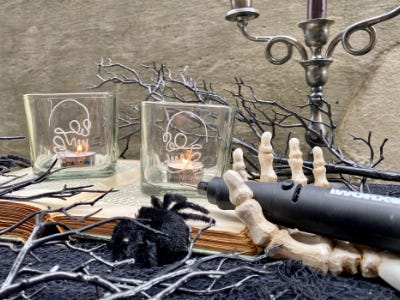
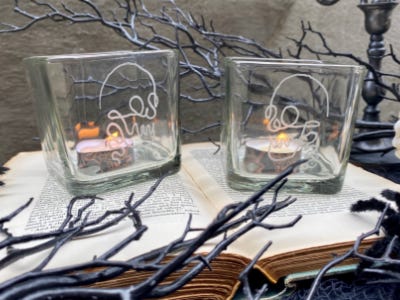
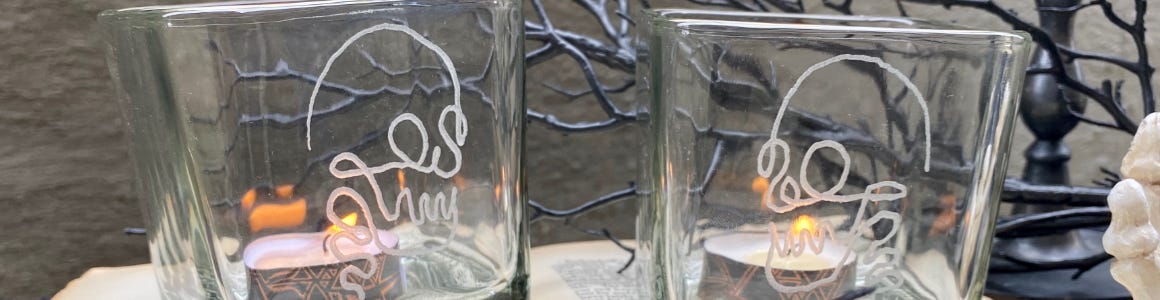
DIY Etched Skull Glass
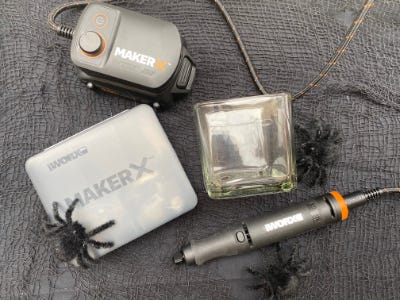
Supplies
- Set of Glasses
- Printed or Drawn Design
- Painters Tape
- Gloves
- Protective Eyewear
- Mask
- Wet Rag
Step-by-Step Instructions
Tool Tip
Work in a well-ventilated area and always wear protective eyewear, masks & gloves while etching. Remove any jewelry or loose clothing.
Steps
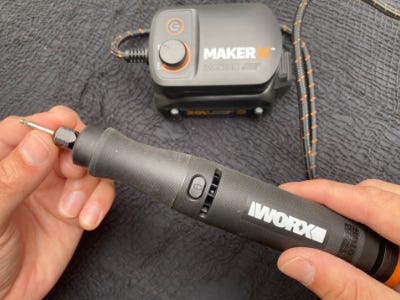
1. Get familiar with the rotary tool- Practice on an old or upcycled jar. Hold the tool like a pen or pencil, try different tips, and test the speed you like working with best.
2. Draw or print out a design to the size of the surface of the glass. Tip: Keep the design simple for best results.
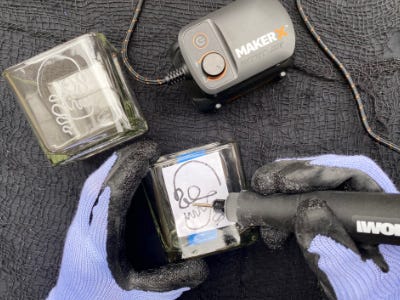
3. Center and tape the design on the inside of the glass to use as a template.
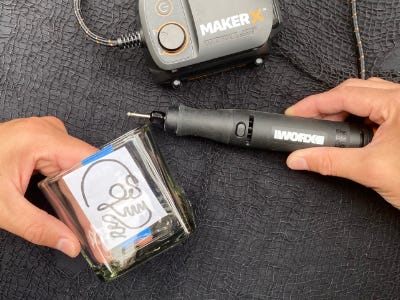
4. Lay the glass flat on the table to prevent from shifting or moving as you work.
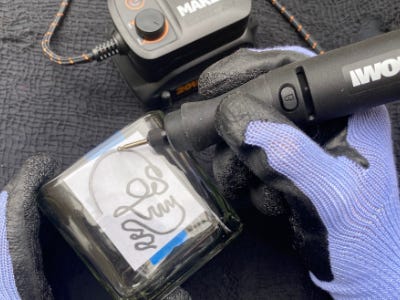
5. Hold the rotary tool and turn on the MakerX. Begin to slowly trace the design. Tip: Trace at a consistent speed and pressure to get the best result. It may be easier to move and turn the glass as you work rather than your hand.
6. Once completed, wipe the glass with a wet rag to remove any dust.
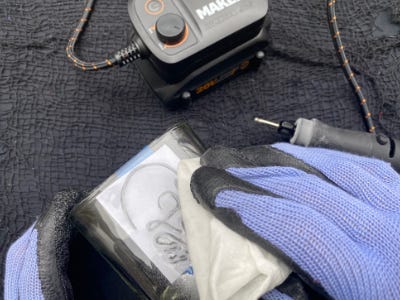
7. Reverse the image for the second glass by flipping over the template and taping it into the inside of the glass.
8. Repeat the steps for the second glass.
9. Wash well before using.