Beginner
Paint Pour Ornaments DIY
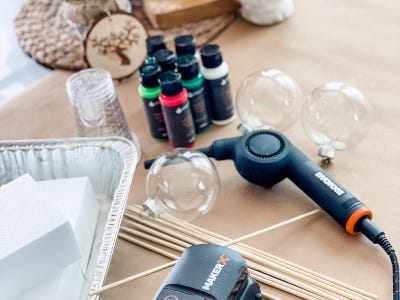
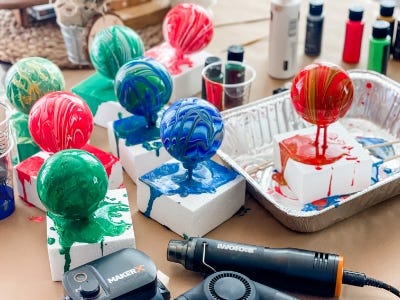
Supplies
- Clear Glass or Plastic Ornaments
- Aluminum Trays
- Styrofoam Blocks
- Wooden Skewers
- Small Plastic Cups
- Acrylic Pour Paints
- Butcher Paper or Newspaper
Step-by-Step Instructions
Steps
1. Start by covering your workspace and gathering all of your supplies.
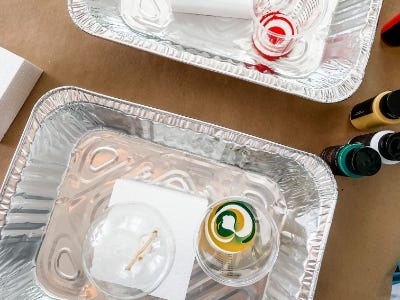
2. Place the styrofoam blocks inside the aluminum trays. Cut two wooden skewers in half and push them into the styrofoam about a half inch apart.
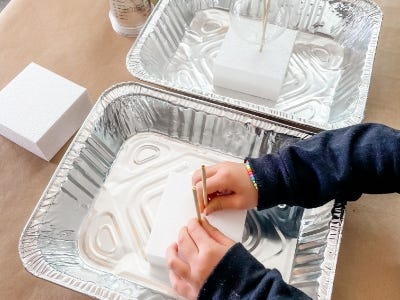
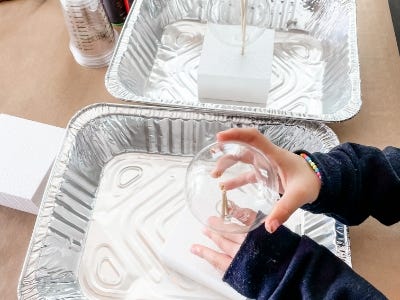
3. Then, carefully remove the hanger from the ornament and place it upside down on top of the skewers.
4. Now, grab your paints and add them to the plastic cups one at a time, alternating colors. You should see concentric circles begin to form.
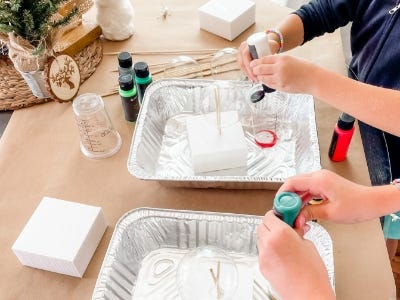
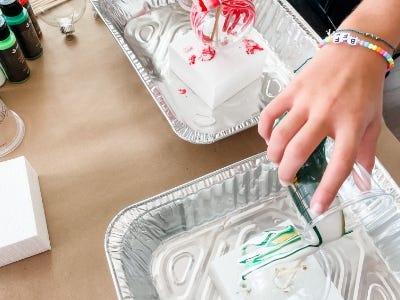
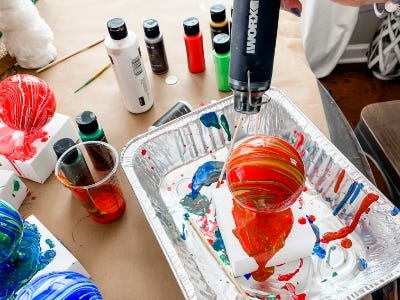
5. Once you have about 6-8 oz of paint in the cups, SLOWLY pour the paint onto the ornaments moving back and forth until all of the paint is used. Gently rotate the ornament by holding onto the styrofoam base to help the paint drip all the way down the sides.
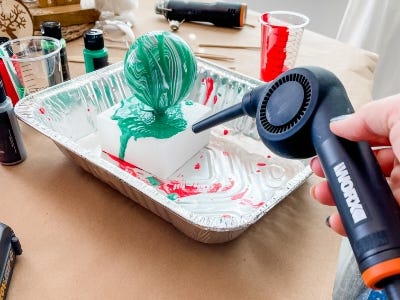
6. Next, using the MakerX mini blower on the lowest setting, carefully use the air to help the paint cover all of the spaces. Be sure to start from a distance and slowly move towards the ornament to keep too much air from mixing the paint colors together.
7. After you’ve covered the entire surface with paint, power up the MakerX mini Heat Gun and use it to pop any bubbles by gently running it over the ornament.
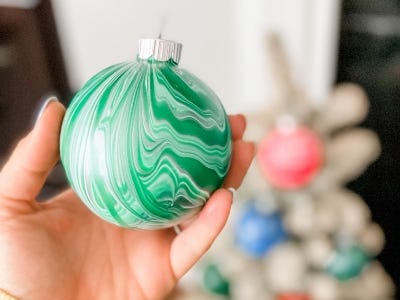
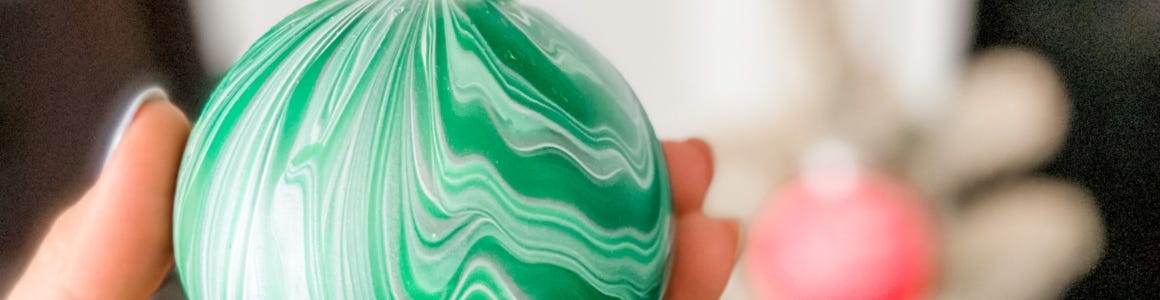
8. Repeat these steps until all of the ornaments have been poured and allow them to dry overnight.
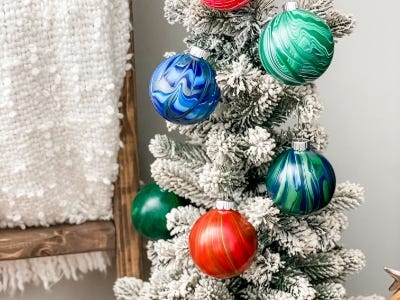
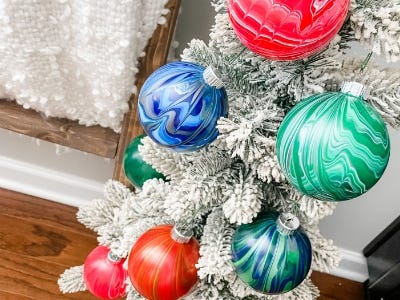
9. Once they have dried, pop the hangers back into the top and hang them on your tree or wrap them up as handmade gifts. My girls had so much fun with this project that we had to go buy more supplies so they could do it again!