Intermediate
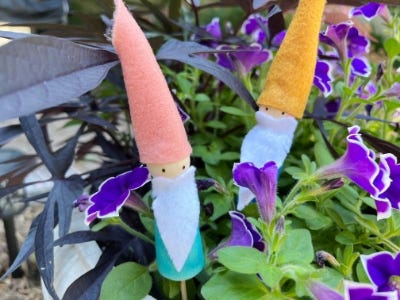
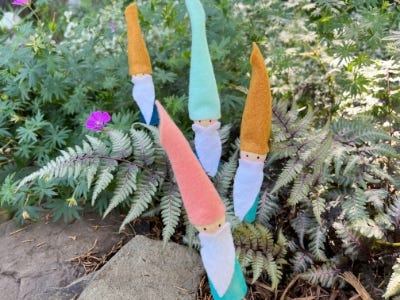
DIY Mini Garden Gnome Plant Stakes


Supplies
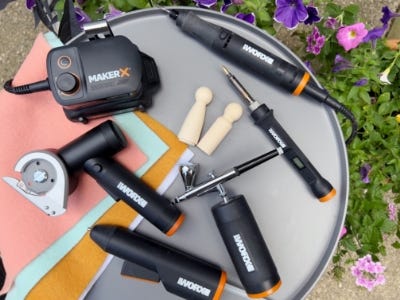
- WX739L 20V MAKERX Rotary Tool
- WX742L.9 20V MAKERX Air Brush
- WX744L.9 20V MAKERX Wood & Metal Crafter
- WX745L.9 20V MAKERX Rotary Cutter
- WX746L.9 20V MAKERX Glue Gun
- Miniature Wooden Peg People
- Wooden Skewers
- Airbrush Paint
- Painters Tape or Masking Tape
- Colorful Felt & White Felt
- Watercolors
- Brush or Q-tip
Tool Tip: Get familiar with the wood burning tool - Practice on an extra piece of scrap wood. Hold the tool like a pen or pencil and try different tips while testing the temperature you like working with best.
Step-by-Step Instructions
Steps
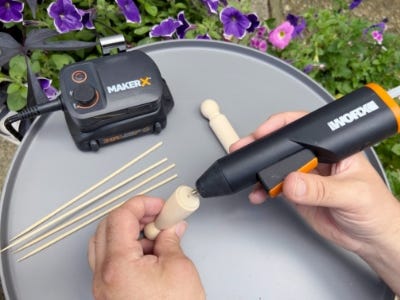
1. Use the drill bit with the rotary tool to drill a small hole in the center bottom of each peg person. Place a skewer into the bottom hole and hot glue in place.
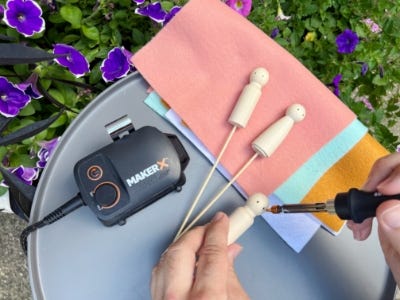
2. Holding the wood burning tool like a pencil, use the wood burning tool to add eyes to each peg person. Once the eyes are added, cover the head and skewer with tape to protect while airbrushing.
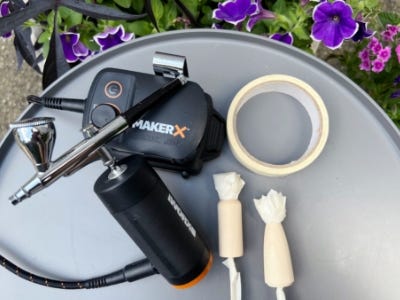
3. Load the paint reservoir of the airbrush approximately ⅓ full with the airbrush paint. Test the airbrush on a scrap piece of paper before applying and adjust as needed. Hold the skewer and begin airbrushing the body until happy with the outcome. Remove tape when dry.
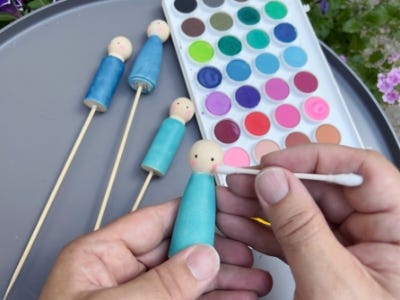
4. Use watercolors to add a bit of blush to the cheeks of each peg person. Tip: Use a Q-tip to get a perfect circle.
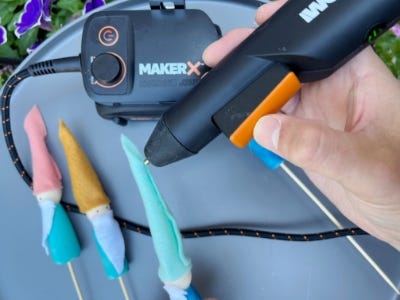
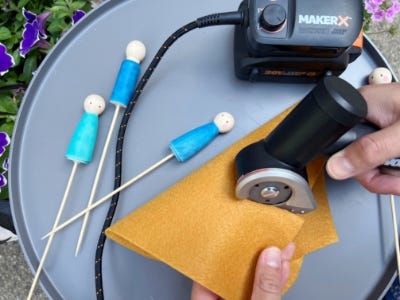
5. Create the pointy hat by holding a piece of colorful felt using the rotary cutter to cut a rounded edge close to the corner. For the beard cut a white piece of felt to look like a triangle or heart shape.
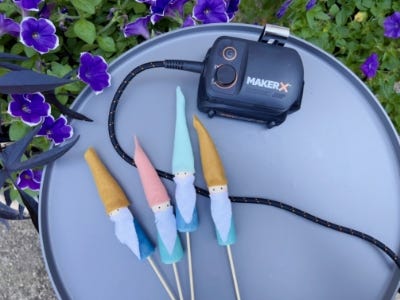
6. Hot glue the hat around the head and hot glue the beard in place. Give your gnome a home in one of your house plants or in your garden!
